FWC Interior Photos

erod

Senior Member
Joined
May 7, 2007
Messages
664
well how bout' it. some pics of the inside of the campers! have seen some really cool set ups out there. i really enjoy checking out everyone's personal modifications to the interior of their campers...i have already gotten some great ideas! here's mine, nothing too serious right now but a great paint job (in my opinion) by my girlfriend to lighten things up...but surely more to follow. cheers!
 

Attachments

  • IMGP1126.jpg
    IMGP1126.jpg
    120.2 KB · Views: 1,356
  • IMGP1127.jpg
    IMGP1127.jpg
    108.5 KB · Views: 1,387
  • IMGP1132.jpg
    IMGP1132.jpg
    109.3 KB · Views: 1,365
  • IMGP1135.jpg
    IMGP1135.jpg
    117.2 KB · Views: 1,264
few more...
 

Attachments

  • IMGP1141.jpg
    IMGP1141.jpg
    98.3 KB · Views: 1,149
  • IMGP1136.jpg
    IMGP1136.jpg
    106 KB · Views: 1,135
  • IMGP1130.jpg
    IMGP1130.jpg
    118.8 KB · Views: 1,107
erod INTERIOR PHOTOS

erod.

Very nice, bright interior. The white cabinetry is a very nice touch in lightenening and brightening up the interior. Your girlfriend did a neat job!

I'm curious as to what prep' she did to get the paint to take on the laminate/synthetic surfaces?

Also, you obviously have what appears to be the original TAN top material, which I've always liked in my older Keystone, rather than that dark gray material they are using now. Which I think "darkens" down the interior far more than I'd like.
The fabric appears to be in very, very good shape/condition!
What year is your camper? Is that the "original" material? Or have you had that top fabric replaced at all?

Coop.
 
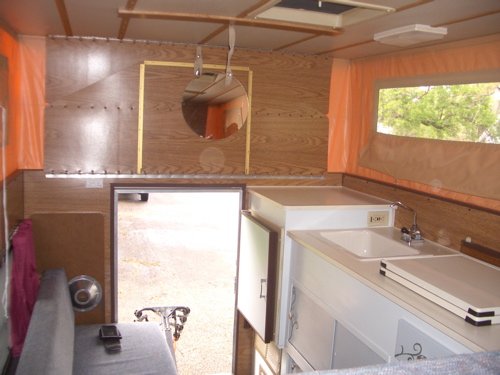
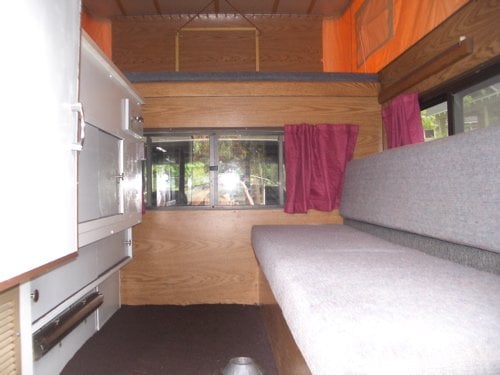
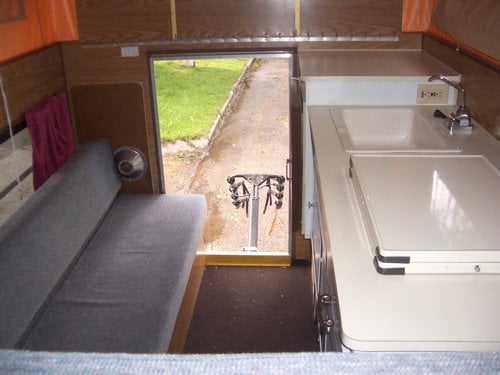
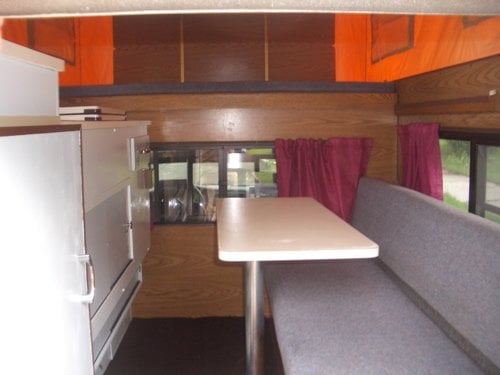
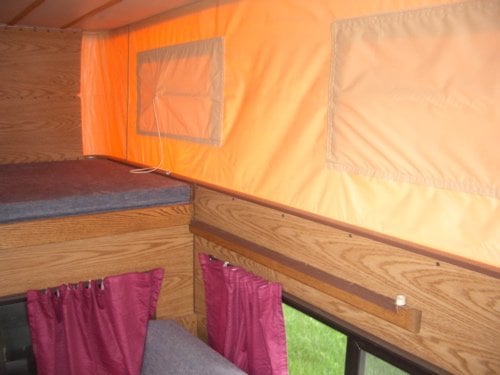
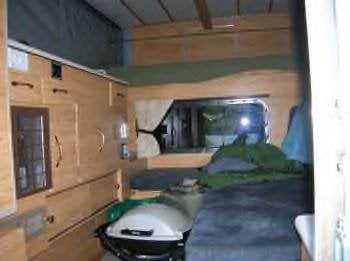
the camper is a 93' or 92', ben wasn't quite sure...the sticker id from denver and says 92' but pretty sure it was mad in california. cool finding out the history of these campers. it is the original fabric as far as i know. the previous owner took extremely good care of this unit so its in great shape. i am adding the arctic pack over thanksgiving to help me through the winter but staying with the original fabric until now...doesn't leak, no mold. yea, my girlfriend spent a bunch of time on that paint job and we are really happy with how it turned out. she also dyed the curtains as well, i like the colord of the camper and it definately brightens it up! i am pretty sure she primed and painted it...not sure on the paint type...i was at work when it all went down. thanks for the nice comments though, i will send them on to her.

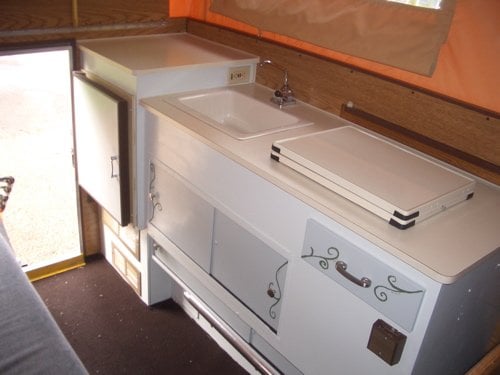
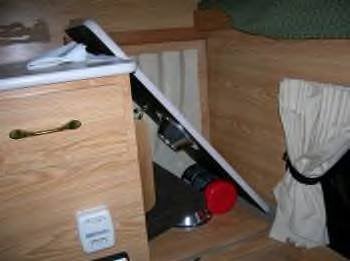
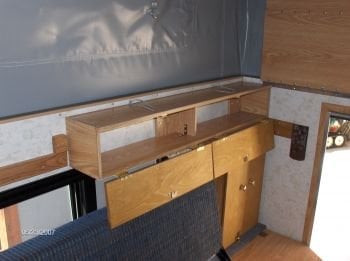
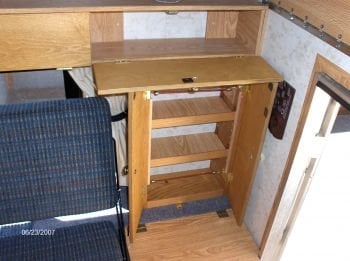
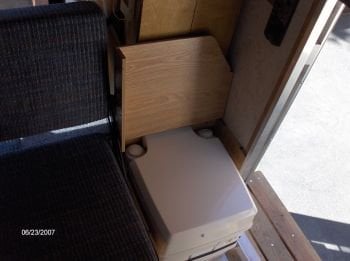
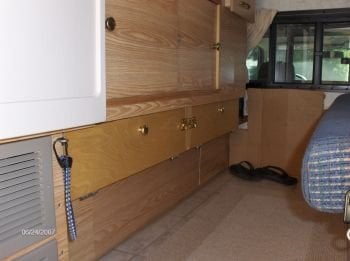
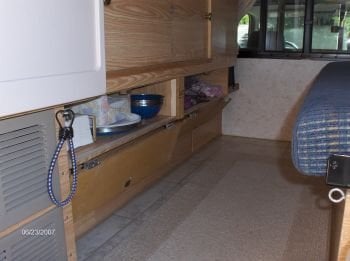
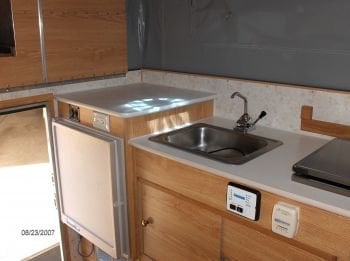
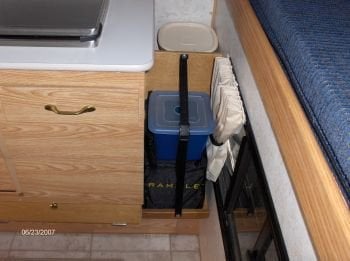
side note: anyone have any ideas/pics of what to do with the area to the right of the stove, inbetween the cabinets and the slider window. good storage there, deep area, might be too deep for a pantry...currently it makes a great place for campchairs! cheers! post yer' pics!
 
Here's the interior of my camper. I store the table and stand in the area to the right of the stove. I never liked putting it behind the sofa. Always seemed to fall over on rough roads. You can see my Weber Q 100 loaded and ready to burn dead animal parts. MMMM.. MMM tasty.
 

Attachments

  • truck pic1.jpg
    truck pic1.jpg
    12.8 KB · Views: 1,101
  • truck pic2.jpg
    truck pic2.jpg
    13.7 KB · Views: 1,098
Interior Photos

Here is the first batch of interior photos with an explanation of each in posting order.

1. I cut 14" off the couch and added a wall cab. and hinged lid over the porta potti.
2. Removed sliding doors and tracks from upper cab. and added 1/2" birch plywood overlay doors. The hinge geometry was dictated by the wall cab doors. The bungees over the top are the safety latches.
3. Wall cab. with adjustable shelves, the shelf supports retain top & bottom. I had to relocate the CO detector which would have been half inside the cab.
4. Lid makes a great end table or seat.
5. Upgraded Porta Potti-the factory option is the smallest one made and was very inconvenient to use

More shots to follow in the next post.
 

Attachments

  • phpU3gcXFPM.jpg
    phpU3gcXFPM.jpg
    116.4 KB · Views: 987
  • phplnMVMTPM.jpg
    phplnMVMTPM.jpg
    48.6 KB · Views: 1,024
  • phpot7gRSPM.jpg
    phpot7gRSPM.jpg
    55.5 KB · Views: 994
  • phpcQv8fMPM.jpg
    phpcQv8fMPM.jpg
    46.1 KB · Views: 1,005
  • phpGb9tzSPM.jpg
    phpGb9tzSPM.jpg
    46.8 KB · Views: 955
Interior Photos cont.

Here is the second batch of interior shots.

1. Replaced the lower cab. doors to match the upper cab. The barrel bolts are the best safety latch I've come up with so far though I don't like the bulky nature of them. Oops, I forgot tho remove the protective cardboard we use when the bikes are inside.
2. Replacing the doors added about 1 1/2" of usable space and allows our classic camping plates to fit.
3. General count layout that most everybody already knows.
4. Added small shelf under sink with bungee retainers.

Only four more pictures to follow in the next post.
 

Attachments

  • php5JRCGjPM.jpg
    php5JRCGjPM.jpg
    47.7 KB · Views: 952
  • phptf4MZWPM.jpg
    phptf4MZWPM.jpg
    48.9 KB · Views: 975
  • phpAVtrVlPM.jpg
    phpAVtrVlPM.jpg
    49.9 KB · Views: 983
  • phptbnGqdPM.jpg
    phptbnGqdPM.jpg
    56.5 KB · Views: 962
Interior Photos-Last of the three

Here are the last four interior shots.

1. Added a full height partition to the rear space step to form a cubby that works great for food storage. In front I added a shelf w/ strap retainer for misc. container storage
2. General floor shot showing relocated fire extinguisher.
3. Velcro hooks provide a great place to hang your hat.
4. My wife came up with the idea and it works great. It's a piece of webbing folded over a wall hook and sewn with velcro on the back. We have found that the webbing doesn't need to be so long and would be more stable if it was shorter.

That's the last of the pictures for now and I hope this whole thing isn't too long winded for you.
 

Attachments

  • phpgNjPIuPM.jpg
    phpgNjPIuPM.jpg
    56.3 KB · Views: 1,031
  • phpTMgYAzPM.jpg
    phpTMgYAzPM.jpg
    47.4 KB · Views: 1,002
  • phpSHTjr4PM.jpg
    phpSHTjr4PM.jpg
    44.6 KB · Views: 1,044
  • php146NUgPM.jpg
    php146NUgPM.jpg
    48.6 KB · Views: 1,008
eRod, in looking back through this post I realized I forgot to tell you how much I liked the paint job on your interior. The white really does open up the space nicely. Tell your girlfriend she did a great job. Compliments.
 
i was thinking of a wide...maybe 24 inch array of "pockets" that would hang from the arctic pack velcro....behind the sink. could be 3 rows maybe..18 inches high? The pockets could be netting of some type....so that you could see the content.
the idea is a good place to put keys, pills, maglite, etc. so that all the little items are gathered up and easily accounted for.
 
DLN, great photos, you gave me an idea or two as well! thanks for your kind words, i will pass them on to claire. really sharp looking camper...well thought out, thanks again for posting. cheers
 
dln, great photos, could you give some details on your hooks...some great ideas in there. so many good threads out there i forget some of the older ones sometimes...good to revisit! thanks for posting!
 
erod,

The hooks are just wall mount coat hooks with a flat back sandwiched in between two layers of webbing with Velcro on the back. We just shortened all of ours to give them more stability. Also see the Table Solution Thread for a good place to secure the table top for rough roads.
 
erod,

The hooks are just wall mount coat hooks with a flat back sandwiched in between two layers of webbing with Velcro on the back. We just shortened all of ours to give them more stability. Also see the Table Solution Thread for a good place to secure the table top for rough roads.

Using that velcro strip in the camper is a great idea. I was wondering if you leave the hooks in place with the top down and driving?

I put velcro on my flashlight and radio remote controls and stick them on that strip.
 
b team,

Just to be sure of no damage we remove them all and stick them in the drawer before lowering the top. The velcro strip has all kind of potential that we haven't gotten around to using. Flashlight & remote, great ideas.
 
Interior shots....so far

Just a couple quick shots of my camper which is indeed a work in progress. Fun tho....
 
Back
Top Bottom