I am in the process to spend the upcoming weekend working on my '05 Grandby's Roof.
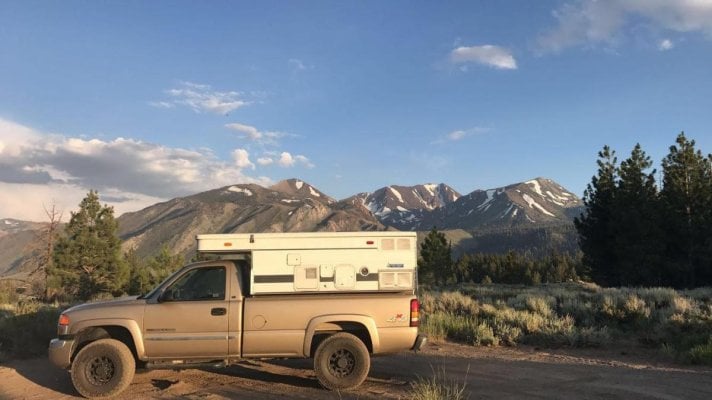
I purchased a 2005 GMC 2500HD 4x4 and Grandby together this past summer and have been prepping it for the winter. (See Attached Pic of Camper/ Truck) My primary use for this is as a base camp for my backcountry snowboarding trips and road trips to resorts across the US and B.C.
We have been experiencing some moisture in the front right (passenger side) corner of the cab over area. So much so it at one point caused mold to grow on the front pop up panel. When applying water directly with a hose there is no obvious spot at which the leak is coming from. The Canvas is in like new condition. (previous to me the owner used the camper once and then stored it)
In some forums I've read that by replacing the hardware on the roof many of these problems were solved.
My plan based upon reading some forums on here is to remove all of the original existing roof screws, washers and silicone and replace them with stainless hardware, and new silicone. While I have all the screws removed I plan to repaint the surface with roll on rustoleum paint to repair/ protect the roof surface which is begining to show wear and tear. At the same time I plan to install some yak tracks for a future cross bar install and solar install.
I have a few questions regarding this project that I was hoping to clear up.
1. Is replacing the screws and using new silicone enough of a fix or do I need to remove the side trim and completely separate the two panels and re-seal that seam as well?
2. Along with question #1 should I be removing and replacing the sealant and screws on the side trim at the same time?
3. I have read about ATC using expanding foam in the aluminum frame members on the corners to prevent water from leaking in there and sitting inside there to cause leak issues. Does anyone have any experience doing this? If so can you please share pictures or advice on how to do so.
4. Lastly, being a newb to all this is there anything else I am missing that I need to check while I am doing this?
Thanks in advance for all the help!