joseph.hinker
Member
- Joined
- Dec 7, 2019
- Messages
- 24
Hello Wander the West!
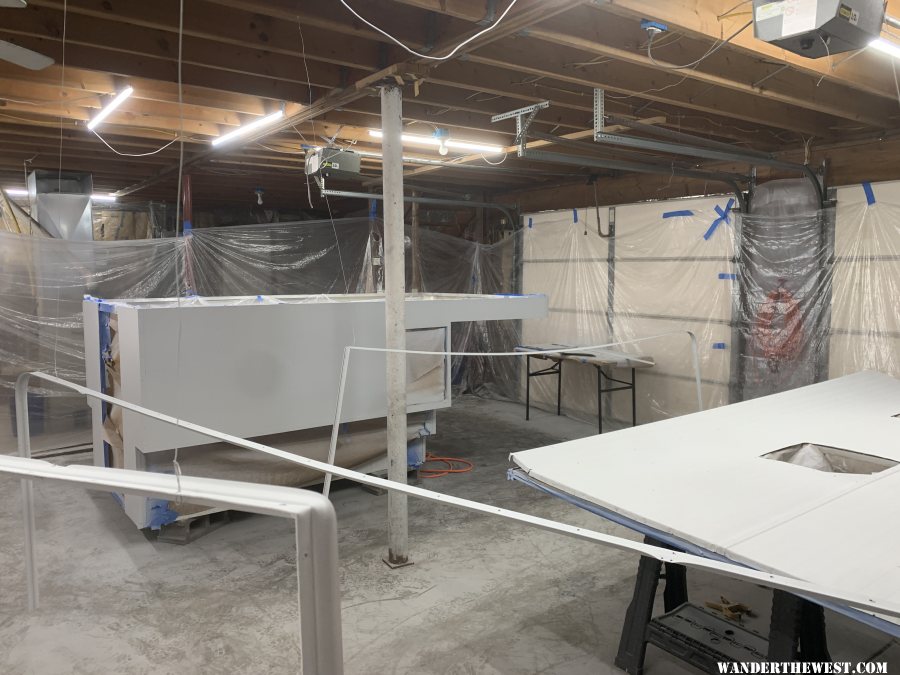
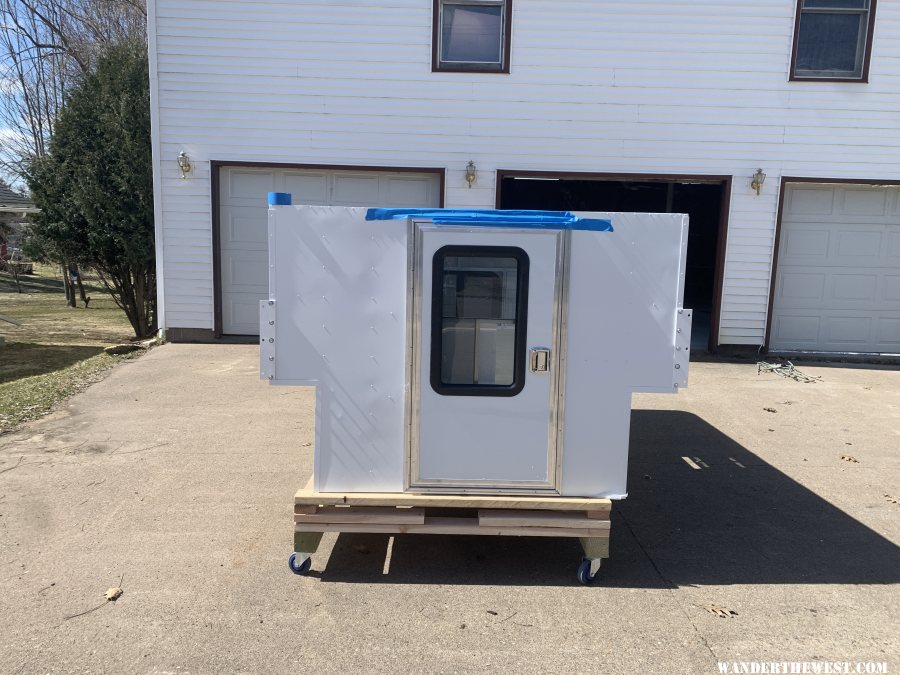
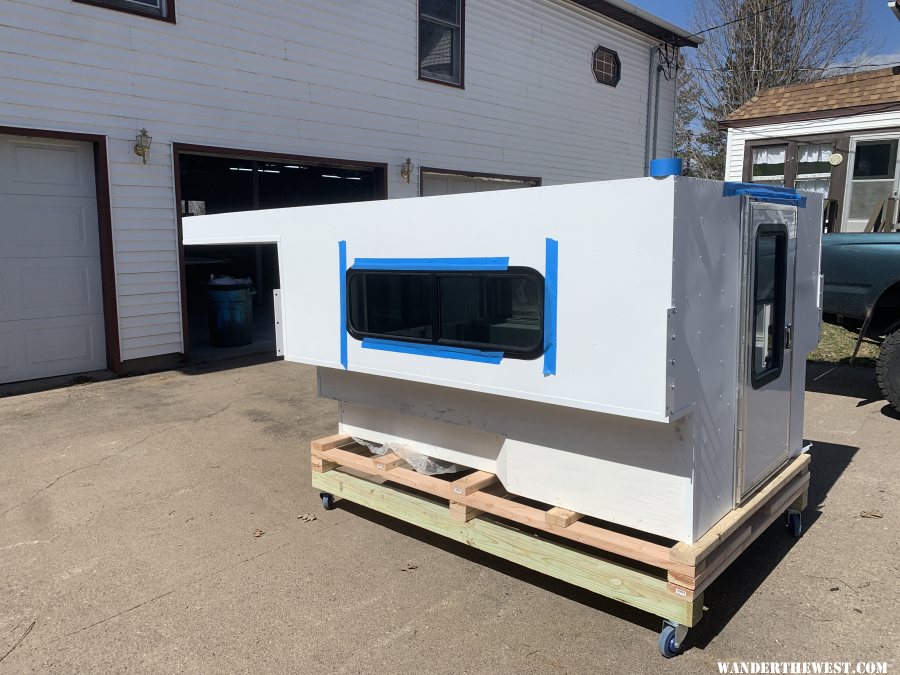
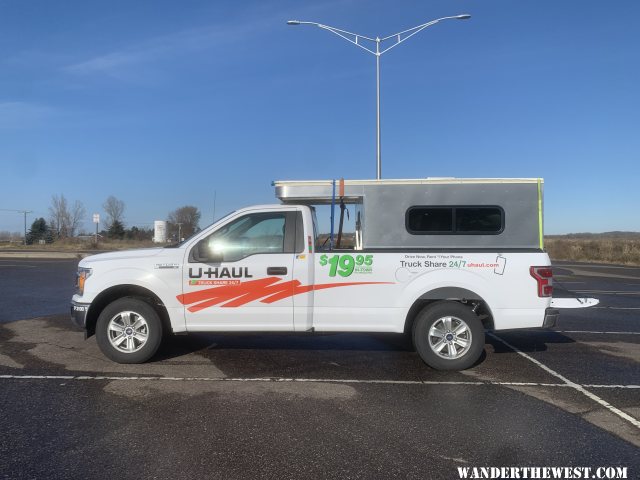
I recently got a project that I will be using to travel the US. It is a 80s Grandby that was downsized to the dimensions of an Eagle. The pervious owner did not have enough time to finish the project so I was able to get it. I am very excited to work on it, I know that it is going to be hard work and since I have no experience with rebuilding a camper it is probably going to be even harder but I think I will be able to do with the help from people on this forum and all of the projects everyone else has done on here.
Here is some pictures from the pervious owner and the day I got it.
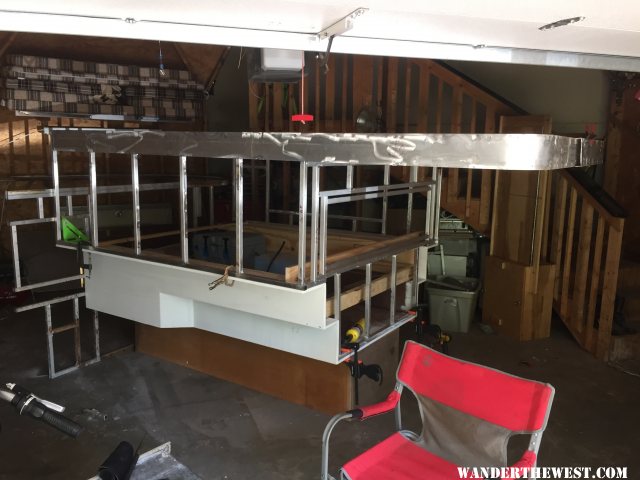
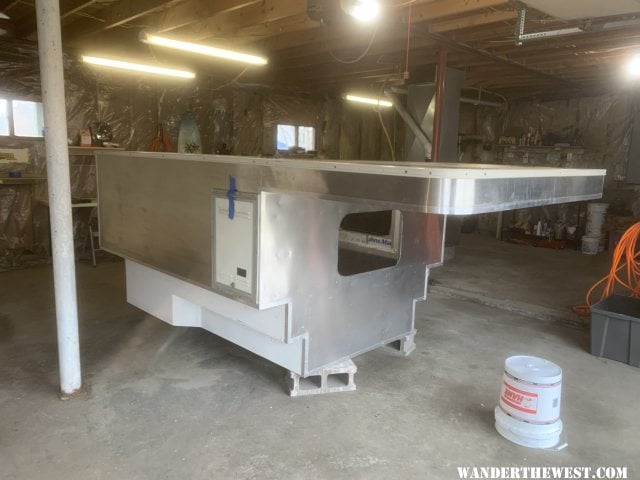
The camper has aluminum skin (.032 thickness), 1 INCH aluminum trim, rebuilt plywood base.
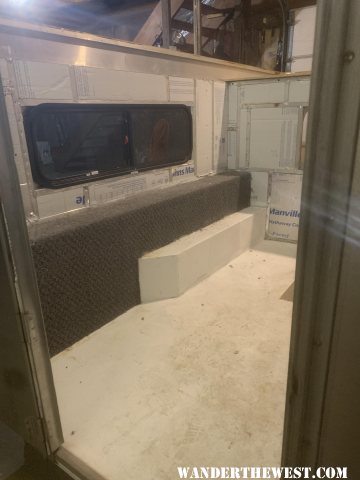
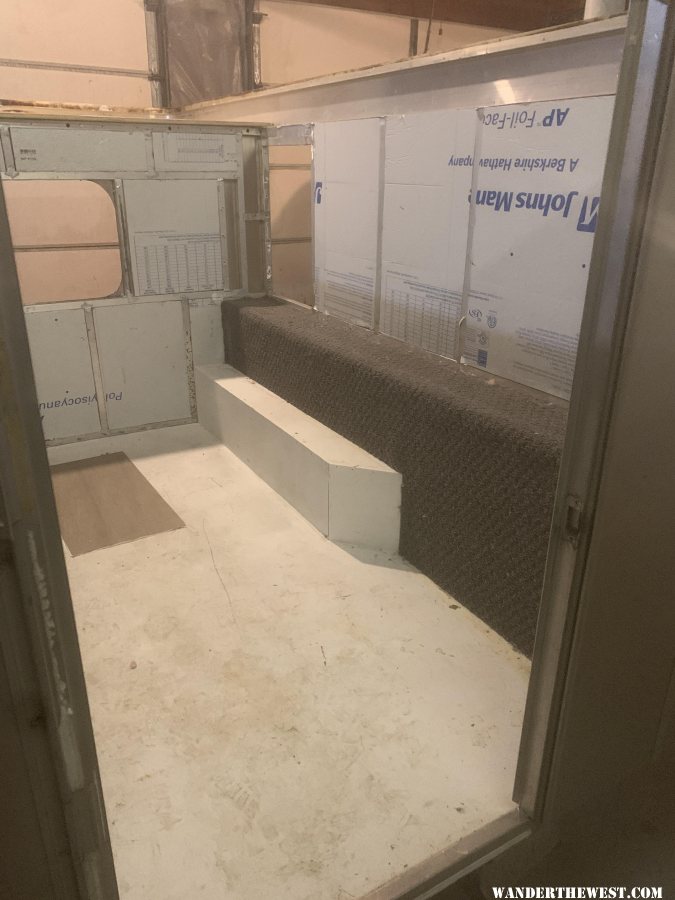
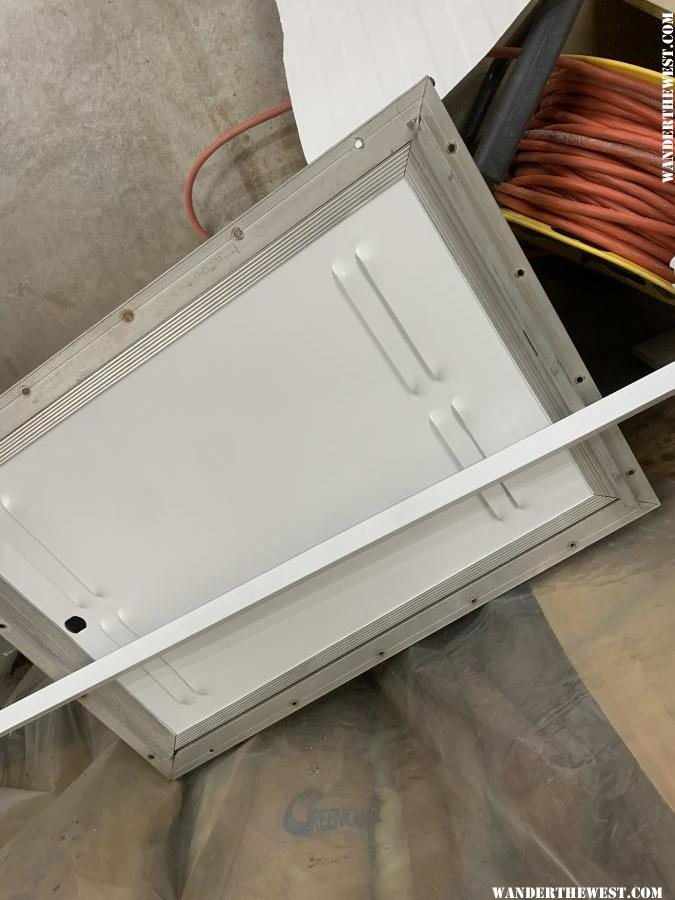
When I bought the camper it came with the old interior(sink, curtains, cushions, table, stove top, heater, canvas) & new windows, pop up support panels, plywood, insulation
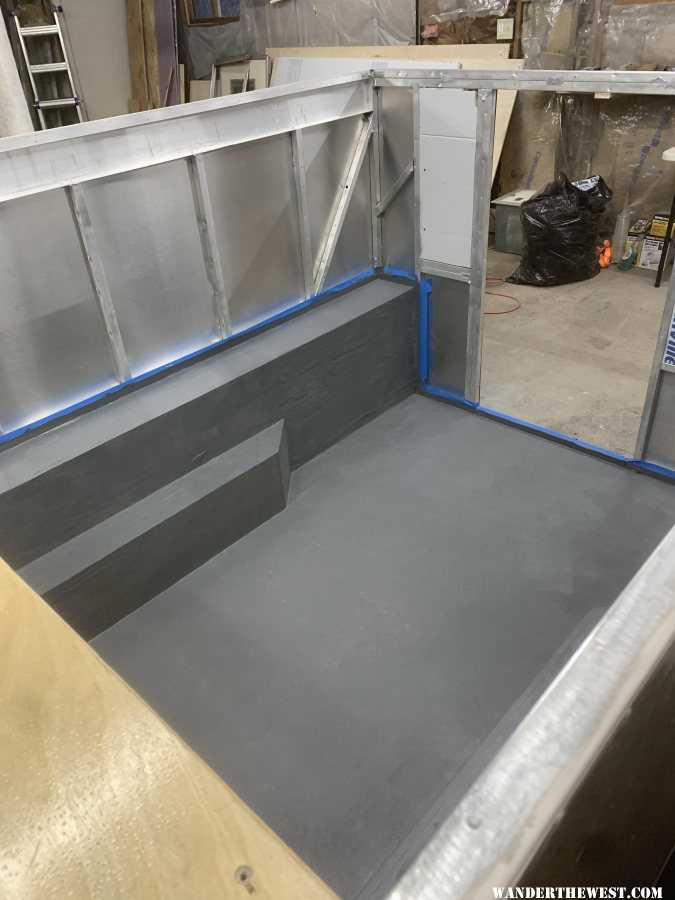
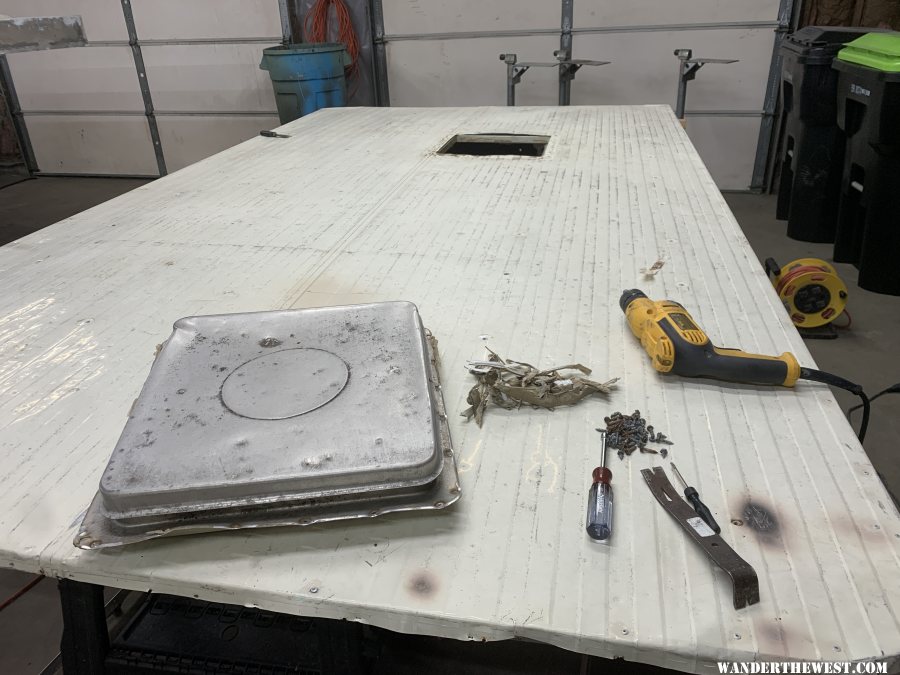
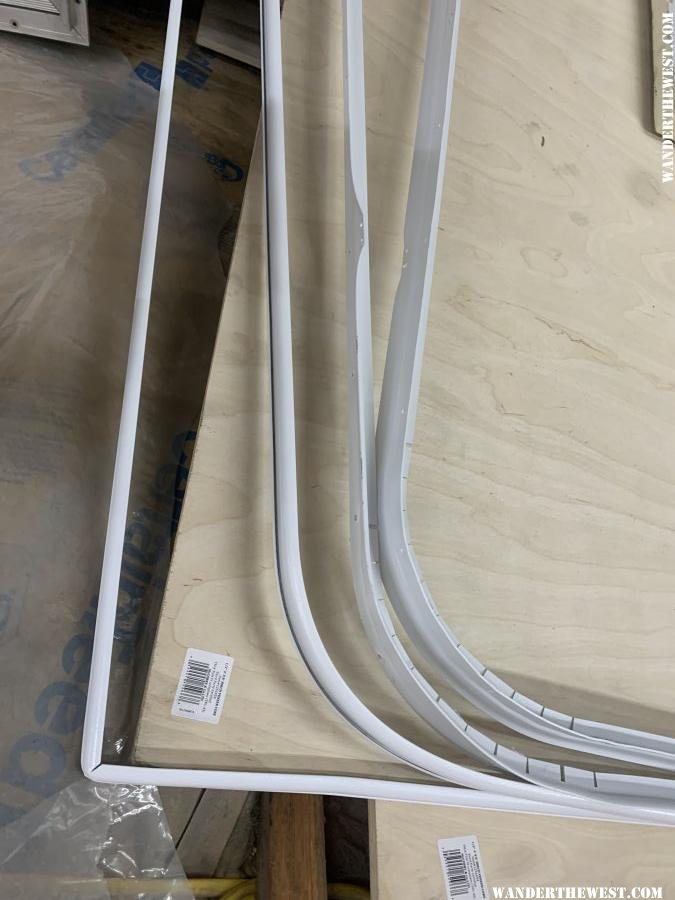
I started off just doing simple things. Removed trim/windows/propane box to see what I’m working with. Next cleaned up the old glue that was around the top. Removed rusty rivets and old staples from the body.
I want to start from front to back. Exterior then Interior.
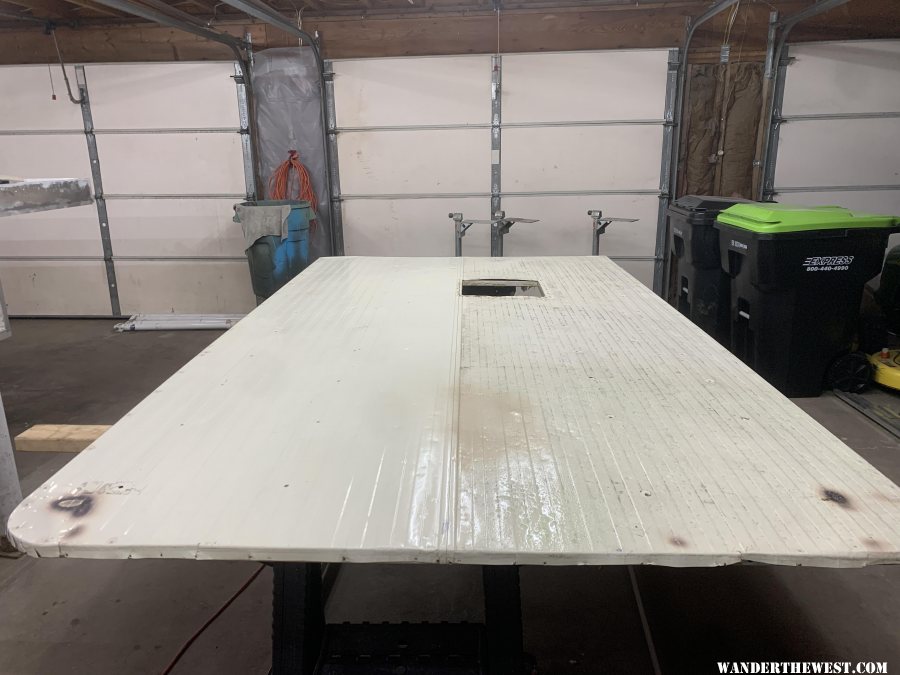
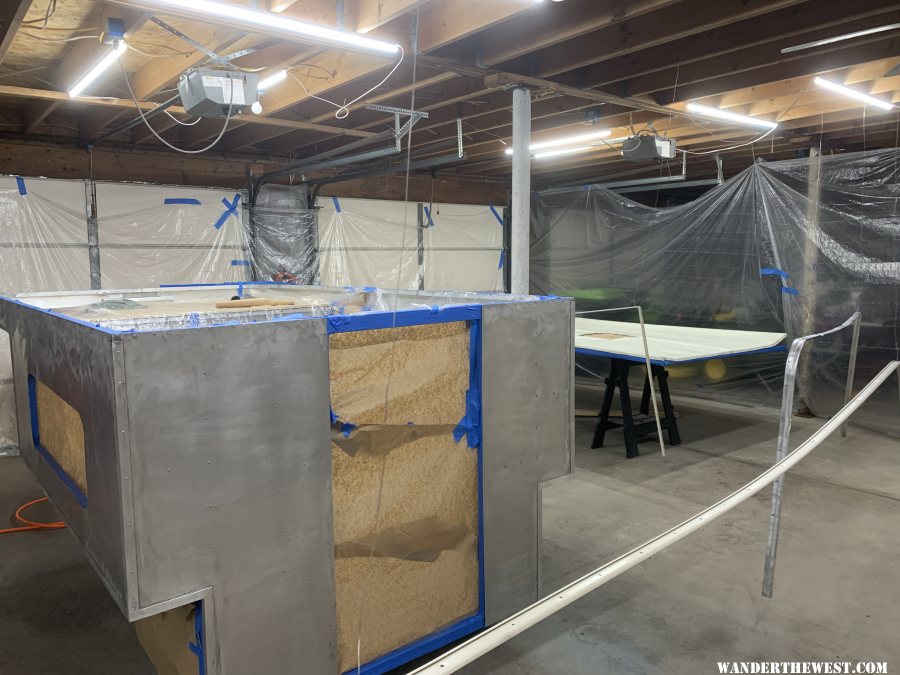
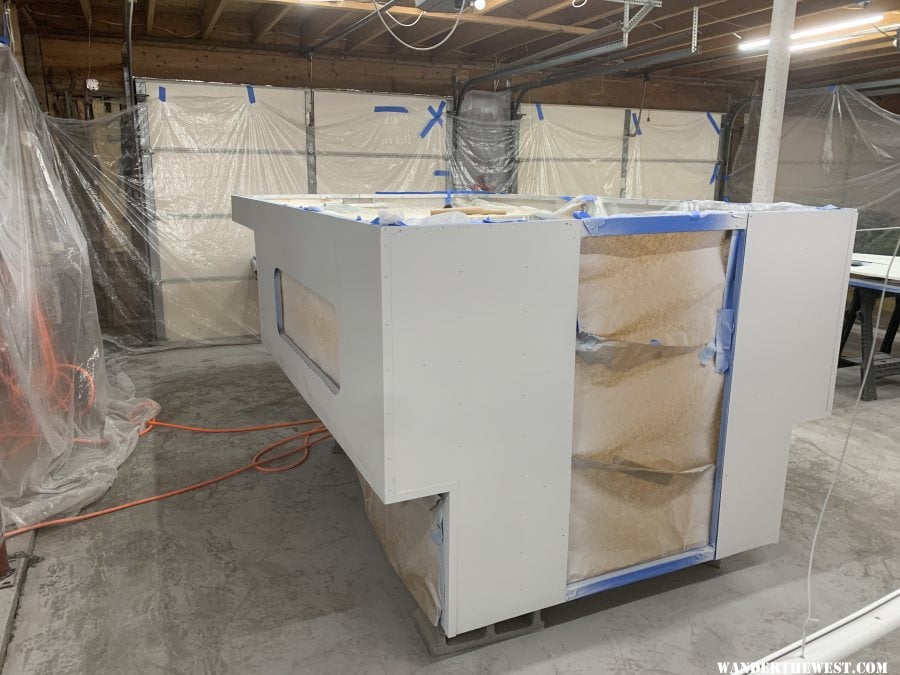
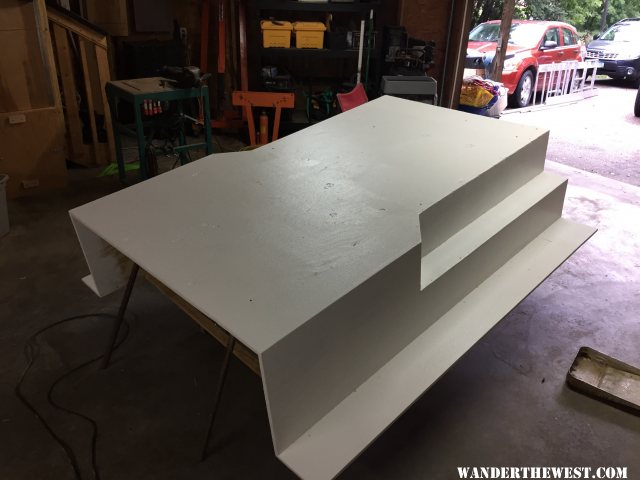
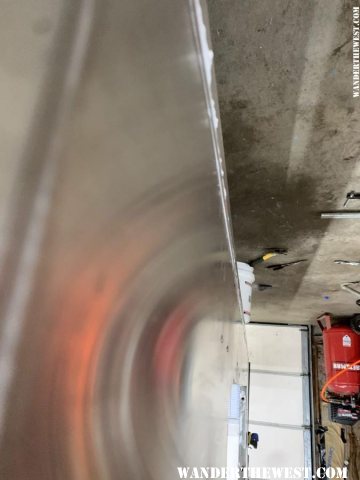
My first major part is finishing the over truck bed area. I saw that usually the piece of plywood that the mattress is on is sealed from underneath. Instead I want to put a piece of aluminum there . So that I can seal it better and add insulation under the bed. I got a sheet of aluminum from a metal supplier , I had them cut it for the under bed overhang and also the door skin for when i rebuild it.
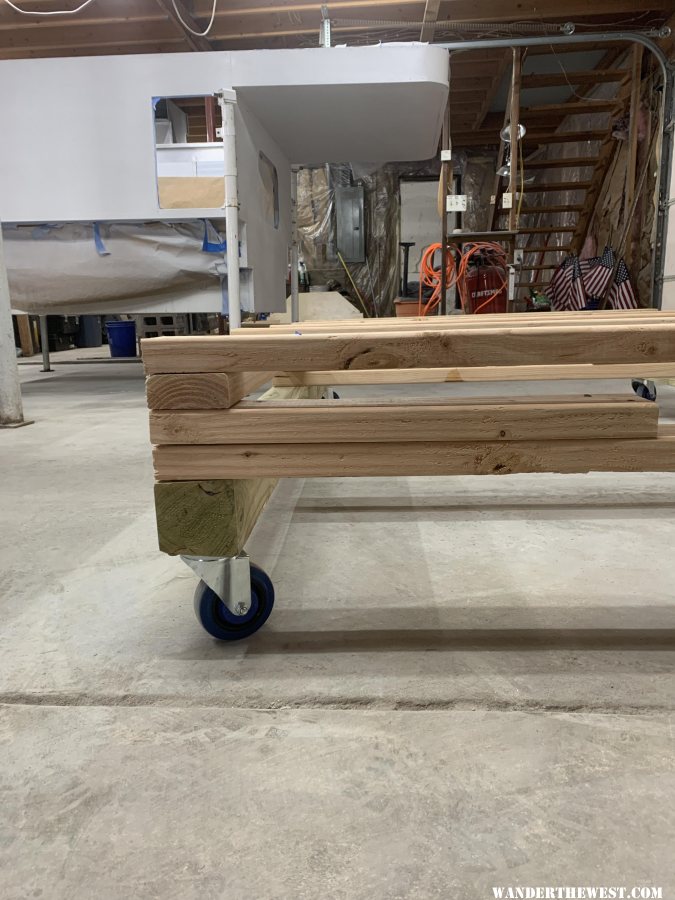
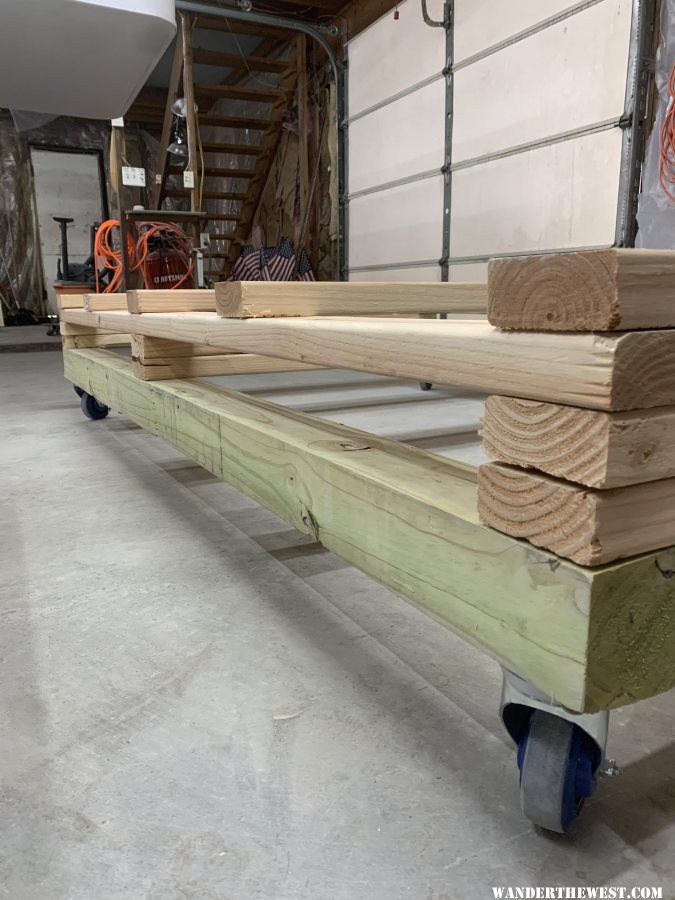
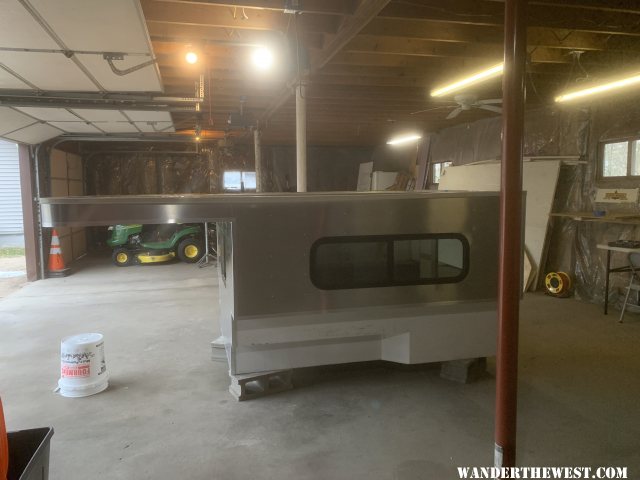
Since I did not have help with lifting the aluminum skin to get it lined up I had to get creative with what I had. I first used the old jacks that came with the camper and 2x4s to hold it up. It worked but was not the best. Next I used ratchet straps and clamps.
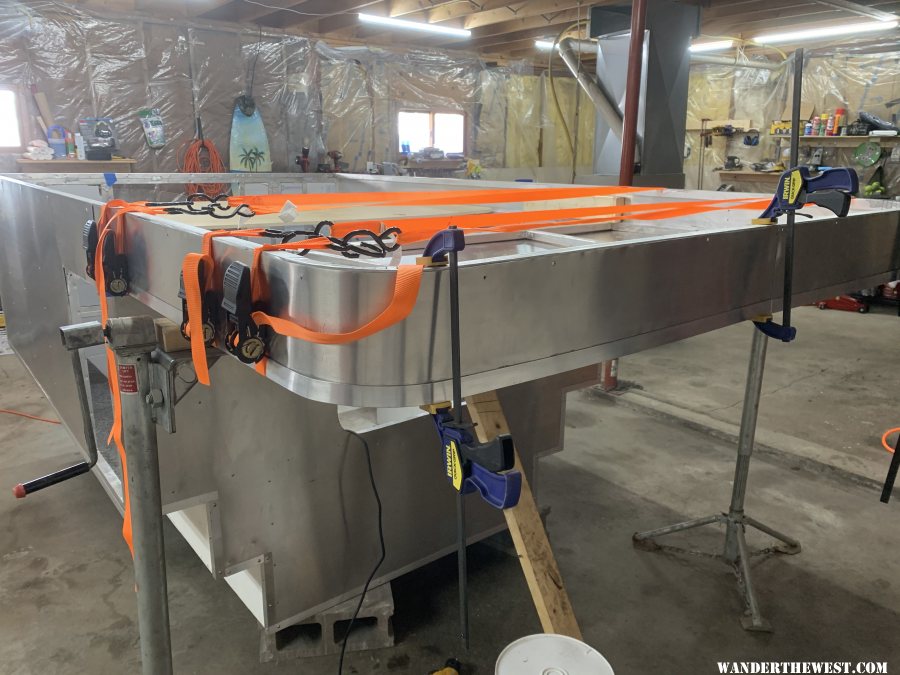
Once I got everything lined up I added sealant and tightened everything down then put in the rivets
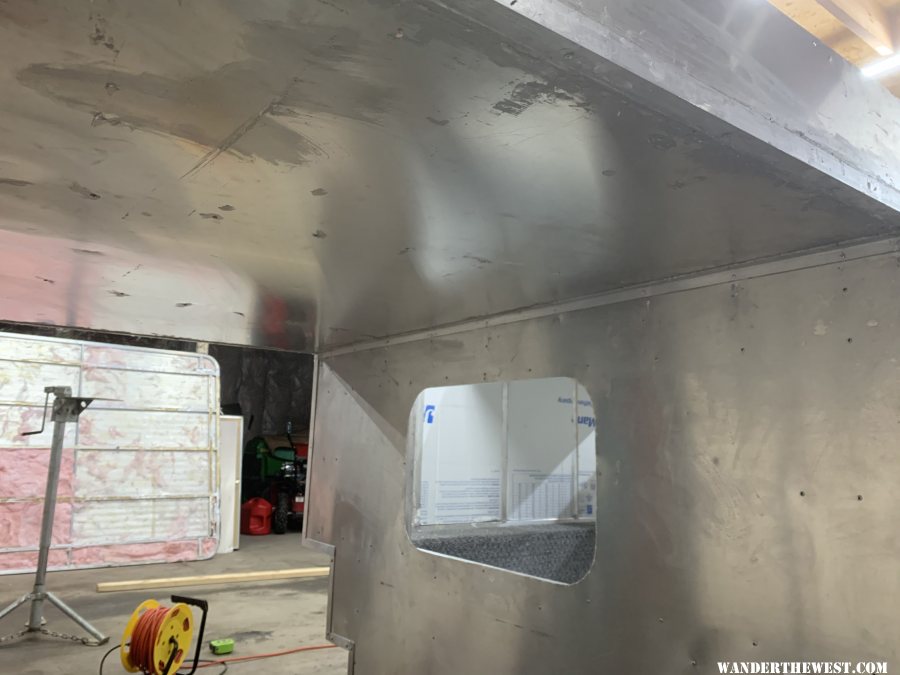

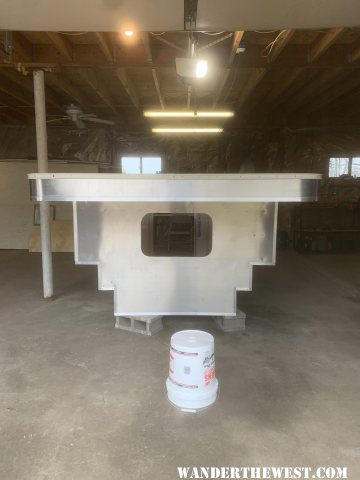
Since I had to wait for that sealant too dry, I added sealant between the trim and skin , and the propane box cutout.

I recently got a project that I will be using to travel the US. It is a 80s Grandby that was downsized to the dimensions of an Eagle. The pervious owner did not have enough time to finish the project so I was able to get it. I am very excited to work on it, I know that it is going to be hard work and since I have no experience with rebuilding a camper it is probably going to be even harder but I think I will be able to do with the help from people on this forum and all of the projects everyone else has done on here.
Here is some pictures from the pervious owner and the day I got it.
The camper has aluminum skin (.032 thickness), 1 INCH aluminum trim, rebuilt plywood base.
When I bought the camper it came with the old interior(sink, curtains, cushions, table, stove top, heater, canvas) & new windows, pop up support panels, plywood, insulation
I started off just doing simple things. Removed trim/windows/propane box to see what I’m working with. Next cleaned up the old glue that was around the top. Removed rusty rivets and old staples from the body.
I want to start from front to back. Exterior then Interior.
My first major part is finishing the over truck bed area. I saw that usually the piece of plywood that the mattress is on is sealed from underneath. Instead I want to put a piece of aluminum there . So that I can seal it better and add insulation under the bed. I got a sheet of aluminum from a metal supplier , I had them cut it for the under bed overhang and also the door skin for when i rebuild it.
Since I did not have help with lifting the aluminum skin to get it lined up I had to get creative with what I had. I first used the old jacks that came with the camper and 2x4s to hold it up. It worked but was not the best. Next I used ratchet straps and clamps.
Once I got everything lined up I added sealant and tightened everything down then put in the rivets
Since I had to wait for that sealant too dry, I added sealant between the trim and skin , and the propane box cutout.