Tradmonkey
Member
Hey all, new to the WTW forum here, and a new owner of a '94 FWC Ranger II. The stove in it had no ignitor, and while wandering the aisles of Wal-Mart the other day, I came across this little gadget. Robot or human? It's a AA battery powered push button ignitor for a gas grill. Perfect, I thought. That would have to work for the stove in my camper.
So I threw it in the cart, and tonight I installed the unit. The verdict? It works like a charm. See for yourself...
[media]
Installation was fairly simple.
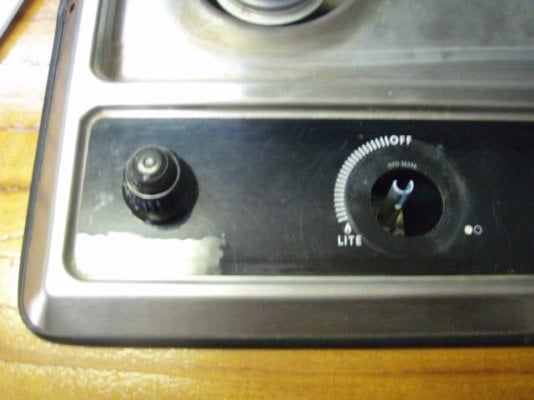
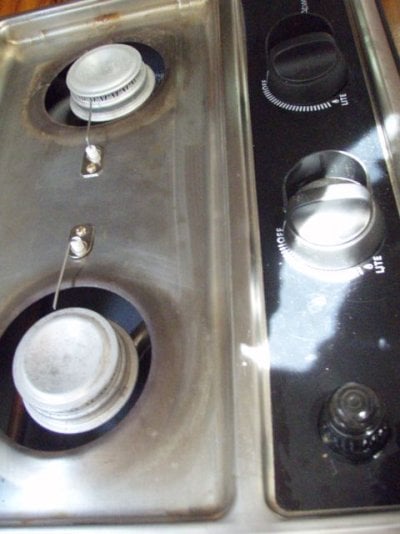
Here's a view of the stove prior to installation.

And here's the ignitor out of the packaging.

First step was to figure out if everything would fit where it would need to. A quick inspection confirmed that there would be no issues.
I decided the best location for the push button for the ignitor was right above the utensil drawer. That would put it right in front of the stove knobs and give me easy access by simply removing the drawer. I drilled the 7/8" hole after some careful measurements to confirm everything would fit, and then tested the installation of the ignitor power unit.

The fit was close, but the threaded portion of the ignitor power unit was just a tad too short (or the wood was too thick) for the threads in the push button cover to reach. To solve that problem, I simply cut the flange off of the outer edge of the push button cover and slightly countersunk the hole in the wood.


Voila... now everything fits.

The ignitor has three leads coming from it - two for the electrodes and one for the ground. Rather than drilling an additional hole, I used one of the existing screws from the stove control knob dial plate mounts.

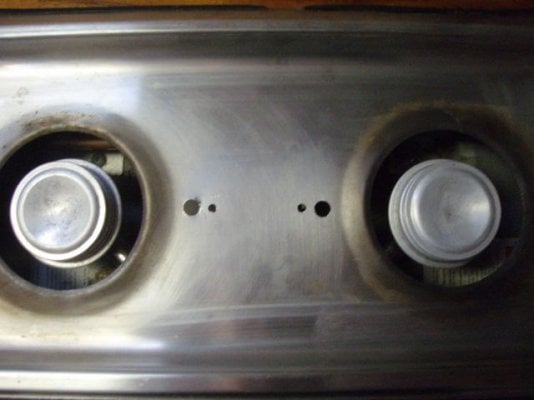
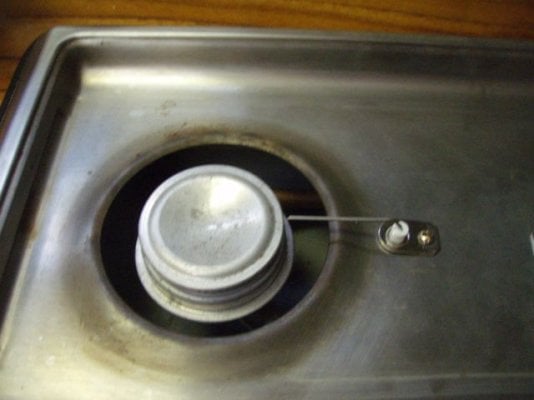
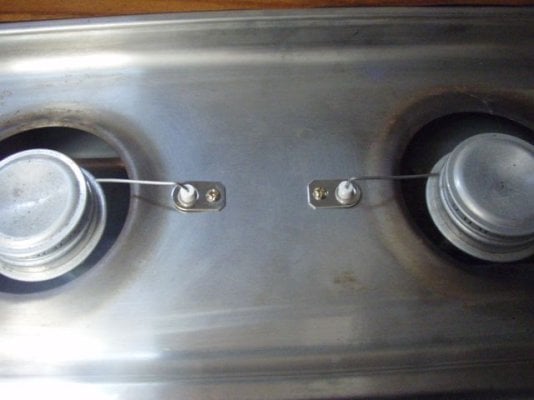
Next up, installing the ignitor electrodes. I selected hole locations where the electrode wires were least likely to be exposed to excessive heat, and where the under-side of the electrodes would have clearance away from gas lines, and drilled.


Ok, everything looks good, now for a functional test. We have a spark!

With everything put back together, the gas gets turned on and the real test begins.

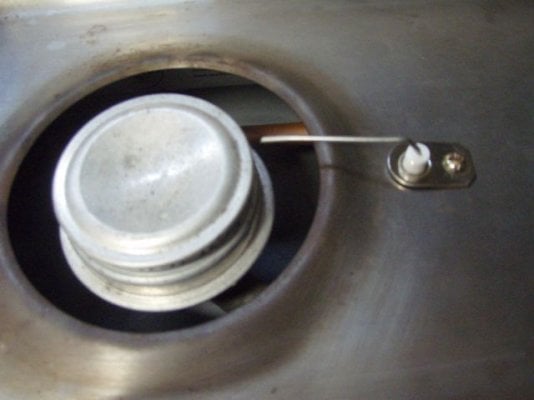
SSsssssss... the gas begins to hiss. Click Click Click Click... sparks are popping, but nothing's igniting. Crap! A quick test with a lighter shows that gas is indeed flowing from the burners, but the spark isn't igniting it. Careful inspection reveals the spark is hitting each burner about 1/16" above the fuel ports in the burner. Hmmm... A quick adjustment of the electrode tips puts the spark right into the fuel flow, and on the next test, the burners light instantly with the first click of the ignitor. Sweet!
So now I've got an electric ignitor for my stove. One mod down, countless more to go...
Adam
So I threw it in the cart, and tonight I installed the unit. The verdict? It works like a charm. See for yourself...
[media]
Installation was fairly simple.
Here's a view of the stove prior to installation.

And here's the ignitor out of the packaging.

First step was to figure out if everything would fit where it would need to. A quick inspection confirmed that there would be no issues.
I decided the best location for the push button for the ignitor was right above the utensil drawer. That would put it right in front of the stove knobs and give me easy access by simply removing the drawer. I drilled the 7/8" hole after some careful measurements to confirm everything would fit, and then tested the installation of the ignitor power unit.

The fit was close, but the threaded portion of the ignitor power unit was just a tad too short (or the wood was too thick) for the threads in the push button cover to reach. To solve that problem, I simply cut the flange off of the outer edge of the push button cover and slightly countersunk the hole in the wood.


Voila... now everything fits.

The ignitor has three leads coming from it - two for the electrodes and one for the ground. Rather than drilling an additional hole, I used one of the existing screws from the stove control knob dial plate mounts.

Next up, installing the ignitor electrodes. I selected hole locations where the electrode wires were least likely to be exposed to excessive heat, and where the under-side of the electrodes would have clearance away from gas lines, and drilled.


Ok, everything looks good, now for a functional test. We have a spark!

With everything put back together, the gas gets turned on and the real test begins.

SSsssssss... the gas begins to hiss. Click Click Click Click... sparks are popping, but nothing's igniting. Crap! A quick test with a lighter shows that gas is indeed flowing from the burners, but the spark isn't igniting it. Careful inspection reveals the spark is hitting each burner about 1/16" above the fuel ports in the burner. Hmmm... A quick adjustment of the electrode tips puts the spark right into the fuel flow, and on the next test, the burners light instantly with the first click of the ignitor. Sweet!
So now I've got an electric ignitor for my stove. One mod down, countless more to go...
Adam

