1979 Granby

shellback

Senior Member
Joined
Jan 15, 2017
Messages
336
Location
Wagontown,PA
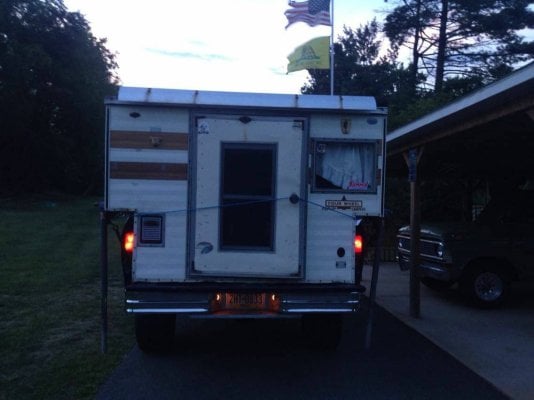
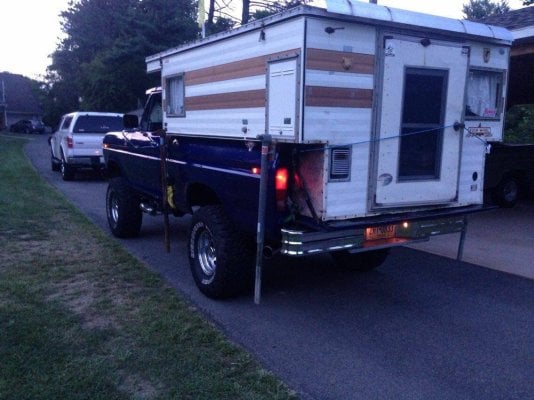
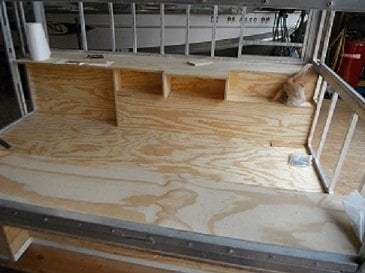
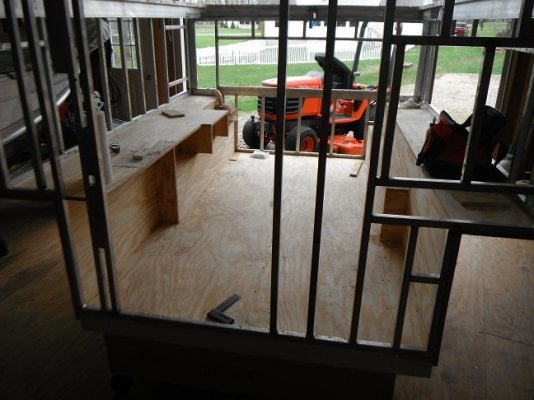
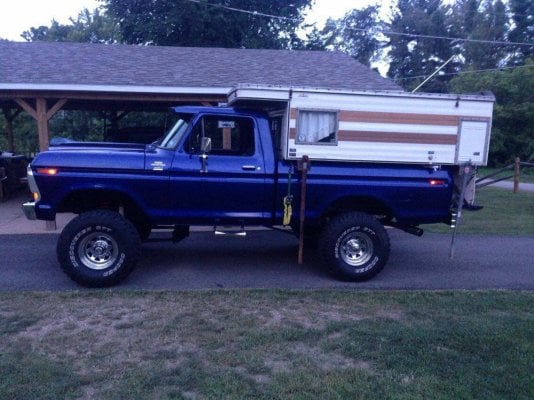
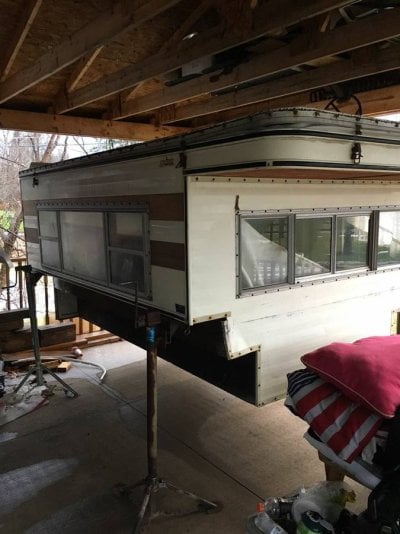
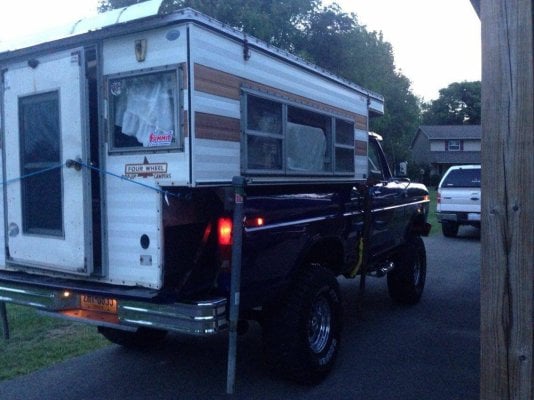
Just picked up an old Granby, and it needs a complete rebuild. Floor pack, vinyl and interior. I only paid $400 for it, so I hope I come out alright. The exterior skin is fair to good condition, so I'm not doing anything with it. The floor pack would need a lot of work anyhow because it's too wide for my 2016 Silverado.Gotta narrow it down to about 58"s. My first question is removing the old vinyl. Looks like I need to take the trim off the roof and also the body of the camper, is that right? There's no lift panels, I guess they rotted and the previous owner tossed them. I found a lot of info here, http://www.wanderthewest.com/forum/topic/10761-this-old-granby-build/ For an alternative to the factory lift panels and making new vinyl panels. At present it's dang cold here in PA, so I won't be doing much building, just doing the demo. I have the interior out and some of the paneling. If anybody has some more links to 4 wheel camper rebuilding, I'd appreciate them!
Here's some pictures from the seller.
 

Attachments

  • 4 wheel camper 6.jpg
    4 wheel camper 6.jpg
    156.4 KB · Views: 883
  • 4 wheel camper 11.jpg
    4 wheel camper 11.jpg
    71.7 KB · Views: 560
  • 4 wheel camper 5.jpg
    4 wheel camper 5.jpg
    127.4 KB · Views: 715
Hello shellback
There are some really neat threads on others rebuilding their campers. Looking forward to your progress.
Russ
 
Old Crow said:
This lift panel replacement thread includes links to several rebuild threads.

Hope to see lots of photos of your build!

- Old Crow
I probably breezed by your neck of the woods picking up the camper. I live in Wagontown,Chester county, off Rt 340 in Amish country. I picked the camper up in Connellsville out near Pittsburgh.
 
A couple of the mods I'm planning is doing away with the propane cabinet and gaining more storage inside the camper. I'll just be using a counter top propane stove, so no need for the big tank. I see they sell small 10# tanks, and I might hang one of those under the rear wing if need be. The second mod is to build a narrower door, present one is shot anyhow . I want to pick up some room on the rear passenger side for a designated porta potty. My present camper has that and it's great for the wife. No need to drag one out when you need it. Sure wish it was warmer weather!
 
One of the best rebuild threads is "New Build-1981 Grandby to become a Hawk!" (sorry I don't know how to make that a link). I have used this thread as my reference on my build.
 
shellback said:
I probably breezed by your neck of the woods picking up the camper. I live in Wagontown,Chester county, off Rt 340 in Amish country. I picked the camper up in Connellsville out near Pittsburgh.
Yeah, you would have passed nearby when you crossed the Susquehanna. I see you're not far from Main Line Overland's shop. That may come in handy to get an eyeball on current FWC technology... things like tie-down brackets, light fixtures, battery compartment, mattress firmness, etc. Maybe you'll even want to trade in your Grandby for a Woolrich Limited Edition one. :)

Boonie said:
One of the best rebuild threads is "New Build-1981 Grandby to become a Hawk!" (sorry I don't know how to make that a link). I have used this thread as my reference on my build.
Boonie, you can copy the URL address of the thread you want to link to (from the top of it's page) right into your post. If you just copy-and-paste, it will look like this:

http://www.wanderthewest.com/forum/topic/12116-new-build-1981-grandby-to-become-a-hawk/

The other thing you can do is type a word or phrase, highlight the word or phase with your cursor, then click on the link button (that chain-link icon under the Size arrow at the top of your editing window). That will open a small window. Paste the URL address of the thread you want to link to in there. That method will underline and change the color of the word or phrase to blue, indicating it's a link. Sample link.
 
Shellback,welcome to WTW.
While you are into a massive rebuild have you given any thought to re-building the cab-over into an extended one?
Having that extra room up front is nice and not having the bed extend into the "living" space all the time helps.
Keep posting your work.
Frank

I am also a Pa. person.
Grew up in Willow Grove not far from your area.Though I haven't lived there for over 50 years.
Don't miss the winters.
 
Casa Escarlata Robles Too said:
Shellback,welcome to WTW.
While you are into a massive rebuild have you given any thought to re-building the cab-over into an extended one?
Having that extra room up front is nice and not having the bed extend into the "living" space all the time helps.
Keep posting your work.
Frank

I am also a Pa. person.
Grew up in Willow Grove not far from your area.Though I haven't lived there for over 50 years.
Don't miss the winters.
Life is a Lark at Willow Grove Park! I guess you might remember that commercial. The park has been long gone, I think there is a mall there now. I hear you about the winters, I froze my butt off Sat doing some demo on the camper.
I'm hoping the wife and I can both sleep on the first floor, so I haven't given any thought to extending the cab-over. The way the camper was laid out, I think she can sleep east west against the cab, and I can sleep north south along the passenger side wall. I'd like to avoid sleeping up top if I can. Climbing down to pee in the middle of the night at 69 y/o, is no fun!
 
I have the interior and all paneling removed at present. I need to build the complete floor pack, but I don't have a heated shop to glue stuff up or treat the wood with epoxy for protection. So that's on hold for a bit. I need to get the roof off and get the vinyl removed and see about making a new one. With the roof off I'll drop the old floor pack and get the aluminum frame to a welder to make the mods necessary to narrow the floor pack from the widest point of 64"s to 58"s. I'm also going to narrow the door to about 26"s. The door is shot and I get get my son to build a new one for me. He's the shop manager at a commercial glass business and doesn't see any problem building one.I have a plan for a porta potty in the passenger rear corner and need the extra width there. The smaller door will help out.
 
shellback said:
Life is a Lark at Willow Grove Park! I guess you might remember that commercial. The park has been long gone, I think there is a mall there now. I hear you about the winters, I froze my butt off Sat doing some demo on the camper.
I'm hoping the wife and I can both sleep on the first floor, so I haven't given any thought to extending the cab-over. The way the camper was laid out, I think she can sleep east west against the cab, and I can sleep north south along the passenger side wall. I'd like to avoid sleeping up top if I can. Climbing down to pee in the middle of the night at 69 y/o, is no fun!
Know what you mean about the climbing down at night but it is nice to have the room.We have a Bobcat so we need to make use of all room.
Yes went to the park many times as a kid before it was made into a bowling ally and mall. Still have family there.
05 was the last time there.
Keep posting your build.Very enjoyable.
Frank
 
My camper has a wind deflector of some sort on the rear of the roof. You can see it in this picture. I'm questioning it's purpose and if folks think it should be left on or removed. It's attached firmly, and if I remove it, they'll still be the issue of patching the holes. I'm thinking if I leave it, I could screw a track to it for a light awning over the door. I'll be painting the siding and roof, so it won't look as bad as it does now!
 

Attachments

  • 4 wheel camper 2.jpg
    4 wheel camper 2.jpg
    71.6 KB · Views: 222
  • 4 wheel camper 4.jpg
    4 wheel camper 4.jpg
    132.2 KB · Views: 224
They used to have deflectors like that on the back of station wagons in the 60s-70s. They were supposed to help keep the rear of the car clean from dirt/dust/snow etc.....Dont know if they worked that well.....I think I would remove it.
 
If they were just for a dirt or dust factor, rather than for gas mileage, it's probably best to remove it. I could see hooking a branch or something and really doing some damage to the roof.
 
Well I'm done the demo. Heading to VA for some fishing next week and when I return, the frame is going to a welder. It has to be narrowed for newer truck tailgate width. Then the vertical corners are getting tripled for corner jacks. Reinforcing the side framing for tiedowns outside the truckbed. Last, narrowing the door frame. Here's the skeleton on a trailer for the trip to the welding shop. Had to do some bracing as it was pretty flimsy. Looking forward to the start of rebuilding.
img_165614_0_9b0a4872789c0f2dd847c8699a5fe32d.jpg
 
Lost a lot of time due to the weather and waiting for a welder. Finally got the frame narrowed for the new truck, corners beefed up for the jacks, and some other repairs. Built the floor pack out of 5/8's plywood and glued and stapled it as the original was built. I am going to side it with .040 flat white aluminum. It will be fastened with 3M VHB double sided tape to the aluminum studs. Between the jack mounts, windows, door, and trim there with be plenty of screw fastening also. I'll have 1 inch rigid Styrofoam sandwiched between the siding and paneling inside. My son runs the shop in a commercial glass business and they use a lot of aluminum. So I'll have access to a shear, brake, etc. Hopefully the siding will turn out nice.
 

Attachments

  • DSCF2289.JPG
    DSCF2289.JPG
    92 KB · Views: 291
  • DSCF2288.JPG
    DSCF2288.JPG
    166.2 KB · Views: 286
My dad had deflectors on our stations wagons back in the 60s. We did a lot of driving on dirt roads in the Adirondacks, they worked well at keeping the dirt build up on the rear window and tailgate to a minimum. Don't know if the air flow over the camper will allow for the same results though.
 
shellback said:
I am going to side it with .040 flat white aluminum. It will be fastened with 3M VHB double sided tape to the aluminum studs. Between the jack mounts, windows, door, and trim there with be plenty of screw fastening also. I'll have 1 inch rigid Styrofoam sandwiched between the siding and paneling inside. My son runs the shop in a commercial glass business and they use a lot of aluminum. So I'll have access to a shear, brake, etc. Hopefully the siding will turn out nice.
My build still looks like yours before the floor pack and I am also planning on .040 flat white siding fastened with VHB. (Which VHB are you using?) Needless to say I will be following your progress very closely. Please include all the details!

Boonie
 
I'll be using the #4991. It's 90 mil thickness. Lots of irregularities in the frame and weld beads so I'm hoping the extra thickness will allow me to skip over weld beads or miss matched joints. My son got a price for me on the painted .040 aluminum, About $75.00 for a 4x10 sheet. I'll need 2 4x10 sheets and 2 4x8 sheets.I think I'll be using 1 36 yd roll of tape and probably another 2 rolls of 5 yd. Tape cost is catching up to the aluminum cost. Fortunately there's no shipping cost on the aluminum, I can pick it up within a mile of my sons shop. This weekend I'll be building the aluminum jack brackets and the hold downs. Also some .090 plates to reinforce where the electric and water enter the siding. The day I do the siding, I'd like to have all the windows and other parts attaching through the siding ready to install at the same time.
I'm 69 y/o and my wife is 68 and has MS for 20 years. So I have some special needs with this build. Upper and lower bunks laid out so one doesn't have to bother the other for late nite pee calls. The upper east and west, and the lower, north and south down the passenger side. Electric jacks, if I'm more than an overnite stay, I always off load the camper for easy access for the wife. I'm going with an Engel 70 12v fridge. I removed the propane compartment for more inside storage and plan to cook outside. I'm beefing up the left rear wall of the camper for a 10# propane bottle rack if I find I need to install one at a later date.
 
Back
Top Bottom