Abbiennormal
Advanced Member
- Joined
- Jul 20, 2020
- Messages
- 38
Hello All!
I have been reading and following this site for the past few years and have been really inspired by all the rebuilds. Especially the ones by Poky and Tim Morrisey just to name a few. Now it is my turn to take the plunge and try my hand at it.
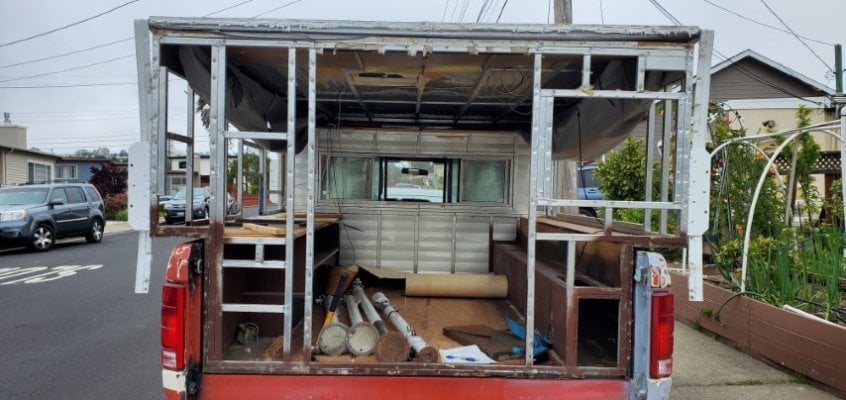
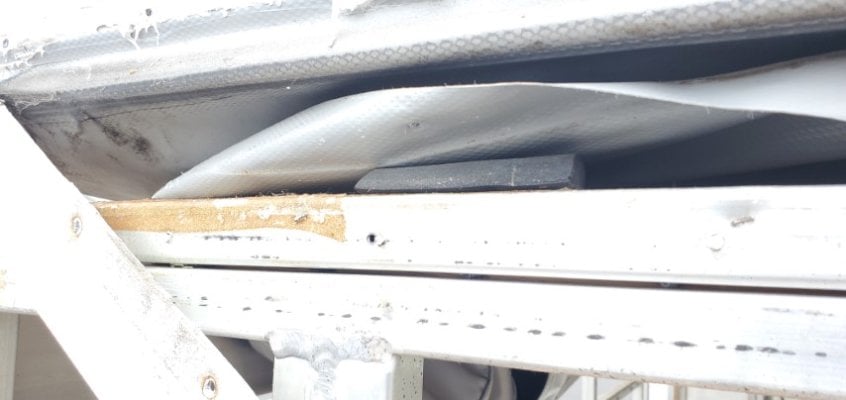
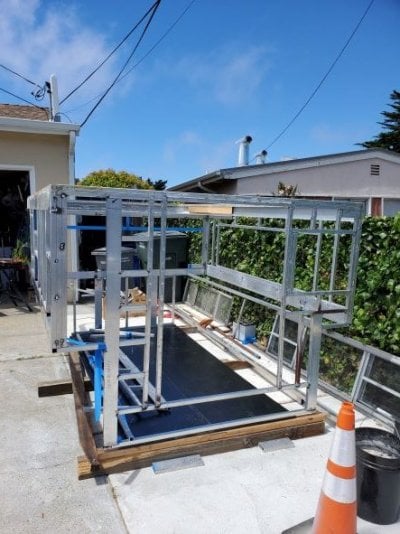
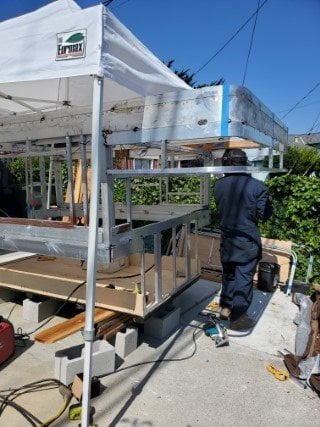
I inherited the Grandby that was floor mounted on a 1985 F150. The truck is finally toast and I have taken this out quite a few times to know how I would rebuild to suit my needs. Thanks to this site, I have learned so much, now comes the fun part of doing it all.
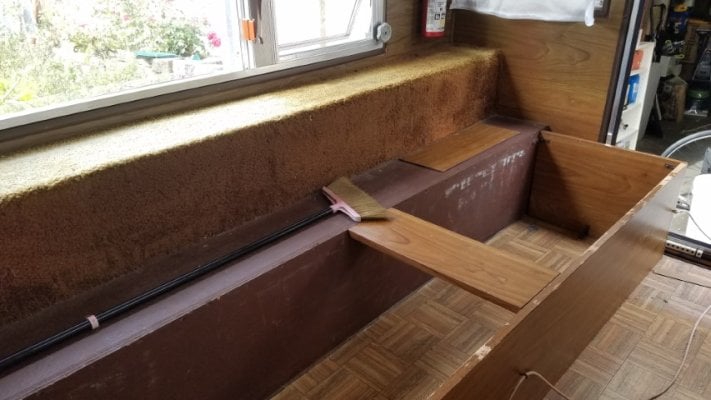
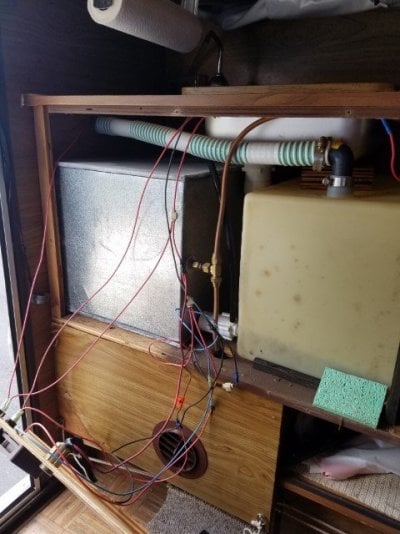
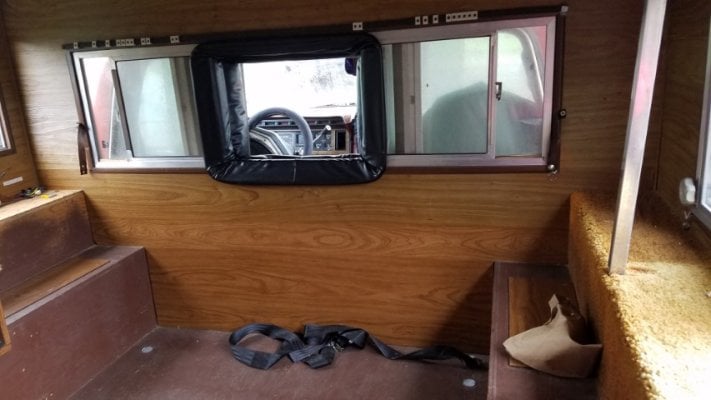
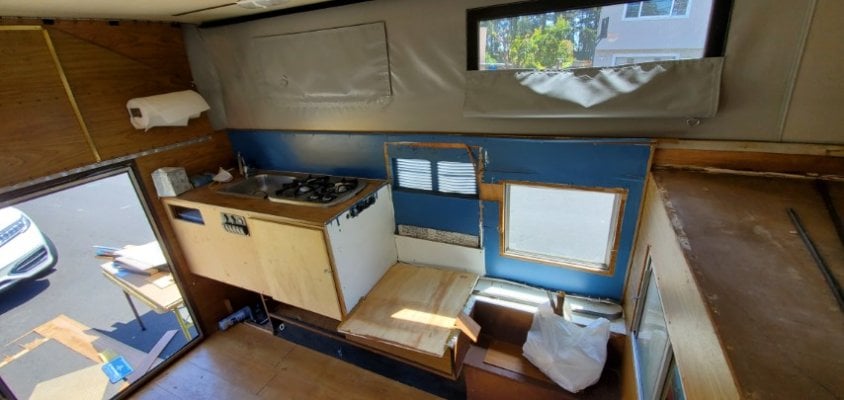
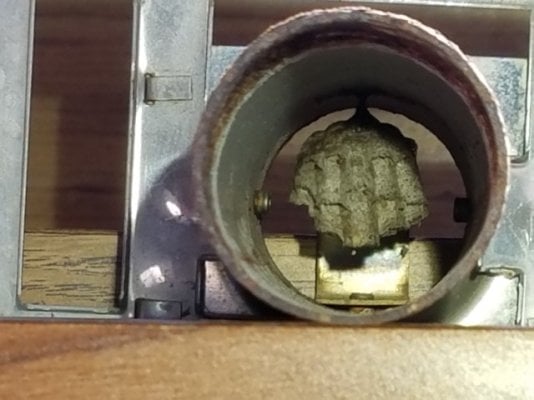
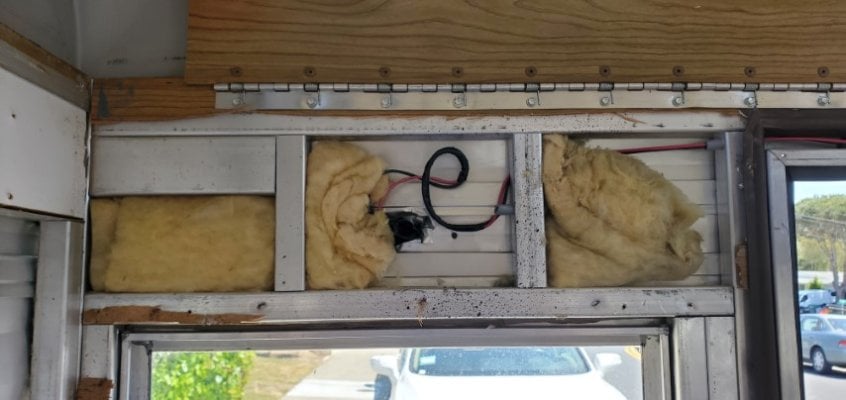
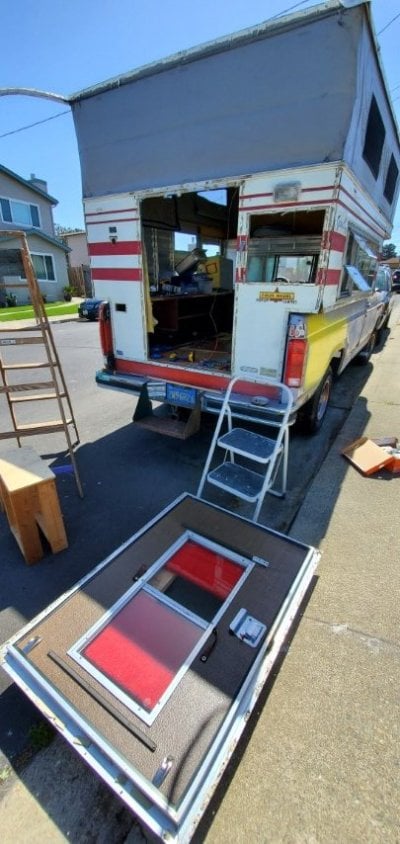
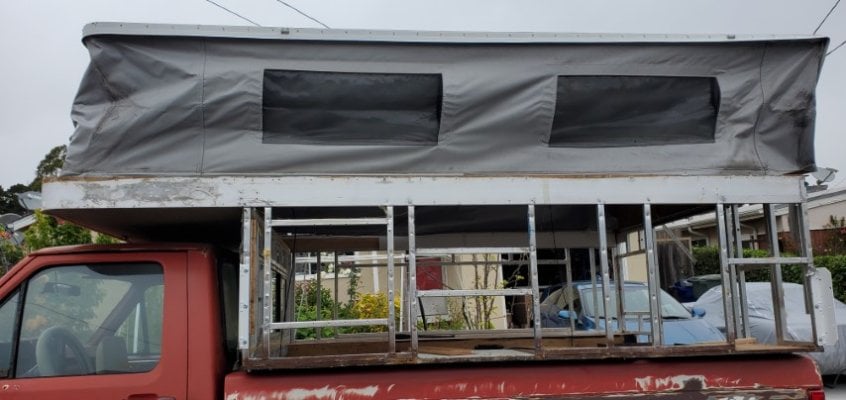
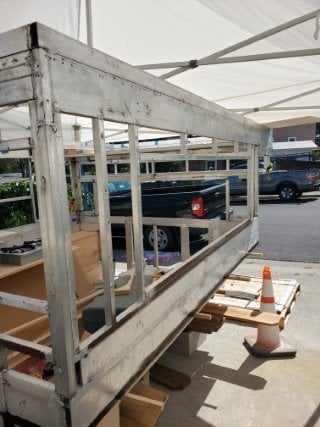
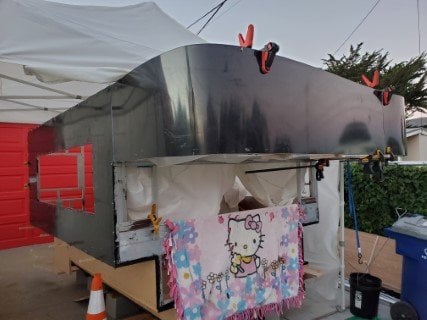
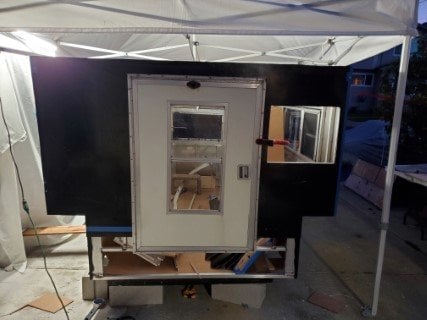
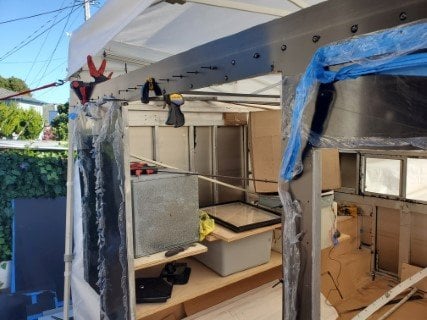
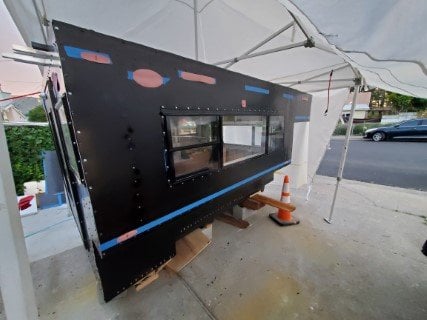
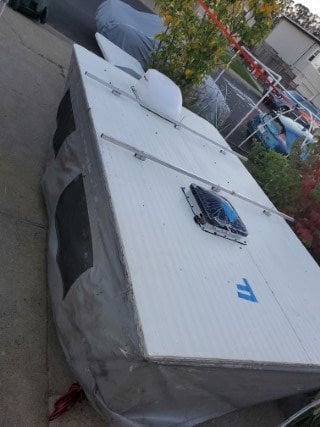
Here are a few before pics of Princess Lumpy.


I have been reading and following this site for the past few years and have been really inspired by all the rebuilds. Especially the ones by Poky and Tim Morrisey just to name a few. Now it is my turn to take the plunge and try my hand at it.
I inherited the Grandby that was floor mounted on a 1985 F150. The truck is finally toast and I have taken this out quite a few times to know how I would rebuild to suit my needs. Thanks to this site, I have learned so much, now comes the fun part of doing it all.
Here are a few before pics of Princess Lumpy.