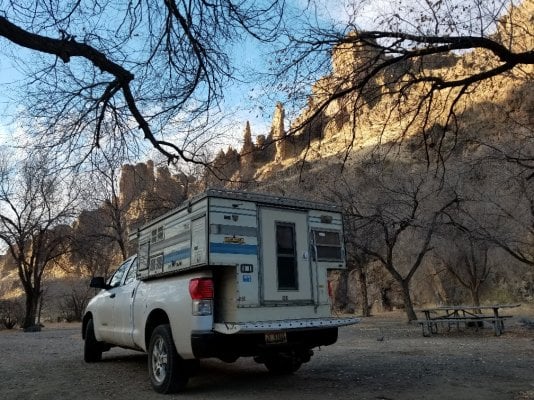
I've found a lot of great ideas and information on this forum and wanted to share what I've done with an 83 Fleet remodel mounted on a 2010 Toyota Tundra. I probably paid too much for the Fleet, but it was difficult finding one for sale within 1000 miles of home. So after a year of looking, I stopped worrying about a great deal and found something good enough only 700 miles away. It appeared that the original owners had taken good care of it and it had only recently been neglected. The lifters needed to be replaced. The vinyl had a few small holes, but was, and still is, good enough for a few more years. The roof had a little bend on one corner, but not enough to cause any leaks, and the vent cap was cracked. All appliances worked, the cushions were in great shape, and there were no funky smells. The exterior had a few minor dings and scratches, but no gaping holes. Windows and screens were worn out but worked well enough for the time being. The door needed replacing but was good enough for the short term. The floor pack was solid.
Because I spent a little too much on the Fleet, my goal was to recycle as much of the original equipment as possible and keep remodel costs as low as possible. The only things I bought new were sealants, fasteners, a gallon of paint, two pieces of plywood, a sheet of blue board insulation, a door handle, and a roof vent cap. Everything else was recycled from the camper, my own scrap piles, and scrap piles of friends. The total cost into the camper to date is $2000.
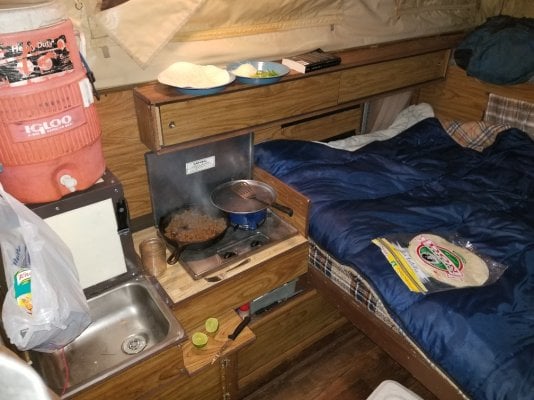
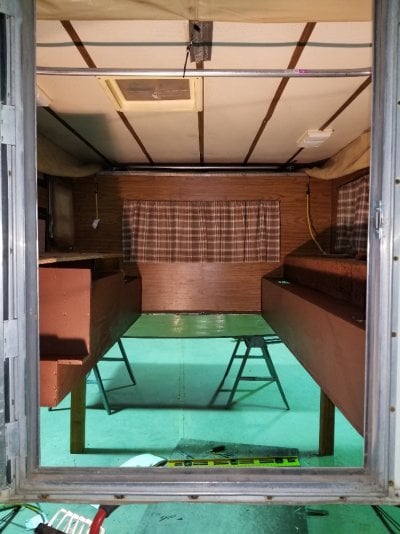
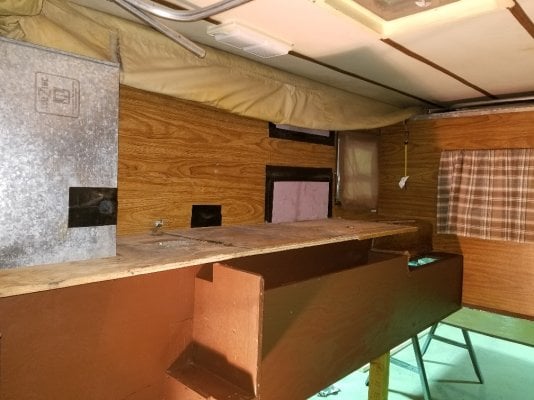
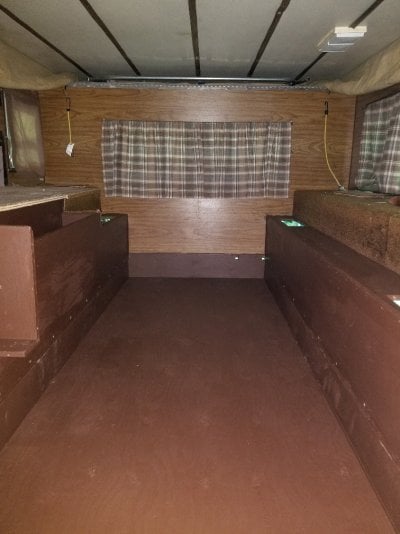
We used the camper a few times as it was when we bought it then slowly started making repairs as needed and remodeling to suit us. The first thing I did was strip out the cabinets, stove, sink, water tank, and fridge. It all just looked like a lot of wasted space so a Coleman stove, a cooler, and a couple 5 gallon water jugs took its place. The only thing we kept was the lower bed/couch/storage setup. I put pink foam board insulation in the holes left by the refrigerator and left the outer vent covers in place. A little duct tape is keeping the foam board in place inside and the gaps sealed up until I'm ready to replace the interior paneling.
The next step was to build new lifters front and back, the conduit idea from Living The Dream's post worked out great. I ended up putting a small spacer between the new lift bars where they swivel to eliminate pinching of the vinyl.
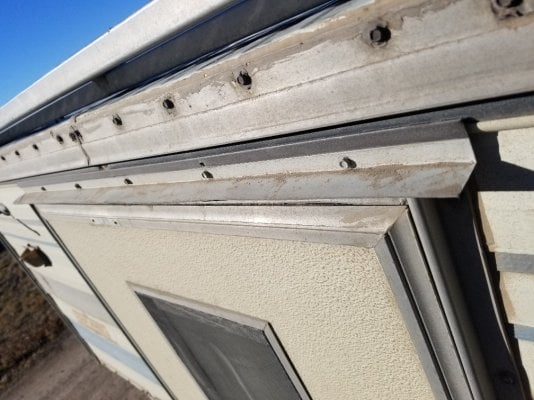
We used the camper this way for a few weeks until it rained and things got a little wet along the vinyl and roof line. I figured out with the help of this forum that the screws needed to be removed and resealed, no leaks since resealing.
After another year of really using the stripped down camper I had a better idea of how I wanted to set it up and what was important to me. My priorities were:
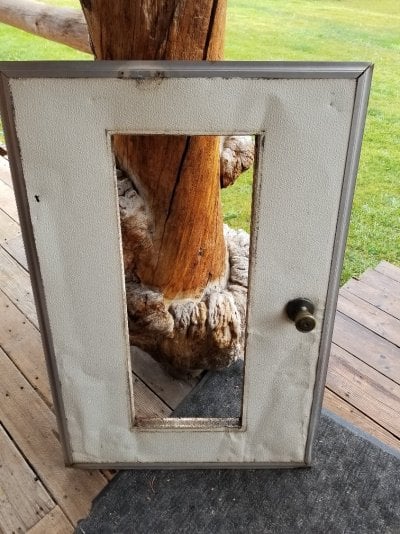
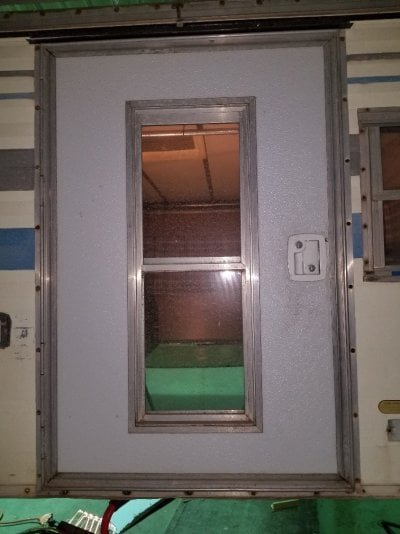
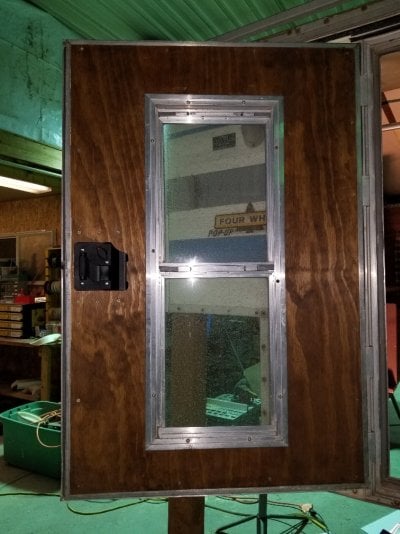
1. Rebuild the door
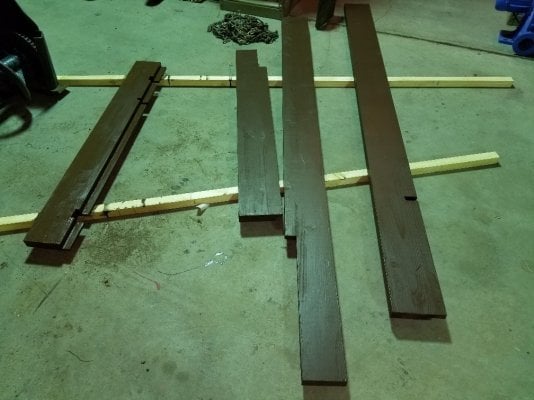
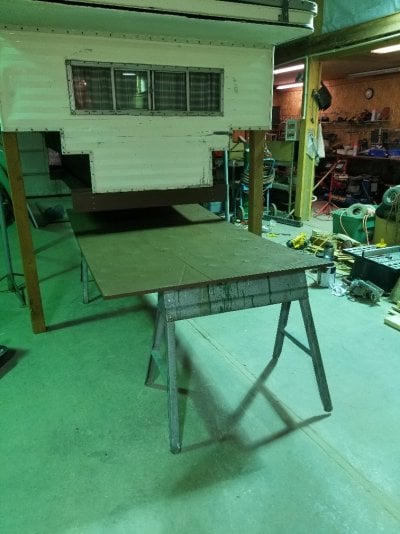
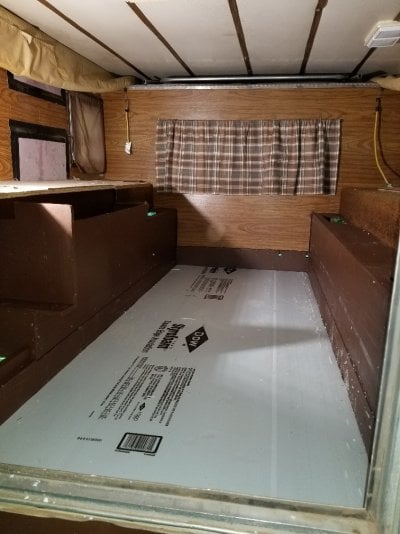
2. Rebuild the floor pack for a full 48 inches between the wheel wells and to accommodate the extra bedrail height of a Tundra.
3. Make a bed for two that could be used with the top down, that would leave enough aisle space to cook or stand up and get dressed while the bed was still made, and that could also be converted to a couch if we just wanted to hang out inside due to bad weather.
4. Set up the stove, sink, and cabinets so that I can cook with the top down if necessary.
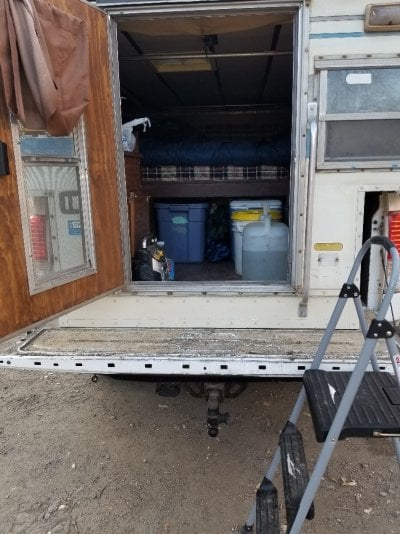
5. Maximize storage space so the most important and most used items can be easily accessed with the bed made and the top down.
6. Make minor repairs to the propane box and door.
7. Do something about the loose windows.
8. Add a grab bar outside the door for ease of entry.
9. Replace roof vent cover.
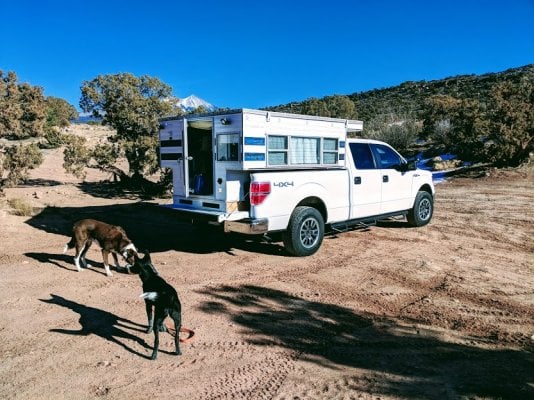
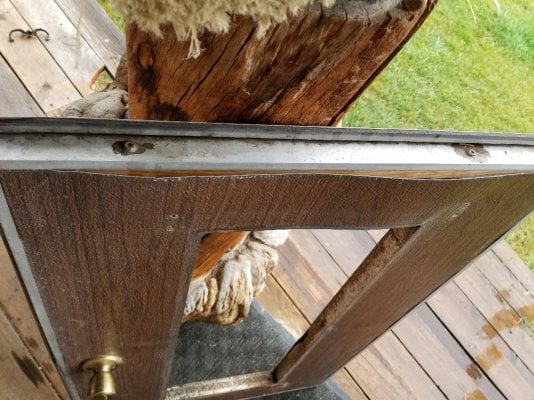
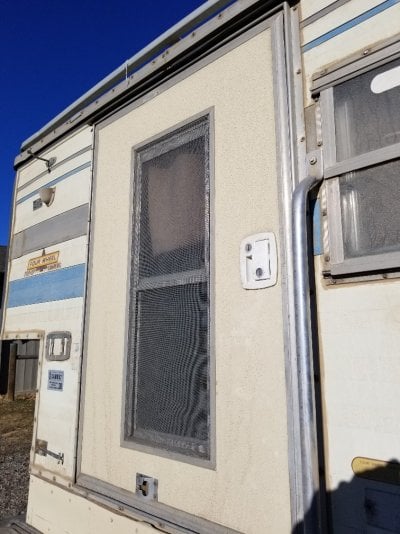
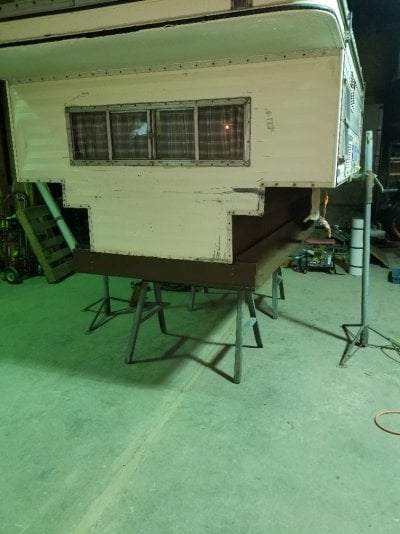
I will make separate posts with photos for each of the 9 priorities. I lost all of my photos of the original camper, of the interior after strip down, of the first few repairs, and of the first camping trips. For now a couple photo of the most current version.
Because I spent a little too much on the Fleet, my goal was to recycle as much of the original equipment as possible and keep remodel costs as low as possible. The only things I bought new were sealants, fasteners, a gallon of paint, two pieces of plywood, a sheet of blue board insulation, a door handle, and a roof vent cap. Everything else was recycled from the camper, my own scrap piles, and scrap piles of friends. The total cost into the camper to date is $2000.
We used the camper a few times as it was when we bought it then slowly started making repairs as needed and remodeling to suit us. The first thing I did was strip out the cabinets, stove, sink, water tank, and fridge. It all just looked like a lot of wasted space so a Coleman stove, a cooler, and a couple 5 gallon water jugs took its place. The only thing we kept was the lower bed/couch/storage setup. I put pink foam board insulation in the holes left by the refrigerator and left the outer vent covers in place. A little duct tape is keeping the foam board in place inside and the gaps sealed up until I'm ready to replace the interior paneling.
The next step was to build new lifters front and back, the conduit idea from Living The Dream's post worked out great. I ended up putting a small spacer between the new lift bars where they swivel to eliminate pinching of the vinyl.
We used the camper this way for a few weeks until it rained and things got a little wet along the vinyl and roof line. I figured out with the help of this forum that the screws needed to be removed and resealed, no leaks since resealing.
After another year of really using the stripped down camper I had a better idea of how I wanted to set it up and what was important to me. My priorities were:
1. Rebuild the door
2. Rebuild the floor pack for a full 48 inches between the wheel wells and to accommodate the extra bedrail height of a Tundra.
3. Make a bed for two that could be used with the top down, that would leave enough aisle space to cook or stand up and get dressed while the bed was still made, and that could also be converted to a couch if we just wanted to hang out inside due to bad weather.
4. Set up the stove, sink, and cabinets so that I can cook with the top down if necessary.
5. Maximize storage space so the most important and most used items can be easily accessed with the bed made and the top down.
6. Make minor repairs to the propane box and door.
7. Do something about the loose windows.
8. Add a grab bar outside the door for ease of entry.
9. Replace roof vent cover.
I will make separate posts with photos for each of the 9 priorities. I lost all of my photos of the original camper, of the interior after strip down, of the first few repairs, and of the first camping trips. For now a couple photo of the most current version.