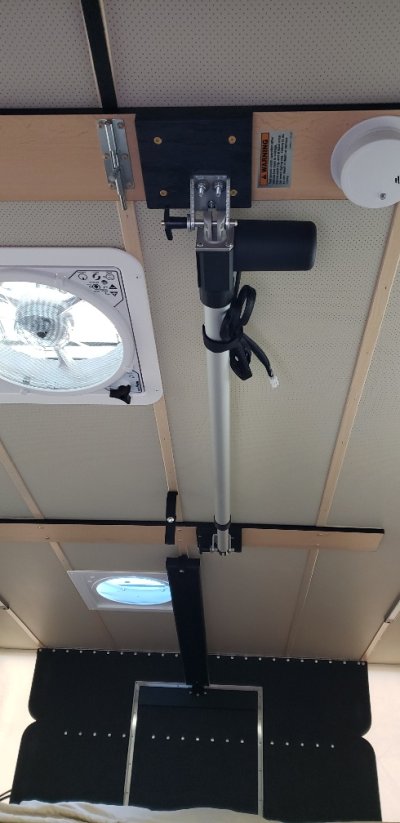
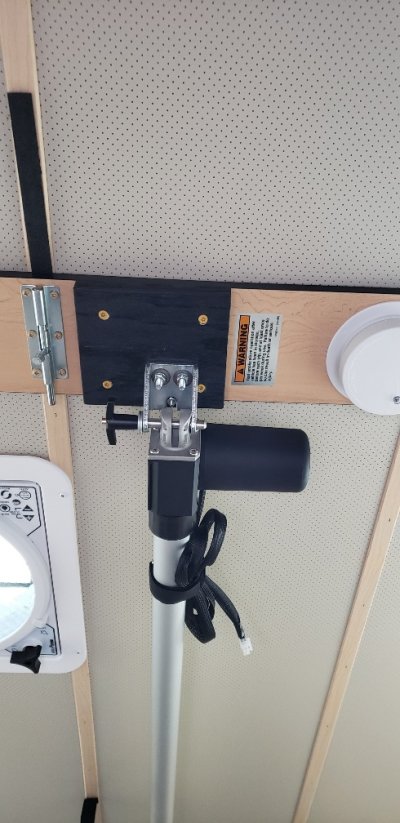
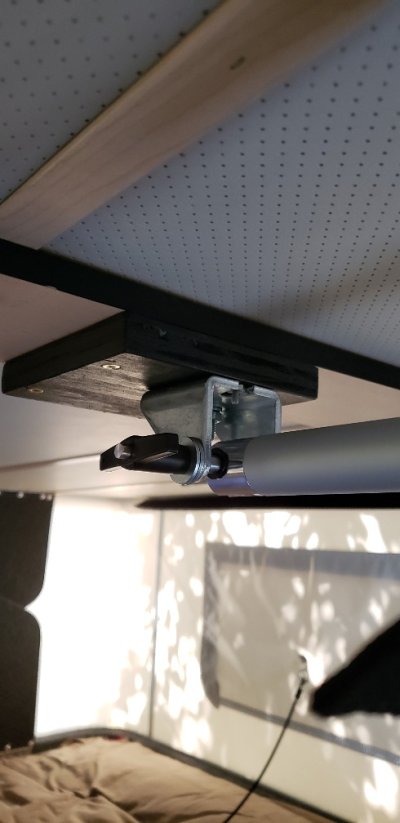
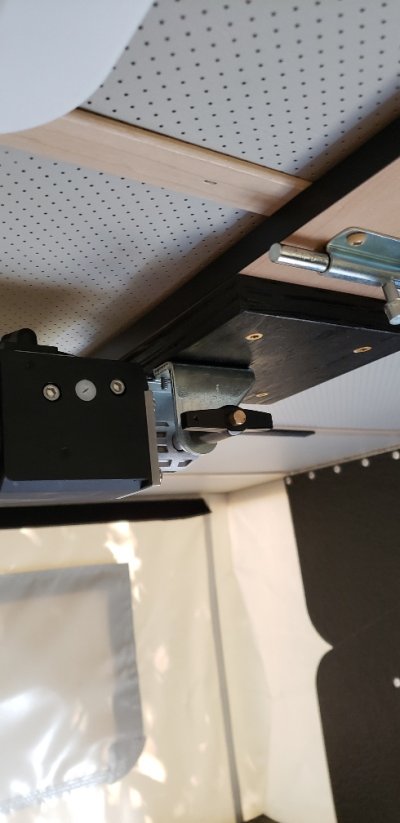
Well, after lots of research, noodling and work, I have finished the installation of my DIY internal linear actuator similar to the one that can be ordered with new campers. I am happy to say it can be done and yes, it does make lifting the top a lot easier. I think my installation is very similar to the factory one and I believe uses many of the same if not similar parts. Please note, this installation was done in a 2022 Hawk with a side dinette. I have no idea how this installation would differ with other configurations.
Before I go into more detail I should note that the installation of an internal actuator requires some cautionary notes: the linear actuator I used can move up to 400 pounds, and that’s a lot of force—which means if not properly used, it can cause damage very quickly. As such, it is important that the user make sure to implement the “Golden Circle.” You do NOT want ANY of the locking clamps closed because the actuator will just keep going and either bend or break the aluminum frame in the roof. There is no automated “safety/check” to prevent this except your brain.
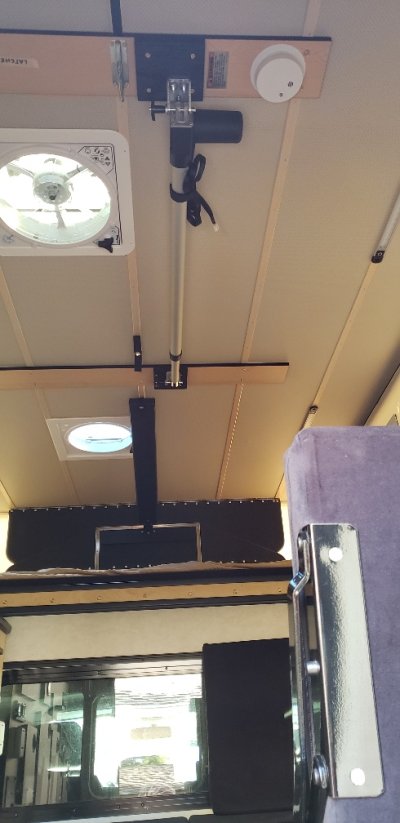
When lifting the rear of the roof, the actuator (with its foot on the camper floor) does not extend long enough to fully lift the roof. Mine is short about 3 inches which is no problem because at this point it’s an easy push to lock it in place. The front lift (with its foot on the seat) requires more caution. Since the actuator can extend far beyond what is needed, a slower approach is recommended. I extend the actuator (lifting the front of the roof) just enough till I can lock it in with the push bar. I plan on marking the rod that moves in the actuator with a permanent marker as a guide.
It does take about 2-3 minutes to raise the roof with this mechanism. Not as fast as pushing the roof up manually but when your 70 who cares.
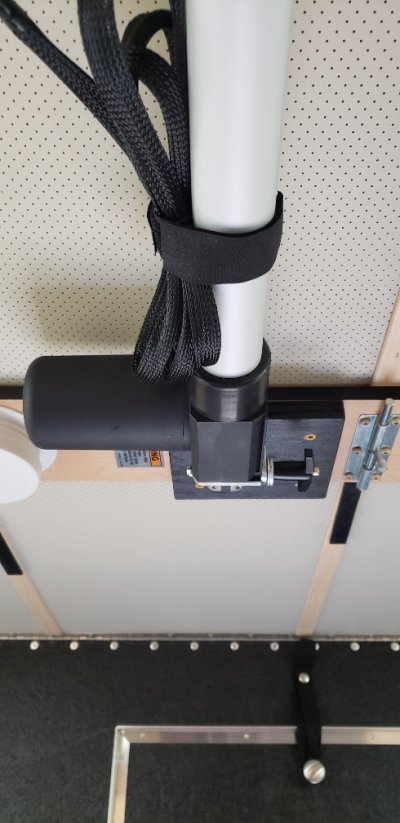
When not in use, the actuator is positioned horizontally when hanging from the ceiling. That means a few less inches of clearance, which we found out needs to be considered when moving about on the king bed. Not a show stopper, but a consideration. The actuator can be removed from the ceiling when not being used but it’s one more thing to find a place for.
All in all, we are very happy with the installation and functionality.
These are the items I ordered and used. All the items listed below were ordered from Amazon except the last two which I ordered directly from Firgelli, and the wooden blocks which I made.
- One each - Linear Actuator: Progressive Automations Linear Actuator Waterproof - 30 Inch Stroke 400 lbs Forse 12 V IP66 Electric Linear Actuator - High Load Actuator for Automation, Industrial, Automotive
- One each U-Shape BRK-02 mounting Bracket for Linear Actuator. Made with Iron Steel. Can be Used with Progressive Automations Linear Actuator Model PA-03, PA-04, PA-04-HS, PA-QR1, PA-TS1
- Three each Keehui T Handle Lock Pins Stainless Steel 304 Push-Button Quick Release Pin, Pin Dia 3/8in(9.5MM). Clamping Length 54.8mm(2.16in) with Lanyard Cable (1)
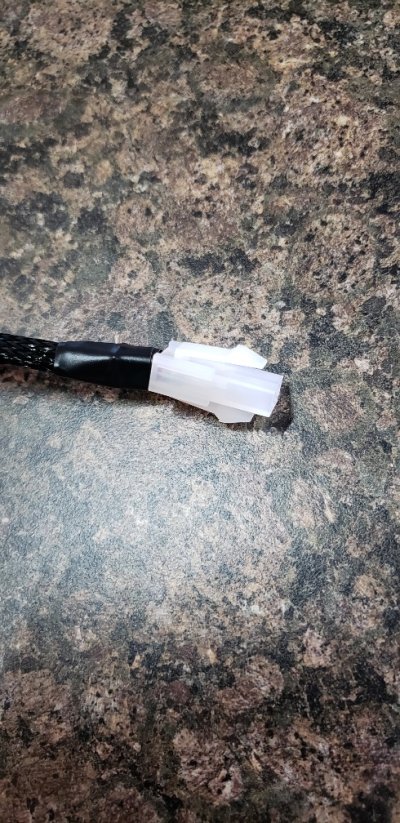
- One each Molex 2 Pin Connector Lot, 6 Matched Sets, w/18-24 AWG w/Pins Mini-Fit Jr
- One each Heavy-Duty 15A Male Plug Cigarette Lighter Adapter Power Supply Cord with 13.1ft / 4m 16 AWG Cable Wire for Car Inverter Air Pump Electric Cup and DIY
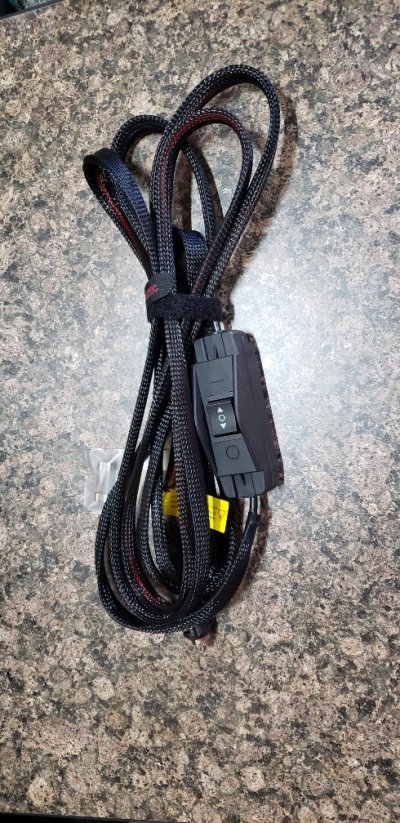
- One each Recoil LAS1 DPDT 25A 12V DC Motor Polarity Reversing Momentary Rocker Switch
- One each 25ft - 1/2 inch PET Expandable Braided Sleeving – Black – Alex Tech Braided Cable Sleeve
- Two each - MB50U Mounting Brackets from FIRGELLI® Automations
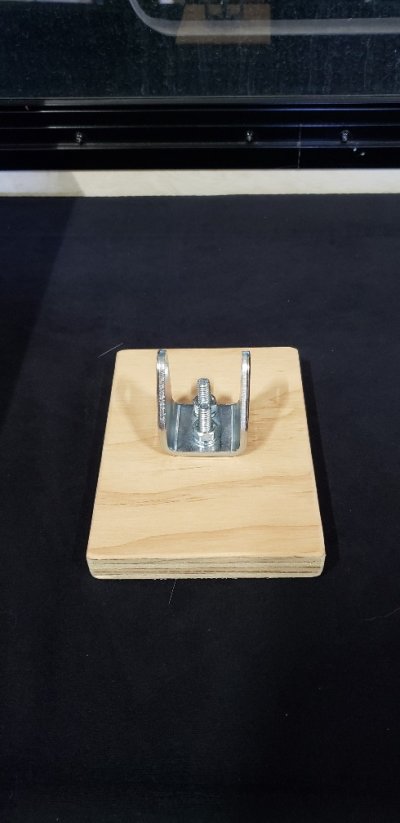
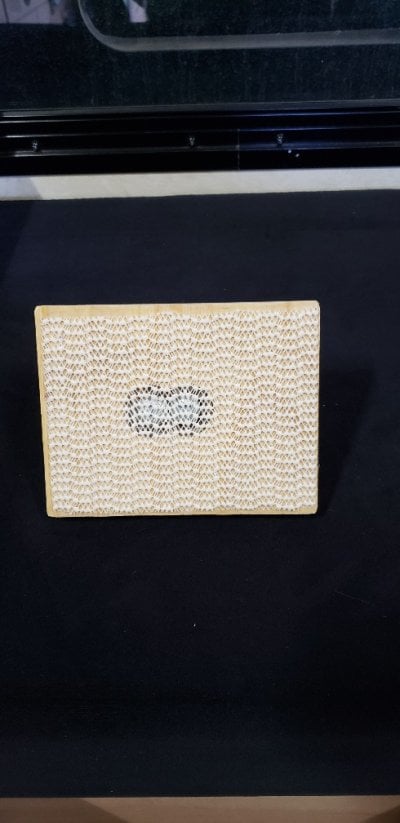
- Three each wood blocks for the brackets that are then attached to the cross/push/lifting bar on the ceiling. I made them from ¾” Baltic plywood. The third block is used as a “foot”.
NOTES:
- Actuator: The actuator I ordered is, I believe, the same one used by FWC. That of course can change at any time.
- Swivel Mounting Brackets: I ordered these from Firgelli because they are bigger than the ones from Progressive. I liked the bigger foot print of their bracket but the Progressive bracket should also work. I used the two Firgelli brackets on the push bar blocks and the Progressive on the foot.
- Molex Connectors: The connectors are used to create the connection between actuator, the momentary switch and the cigarette power supply cord.
- T Handle Pins: These are the only way to go. The brackets do come with pins but they require a cotter pin to lock them in and that’s a total PITA.
- Braided Sleeving: Not required, but does provide a nice finish to the project.
Final thoughts: This DIY project does take lots of noodling for those of us not into details or who are not engineers. I do lots of DIY but admit I got caught up short a couple of times. Location, spacing and orientation are really important with this project.