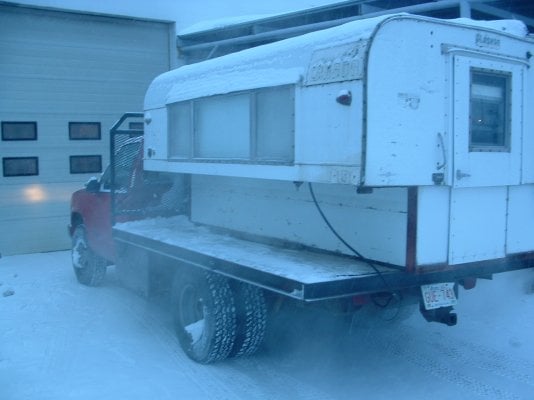
WOW only -5 today, no excuses, must do the sidewalks tomorrow!
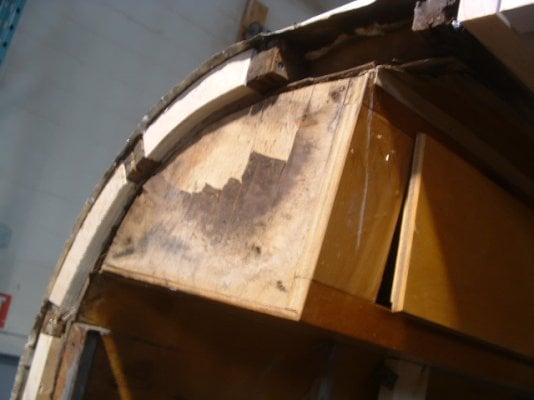
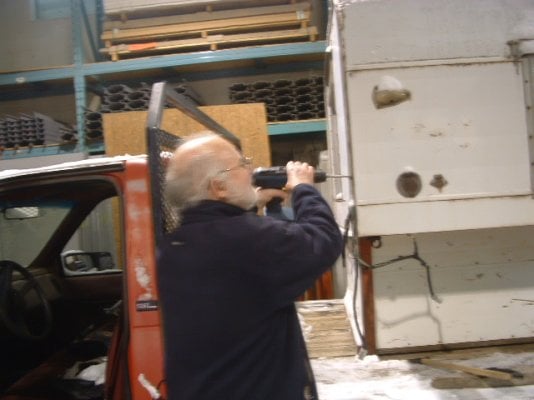
Progress the last two days. Working by myself had to do some creative things.
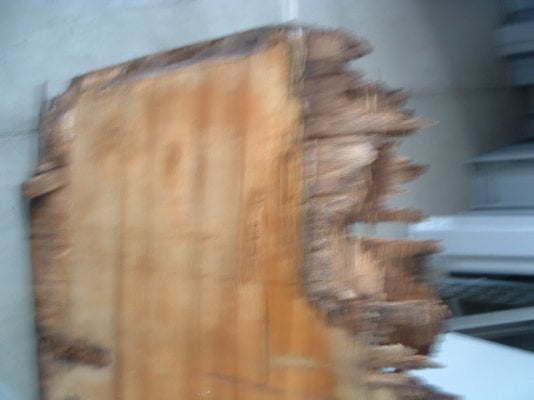
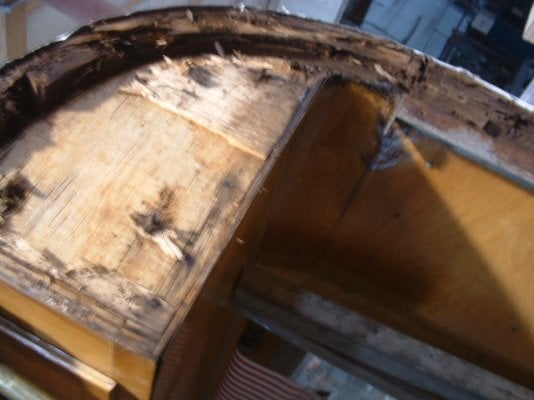
Like how to install the new end. After number of tries, attached the short guide piece to 3/4 plywood.
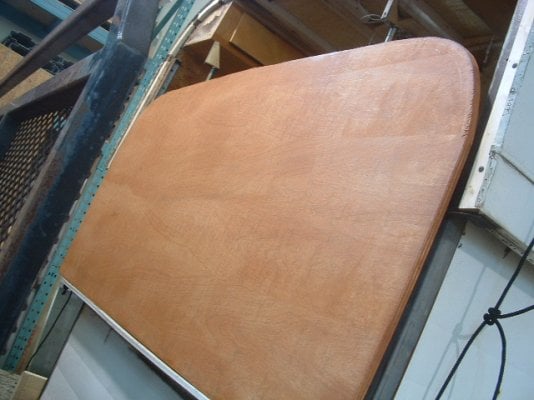
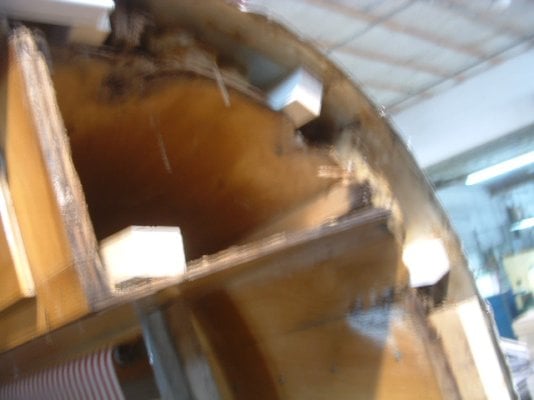
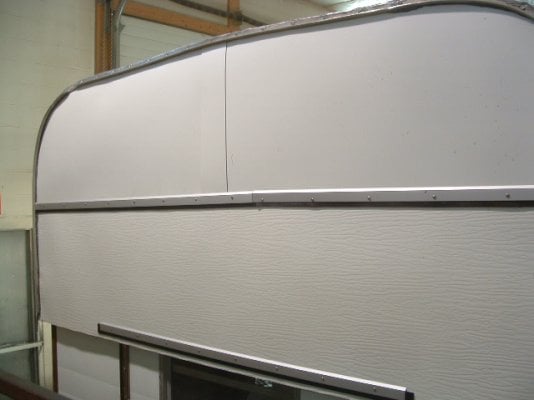
Put the long guides on the short guides. Taped 2 x 2 x 9" on bottom end of long guides. Use this to support the new panel on the drip piece. Taped the long guide on the inside to the panel. Removed the 2 x 2's. Installed bottom 3 screws on the long guide. Installed the two hydraulic's to panel. Used 41" 2 x 2 and sludge hammer to raise panel to height. Drivers side screwed top 2 screws to new panel.(cannot get to bottom screw yet) Will need to push top up just high enough to do it. Passenger Side same, but this took me ant least an hour to get it to move into position and hold it in position while I went inside the unit to insert the 2 screws.
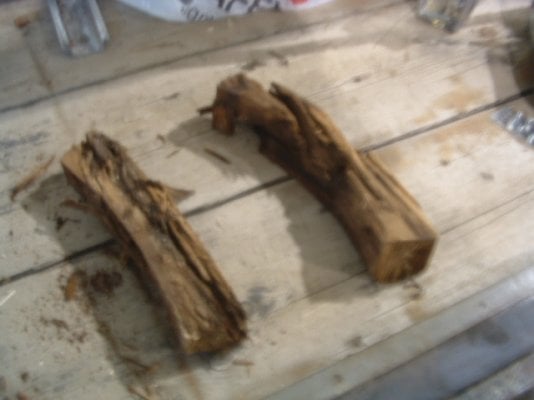
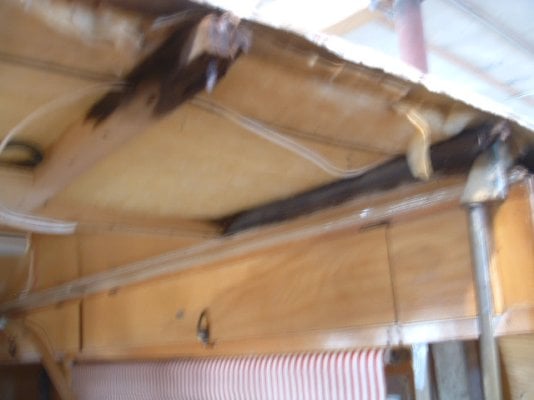
Plan to use metal connector plates to attach top to my infills and new rough sized 2 1/4 x 2 1/4 roof joist to beef up the rotten ones.
Definitely not the quality of work you guys have been producing but hopefully will stand the test of time till I can afford Brian's crew to put a new top on. So far total cost under 200.00 on renovation. My friend has a stock of flashing Aluminum I can use, very light stuff but the price is right for this experiment project.
Hope this makes sense!!!!!!!!!!!
dkoug
Question- When I use the hydraulic's the front end go up but not the back end. Also lowering must have a guy putting weight on the front end to have it come down. Any suggestions???
This cat going to bed to die-lol
Progress the last two days. Working by myself had to do some creative things.
Like how to install the new end. After number of tries, attached the short guide piece to 3/4 plywood.
Put the long guides on the short guides. Taped 2 x 2 x 9" on bottom end of long guides. Use this to support the new panel on the drip piece. Taped the long guide on the inside to the panel. Removed the 2 x 2's. Installed bottom 3 screws on the long guide. Installed the two hydraulic's to panel. Used 41" 2 x 2 and sludge hammer to raise panel to height. Drivers side screwed top 2 screws to new panel.(cannot get to bottom screw yet) Will need to push top up just high enough to do it. Passenger Side same, but this took me ant least an hour to get it to move into position and hold it in position while I went inside the unit to insert the 2 screws.
Plan to use metal connector plates to attach top to my infills and new rough sized 2 1/4 x 2 1/4 roof joist to beef up the rotten ones.
Definitely not the quality of work you guys have been producing but hopefully will stand the test of time till I can afford Brian's crew to put a new top on. So far total cost under 200.00 on renovation. My friend has a stock of flashing Aluminum I can use, very light stuff but the price is right for this experiment project.
Hope this makes sense!!!!!!!!!!!
dkoug
Question- When I use the hydraulic's the front end go up but not the back end. Also lowering must have a guy putting weight on the front end to have it come down. Any suggestions???
This cat going to bed to die-lol