esimmers
Senior Member
- Joined
- May 15, 2010
- Messages
- 170
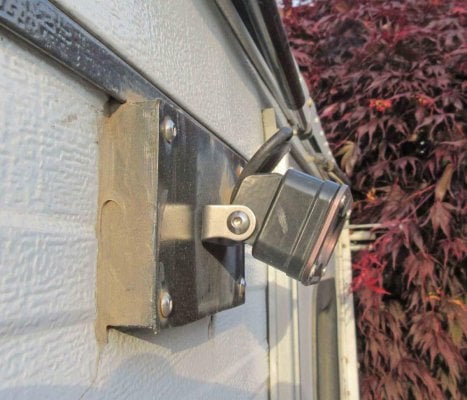
My 2009 Hawk didn't come with the two rear flood lights but the folks at FWC told me where the 1/2" holes were located behind the aluminum skin. I found the hole locations, opened them up and fished out the single green wire for powering the flood lights (the flood lights are apparently grounded to the camper frame as there's no ground wire). I also found the other end of the green wires under the refrigerator and connected it to my IOTA 12v distribution panel.
So, I'm looking for aftermarket flood lights and want to learn the best way to mount them and deal with the 1/2' holes in the rear top left and right corners of the camper where the green wires come out.
Can anyone post a picture showing behind the flood lights how they are mounted and how the wire runs?
Anyone have recommendations for bright LED floods that can mount on a vertical wall? Lots of the lights I've seen don't have a base that will swivel far enough to mount on a vertical wall; they're for horizontal surfaces.
And what about switching? Anyone have an opinion about switching flood lights from inside the camper as opposed to outside switches mounted on each light?
Thanks in advance!
Ed