Installing Dual Air Command

blutaco

Member
Joined
Feb 21, 2009
Messages
17
In preparation for a new Eagle camper, Firestone Air Bags and Dual Air Command going into 06 Tacoma.

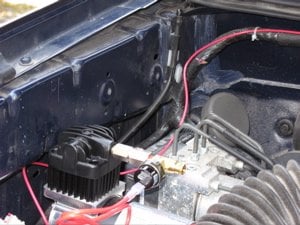
Found a location for compressor in engine compartment, right side, between air intake and brake unit as shown in photo (mounting_location.jpg). mounting_location.jpg

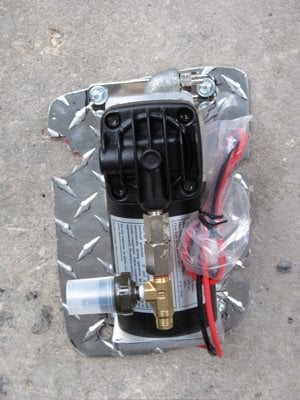
Made a plate out of aluminum diamond plate to pick up the one open threaded insert, one bolt on air intake, and two bolts on brake unit(mounting_plate.jpg).mounting_plate.jpg

Test fit plate, mark holes for bolt and slots for other bolts.test_fit_plate.jpg

Add right angle fitting to compressor for line to filter (right_angle_filter.jpg).right_angle_filter.jpg


Installation in truck to come.

-Blutaco
 

Attachments

  • compressor_on_plate.jpg
    compressor_on_plate.jpg
    75.7 KB · Views: 273
Installing Dual Air Command - into truck

Bolt to threaded insert in fender gets grommets to set spacing.
Other three mounting points used existing hardware.
mounted_leftside.jpg

mounted_rightside.jpg

To come: wiring, installing air tank.

-Blutaco
 
Installing air tank

Added a bracket to move mounting holes for air tank out from behind the tank:
tank_bracket2.jpg


Mounted tank on frame rail on passenger side. Seems a little exposed;
any better place to mount it?
tank_mounted.jpg

-Blutaco
 
Mounting controls

Note the threaded inserts above brake unit on right side of engine compartment; use these for mounting.


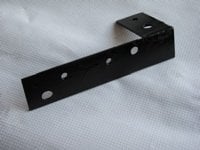
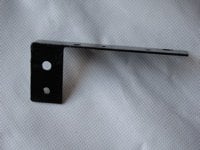
Make a bracket that allows mounting to these threaded hole, accepts
the dual air command gauge/switch panel and then has a place for air supply/manual fill valve plus a toggle switch.
[/ATTACH]

You should trim Dual Command mounting p;ate if needed to get clearance for bolt hole to mount your bracket to truck.
controls_in_bracket.jpg

controls_mounted2.jpg


-Blutaco
 

Attachments

  • control_mount.jpg
    control_mount.jpg
    55.2 KB · Views: 258
  • bracket1.jpg
    bracket1.jpg
    21.2 KB · Views: 273
  • bracket2.jpg
    bracket2.jpg
    20.4 KB · Views: 273
Mounting control panel

12 Volt, 20 amp fused power, hot when ignition on comes over from Painless Cirkit Boss. A 20 amp toggle switch allows a manual on/off for this supply to compressor.

Air tube to filter by fire wall, lower than compressor.

Airlines to tank and Air Bags go down then along frame rails.

Added neoprene between control bracket and truck for some shock mount.

Controls on bracket in truck:
control_mounted.jpg


Overview:
final_install.jpg


-Blutaco
 
Blutaco,
Please explain how you caption your pix individually. I'm sure someone has explained it before but I was having a tequila breezer and didn't pay attention. Thanx.
 
pictures

New to this, how do I post larger pictures? Looks like a file size limit when I attach.

-Blutaco
 
I did an attach after each text line, so did the insert iamges one by one.
 

New posts

Try RV LIFE Pro Free for 7 Days

  • New Ad-Free experience on this RV LIFE Community.
  • Plan the best RV Safe travel with RV LIFE Trip Wizard.
  • Navigate with our RV Safe GPS mobile app.
  • and much more...
Try RV Life Pro Today
Back
Top Bottom