It all started with....

Puffins

Senior Member
Joined
Jun 11, 2007
Messages
185
Location
Jackson County OR
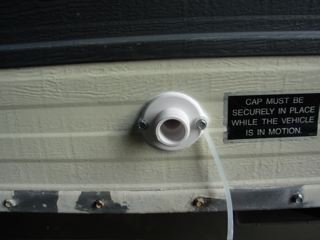
A simple replacement of my sink drain outlet.

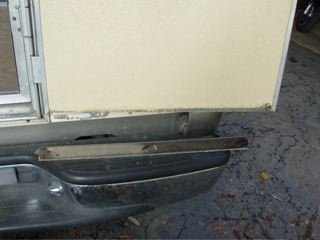
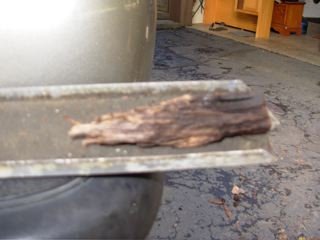
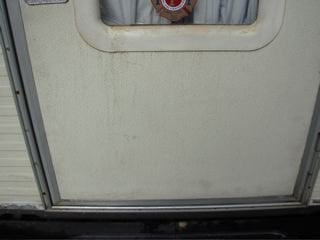
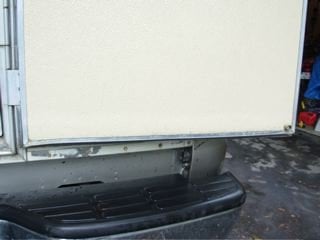
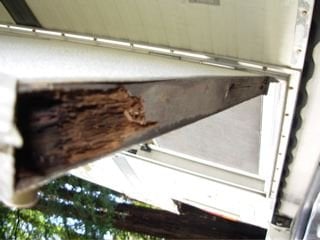
Then as I was doing some touch up cleaning the bottom of my door fell right into my hand!

The wood at the bottom had rotted out after 13 years. At least it happened in the driveway instead of on the road.
 

Attachments

  • DSCN1526.jpg
    DSCN1526.jpg
    18.3 KB · Views: 628
  • DSCN1523.jpg
    DSCN1523.jpg
    18.1 KB · Views: 648
  • DSCN1525.jpg
    DSCN1525.jpg
    23.7 KB · Views: 631
  • DSCN1524.jpg
    DSCN1524.jpg
    20.2 KB · Views: 627
Door continued

Cleaned out the rot. Checked for extension, ran to OSH for 2X2. By then it was dark and raining, gorilla tape and a tarp for a door over night.

This morning put in new wood. The 2x2 was bit larger than the last piece so I had to squeeze the trim back on. Bigger hammer always works for me:D 
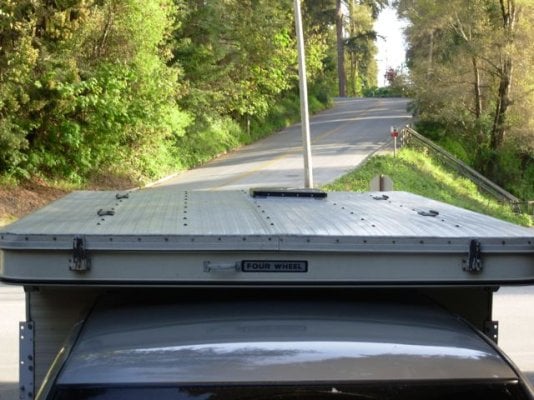
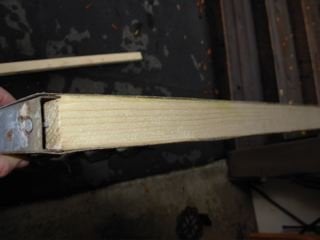
All buttoned up and looking good as new. Replaced all the screws with new ones while I was at it.

Next to replace the screen door with animal grade screen for the dogs.
 

Attachments

  • DSCN1527.jpg
    DSCN1527.jpg
    23.7 KB · Views: 626
  • DSCN1529.jpg
    DSCN1529.jpg
    16.8 KB · Views: 625
  • DSCN1530.jpg
    DSCN1530.jpg
    15.8 KB · Views: 621
  • DSCN1532.jpg
    DSCN1532.jpg
    15.3 KB · Views: 625
  • DSCN1533.jpg
    DSCN1533.jpg
    16.8 KB · Views: 636
Nice work on the door, and office. your pal looks comfy......
 
Original project- screen door

Here is what I was planning on doing when the door feel apart. I replaced the screen door with pet resistant material and my cracked slider with Lexan, thanks DLN:D

With the rain and my wife at a friends for the evening I got the screen done in the garage. Nice strong screen, I think it will stand up to the dogs and myself for a while.
 

Attachments

  • DSCN1535.jpg
    DSCN1535.jpg
    21.9 KB · Views: 539
  • DSCN1536.jpg
    DSCN1536.jpg
    20.6 KB · Views: 547
New floor and Fantasic Fan

I got theses in last month but took awhile to get photos and downloads.

Decided the old floor needed to go, cuts, stains and style. Lucky for me I had a roll of sheet vinyl that was from my kitchen floor left over. I kept it a single sheet with no holes or screws through it to help keep out possible water/spill damage. Then caulked the outside edges and added aluminum stock as molding.

The plastic film on the front of the bench was peeling so off it came with a little heat. Fresh contact paper and more molding. The channel U stock on the top I put in a while back to cover the top edge that had become eaten up over the years and snug up the fit.

Finally I got around to adding a Fantastic Fan to replace the no-fan vent I had. Went low profile on the lid and base. Fit like a glove (love that pre-wiring:thumb: 
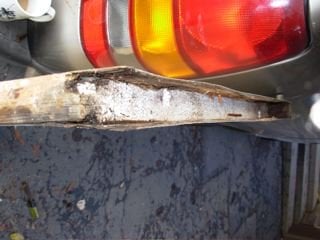
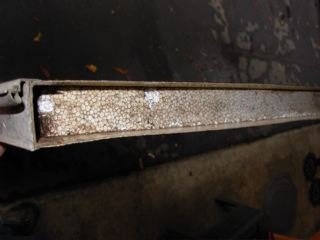
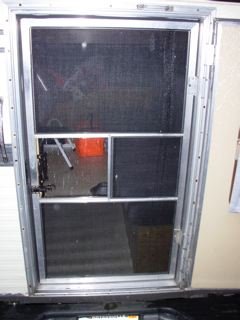
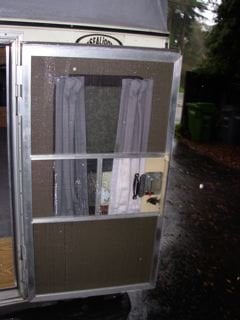
Thanks Ben!) and sealed it with marine grade adhesive.
I also removed my rusting Yakimas for now to go low profile for a bit, looking to add tracks later.
 

Attachments

  • PICT0004.jpg
    PICT0004.jpg
    48.4 KB · Views: 422
  • PICT0005.jpg
    PICT0005.jpg
    52.6 KB · Views: 428
  • PICT0007.jpg
    PICT0007.jpg
    53 KB · Views: 408
  • PICT0010.jpg
    PICT0010.jpg
    55.3 KB · Views: 409
  • DSCN1794.jpg
    DSCN1794.jpg
    75.4 KB · Views: 413
Hey Mike great job on the improvements.

That is a good idea for the U channel on the edge. On the back corner I put a clear self stick angle to protect the corner from the ladder and such.

Have a great trip in souther Utah. Wish I could go..............
 
Back
Top Bottom