Lagun Adjustable Table Mounting System - Lower Price

meandmydog

Member
Joined
Dec 1, 2016
Messages
20
Location
Farmington, NM
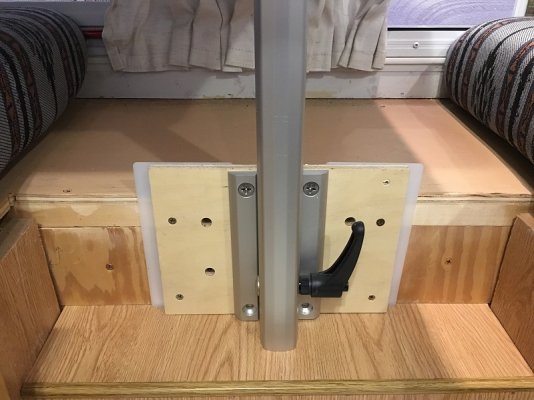
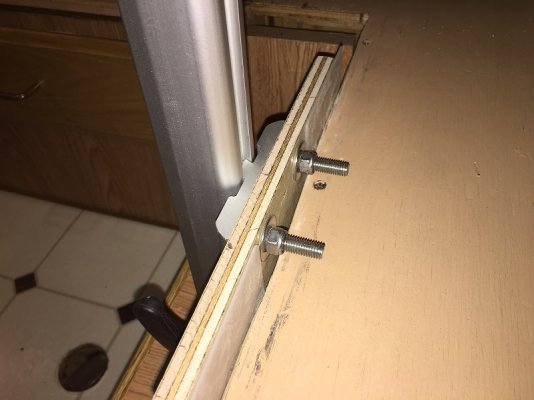
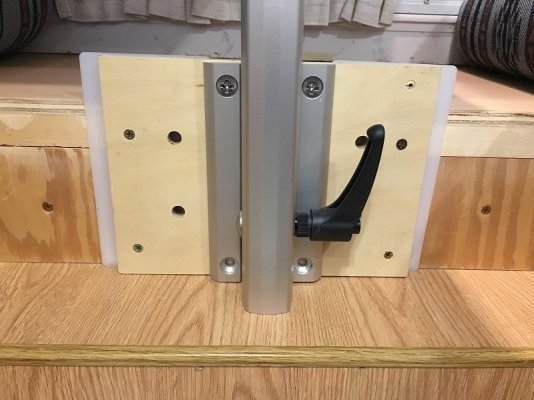
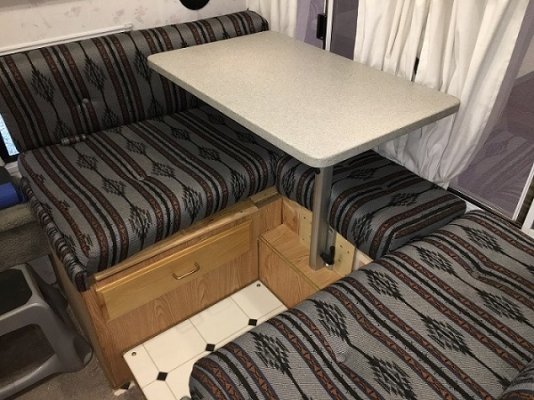
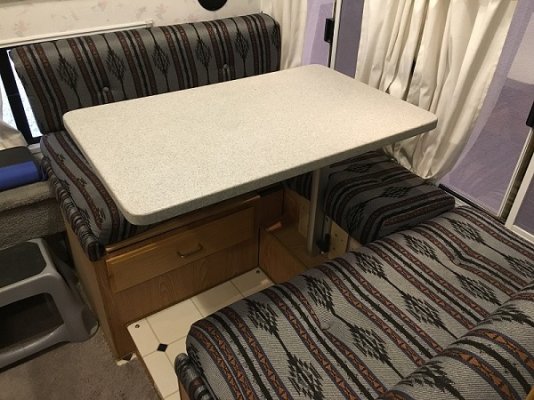
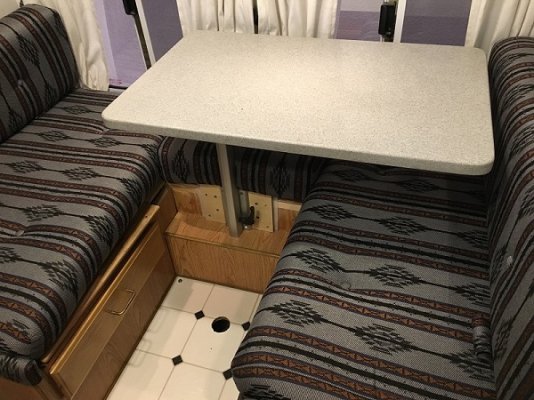
I just bought a Lagun table mount and I wanted to share with everyone on this site the new lower price. After discovering the Lagun on this site from posts from several years ago, I had to have one. Back in 2014 it looked like the price was $275 or $225. I just bought one from Marineteak in the UK for $162.91 American dollars! I guess the stronger dollar makes them cheaper here in the US. Their website says there's a 20% discount for US, Canada, and Australia. Any way, I live in New Mexico and I ordered it on a Monday and received it on Friday. I couldn't believe it got here that quick. The price included the shipping. My bank charged me a $1.62 Foreign transaction fee. Big Woop! So if any of you have been debating about buying one but didn't want to fork over the $225 or $275, the time is now to get one for way less. I've just about got it installed in my Hallmark Ute but I need to do some reinforcing of the 1/2" plywood that is all I have to mount it to. I'll send some pics when it's complete. You can google to find the website or it's
https://www.marineteak.co.uk/lagun-adjustable-swivelling-cockpit-table-mounting-system-331
Happy shopping,
Dan
 
Wow! What a great deal!
I was just marveling how well mine has held up over several years of not-gentle use.
I paid the full price with no regrets - this deal is even sweeter.
 
Dan-
Thanks for sharing the info. I just ordered one!

We love our Hallmark but wished we had some more flexibility with regards to the dining table and this looks like it will do the trick!
Please post pics when you get a chance and what you did to reinforce your mounting. I see it comes with a backing plate but I'm guessing we might have to get one made out of aluminum so we can through bolt it...
 
I posted the Lagun Table mount from Marine Teak back in December. Very quick service.

cwd
 
MarkBC said:
Have you guys seen the previous Lagun install posts in this thread...such as my install and others?
Marc-
I did not see the previous posts so thanks for bringing it forward.
After reading all 13 pages it seems like my initial impressions were justified! I received notification today that my item has shipped from England and is due to arrive in a few days...
Can't wait!
 
I'll post some pics shortly. I got detoured with installing my solar system which I will post a write up as well. It's been quite an adventure. The Hallmark Utes definitely need some reinforcing due to the nature of the cantilever effect of the Lagun mount. I found that I could push down on the front edge and make the table move up and down quite a bit. What is happening is it's flexing the sidewall under the dinette that the pedastal is mounted to I went in and reinforced the inside with 3/4" plywood and added 1/2" plywood the the entire outside. I'm still not finished and I'm debating weather to shorten the mount so that all four bolts go through the side wall. I saw where at least one of the install jobs in the 4 wheel campers they shortened the mount. I did cut the vertical leg down by 2" but it still needs a couple more. Here's my first attempt at downloading a couple of pics. I had more in my Iphone but they were blank or all red so I'll retake and put in a full write up.
post-7235-0-48057000-1490302842_thumb.jpg

post-7235-0-85277400-1490302860_thumb.jpg

The first pic is where I filled in with 3/4" and where the tablemount will be installed. The second pic is where I reinforced the outside with 1/2" plywood. It makes putting it in the back of the truck a little tighter but it still fits.
 
I just received my Lagun today and the quality of the hardware is first rate!
Hopefully I can install it this weekend.
 
Lagun update. Here are some pics of my install. I'm still not finished and still debating on how I want to finish. You can see the top 2 bolts are only bolted through the 1/2" plywood backing that I screwed into the existing frame work. Inside the existing frame work is a piece of 3/4" plywood that I screwed into the existing structure. I will either replace this small piece of 1/2" ply wood with 1/2" or 3/4" maple plywood and run it the entire length of the shelf. I also installed temporarily the 2 plastic wedges to get the table to be level. I will probably have to leave these in on the finished product. I may also cut the bracket down so that the top 2 screws go through the side wall out to the exterior. Decisions decisions. Here's some pictures. The table top is the original from Hallmark. I offset it 5" inward towards the big windows so that I didn't have to cut down the horizontal leg. It swivels nicely from side to side. I still need to cut it down in height another 2 or 3 inches.
 

Attachments

  • IMG_1897.JPG
    IMG_1897.JPG
    167.9 KB · Views: 230
  • IMG_1898.JPG
    IMG_1898.JPG
    131.7 KB · Views: 160
  • IMG_1903.JPG
    IMG_1903.JPG
    164.5 KB · Views: 196
3 more pics of the table in action. The really nice thing for Hallmark owners is now you can open the drawer that's underneath the seat. Befoer the pole was always inteh way of being able to fully open the drawer. Now we have a silverware drawer!!
 

Attachments

  • IMG_1900.JPG
    IMG_1900.JPG
    141.8 KB · Views: 186
  • IMG_1901.JPG
    IMG_1901.JPG
    136.7 KB · Views: 180
  • IMG_1902.JPG
    IMG_1902.JPG
    137.6 KB · Views: 160

Latest posts

Back
Top Bottom