solar small.jpegsolar 1 small.jpegsolar 2 small.jpegsolar 3 small.jpeg
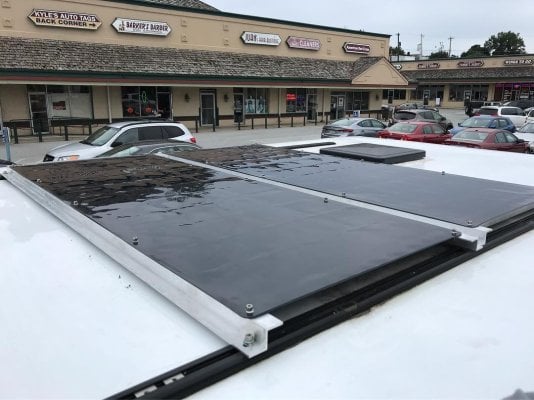
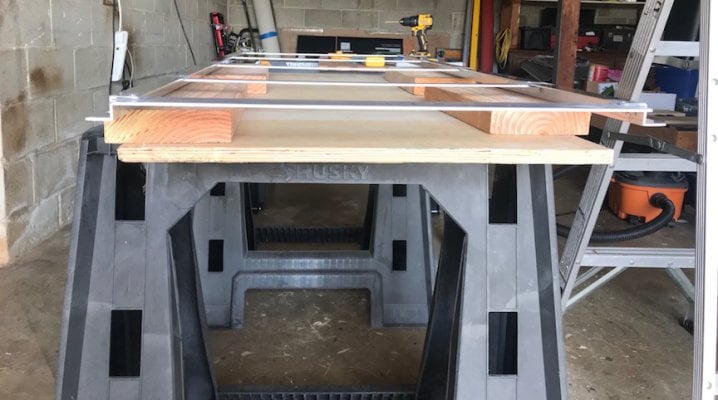
Here is the finished install. I purchased the flat and Zee bar from a local supply house, cost was $34 and then purchased some stainless steel hardware to bolt it together. First used good old JB Weld and clamps to put it together. Then drilled for mounting the panel at all the junctions which also makes the mount bomb proof. I was impressed at the strength of the mount with just the JB Weld. Used short pieces of 3M double sided tape in the middle of the cross bars to keep the panel from flapping in the wind.
You do not need the wider 2" flat bar shown on the ends,1" is fine. I had to go with those due to a measurement error.
Also notice I had use rubber washers when mounting on the tracks given that on my install the roof plug for the solar perfectly aligned with one of the cross bars and I did not want to put undue stress on the plug. I would try to avoid that if I was to build it a second time.
Flat bar dimensions .125" (1/8" thickness) X 1.00"
Zee bar demensions 1.00" X 1.125" X 1.125" X .125" (1/8" thickness)
Thanks for everyones input! Next month I will have the camper back on the toyota T-100 and post some pics. The camper is a 2017 fleet shell originally built for a Canyon pickup that I picked up used. I have since removed the bottom filler they but on at the factory to make the fleet fit the canyon so it will fit the T-100 properly.
Mario