Stove ignitor mod

You want a pic of me zapping myself? Not gonna happen. I can post the final install. You know the old saw of measure twice cut once? Same goes for drilling holes. I may just leave it alone. I pretty much just use the stove for coffee anyways, as long as I'm not stuck inside because of weather.
 
Installation complete. Can I make a simple project complex? You bet. Drilled a 7/8ths hole in the wood below the stove. Changed my mind and installed the ignitor in the stove. If you do this make sure you have a 7/8ths hole saw. Guess what? With the cover closed the ignitor goes off. Had to make some stand offs. That wasn't bad, found some stuff in the garage and glued em down.

Be careful, those connections are fragile. I broke one off at the ignitor and another at the rod. /sigh Do I get another kit so I can use both burners? We'll see. Watch the placement of the rod. Keep it close. I had to move the burner slightly so it was close enough. Easier to shorten it if you wind up too close. Only zapped myself once.

Are we related?
 
I just got my ignitor for my stove and put in it. It works great! Her are a few pictures.

Very nice! I wish I had the clearance underneath to put the button on the same panel as the control dials like you did here. Looks like it came that way from the factory.
 
Tradmonkey, thanks for an excellent idea. I don't have the imagination to look at a bbq ignitor and think about using it on the camper. And I would never drill into our camper to give something a try. My wife and I both curse the never seeming to work lighter when we use the stove. I showed your great write up to my wife and got the green light. Completed the install yesterday and it works great! :D Thanks again.
 
Hey Tradmonkey,

I'm getting ready to try doing this to my stove as well. I have a three burner Wedgewood Vision, and had two questions.

First, I know they come in packs of two, so do you think I can buy two pair and have a three burner igniting system?

Secondly, do you simply bend the actual metal rod that sparks the gas depending on where you have to mount it? Or, are the non adjustable?

The pictures are very helpful, but I was unsure I could make three work if I just wired in the third wire and ignitor.

Thanks for the post.

Paul


The ignighter has a spot on it for 3 sparker thing's. You do need to triple check your location befor drilling. Yes you just bend the sparker rod.
 
The ignighter has a spot on it for 3 sparker thing's. You do need to triple check your location befor drilling. Yes you just bend the sparker rod.


Thanks mxvp, I am going to try to do the install this weekend.
 
Thanks mxvp, I am going to try to do the install this weekend.


It's a easy install.. Watch out for the SPARK!!!!!
 
Yes you just bend the sparker rod.

The ceramic part of the ignitor is easy to break. When bending the wire rod, hold it with a pair of needle nose pliers where it goes into the cylindrical ceramic part. This keeps the stress from breaking the ceramic.

Once bent, the wire will be too long and hit the burner. Just cut it off near the burner. Once completed, the ignitor sparked instantly but took a few seconds to light the gas. I held the base near the ceramic cylinder with pliers again and tried different adjustments by bending the wire in slight increments up and down and back and forth to get the quickest ignition. Only took a few tries to get that sweet spot with instant ignition.
 
Great idea. If you don't want to wait for the mail order they are sold at Ace and other stores that sell BBQ parts and accessories. I'm going to add this to my mod list. Thanks for the info. Frank
 
Nope, can't do it. Has three slots on the ignitor, unfortunately one is for the ground. Could you tap into one do it that way? Maybe.
 
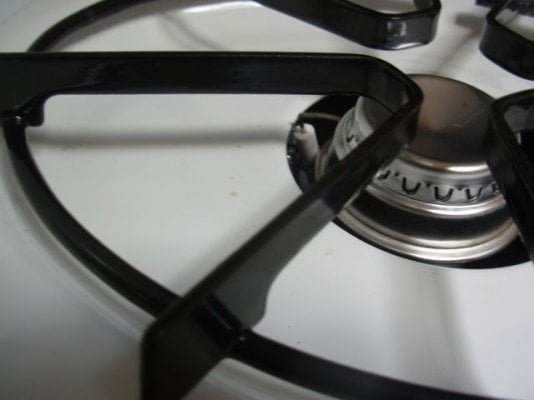
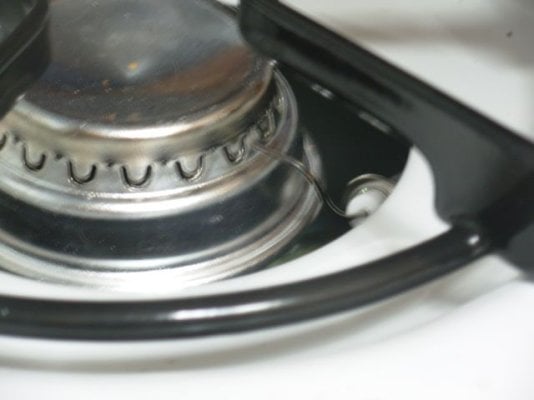
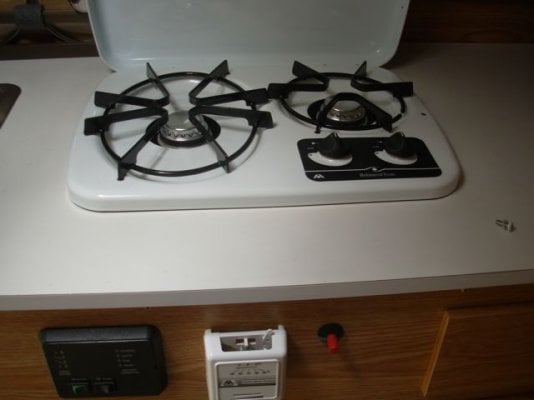
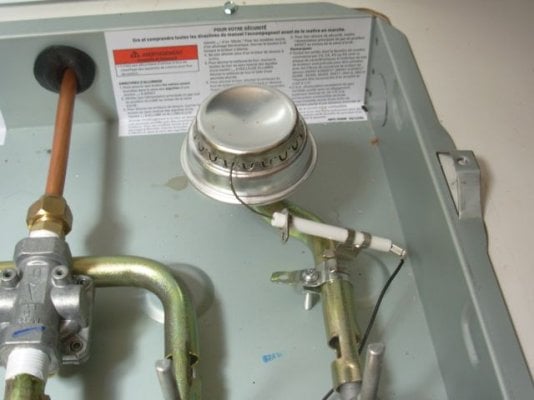
Here are pictures of the ignitor mod.The kit i used is Grillpro #20610. For anyone living in areas with Orchard Hardware Supply they carry them Ace does also.I'm bad about instructions, so you can't run the two ignitors on the same white wire,only one will send a spark. So it's read the directions Frank. With two ignitors one with the fixed white wire goes to the Pizo button side terminal .The black wire goes from the bottom of the button to the other ignitor and zip zap it works.. I just mounted the ignitors as seen so i wouldn't have to drill any holes in the stove top, than ran the wires out through the corner and to the button.Thanks for starting this mod Frank DSCN3168.jpg
 

Attachments

  • DSCN3164.jpg
    DSCN3164.jpg
    29.5 KB · Views: 169
  • DSCN3165.jpg
    DSCN3165.jpg
    32.4 KB · Views: 166
  • DSCN3166.jpg
    DSCN3166.jpg
    32.3 KB · Views: 171
  • DSCN3167.jpg
    DSCN3167.jpg
    38.6 KB · Views: 153
I just mounted the ignitors as seen so i wouldn't have to drill any holes in the stove top


Did your kit come with the little brackets? Or, did you fabricate them?
 
leadsled9 said:
Did your kit come with the little brackets? Or, did you fabricate them?

I had to fabricate them,but the one that's attached to the gas flow pipe is just held on with a small clamp,like a 3/4" hose clamp. The other is actually a piece from an electrical box that is bent. I used that because it is stronger than the sheet metal I had. Hope that helps.


Frank
 
I ended up drilling through the stovetop. The "wood" cabinet was too thick to mount through easily. For a bracket I had some standard small "L" brackets, they worked easily, one leg screwed into the floor of the stovetop and the other leg holds the ignitor. Look forward to using them.
 
I ended up drilling through the stovetop. The "wood" cabinet was too thick to mount through easily. For a bracket I had some standard small "L" brackets, they worked easily, one leg screwed into the floor of the stovetop and the other leg holds the ignitor. Look forward to using them.


I was all set to drill through the stove top,which is baked enamel and would have made a mess of it. The plywood is thin so it made that easier and it's still convenient. There are lots of ways to do these mods,just whatever works at the time.

Frank
 
DSCN2696.jpgI was all set to drill through the stove top,which is baked enamel and would have made a mess of it. The plywood is thin so it made that easier and it's still convenient. There are lots of ways to do these mods,just whatever works at the time.

Frank

I just couldn't let well enough alone. I bought another PIZO kit for the coleman stove,works great.

Frank
 

Try RV LIFE Pro Free for 7 Days

  • New Ad-Free experience on this RV LIFE Community.
  • Plan the best RV Safe travel with RV LIFE Trip Wizard.
  • Navigate with our RV Safe GPS mobile app.
  • and much more...
Try RV LIFE Pro Today
Back
Top Bottom