SunMan
King Taco
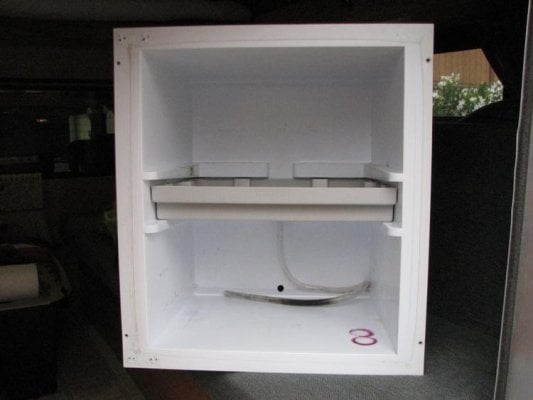
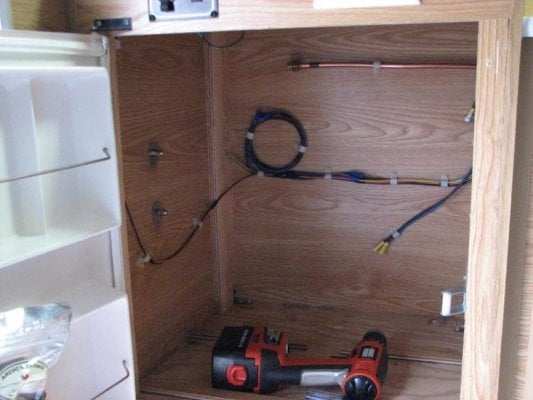
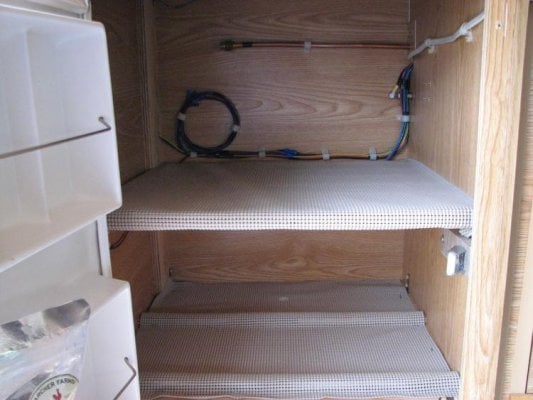
I've been on the fence about keeping the ice box for awhile since i only use it as a pantry. While completing my rear wall step mounting this weekend I had to remove the ice box to mount the last step. When I took the ice box out my jaw just about hit the ground as I just didn't realize how much space was actually in there. The decision was made. I managed to re-use the ice box door by reversing the "hinges" to keep the stock look and also shimming in the locking mechanism. I'm not much of a craftsman like some of you guru's out there, I simply used a scrap piece of plywood, threw in a shelf, canted it slightly to the rear, and and covered it with non skid surface. I can't beleive how much room I gained. I will no longer need to carry a separate box for my dry goods. Works for me. Stoked. Here's some pics...
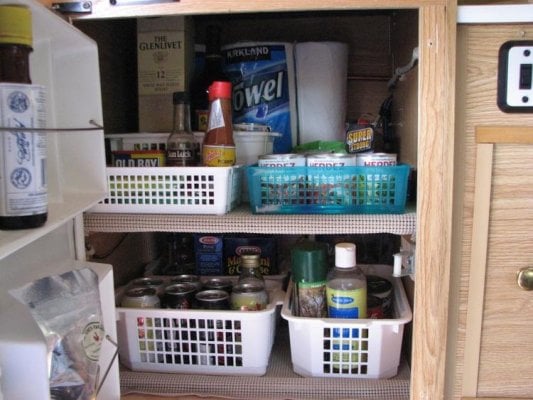
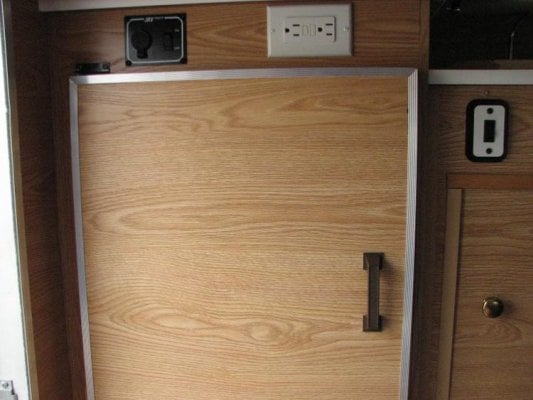
 Lots of storage.
")