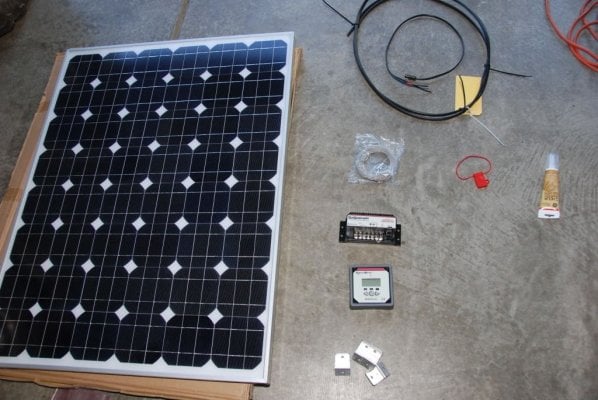
No, I only got the MPPT controller and the panel. Don't want to get to techy with all that stuff. I barely understand what I'm getting into with this.
What are the advantages of the temp sensor and remote meter?
I think this will answer both of the above questions.
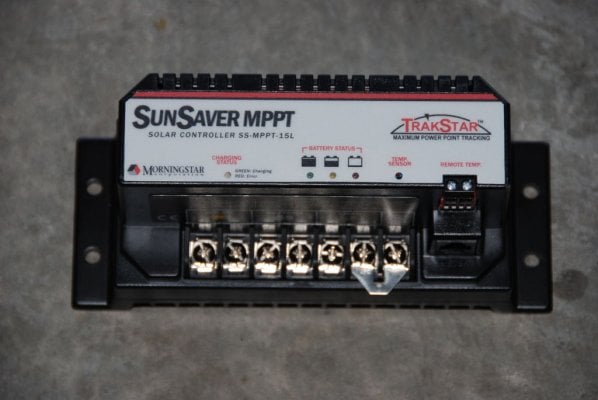
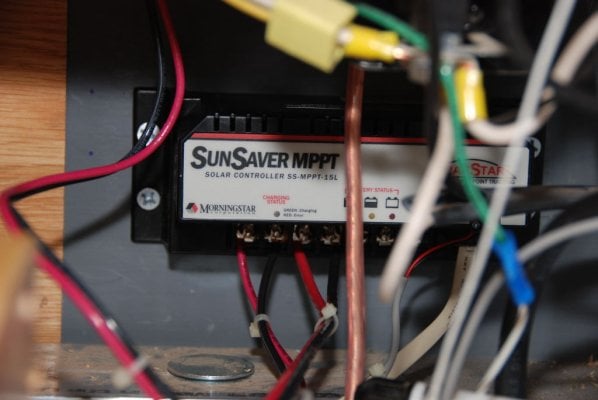
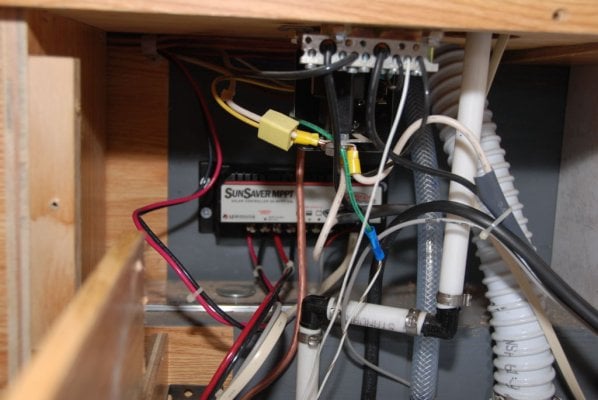
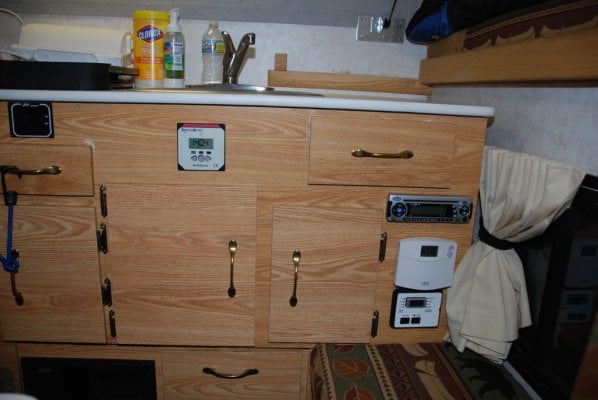
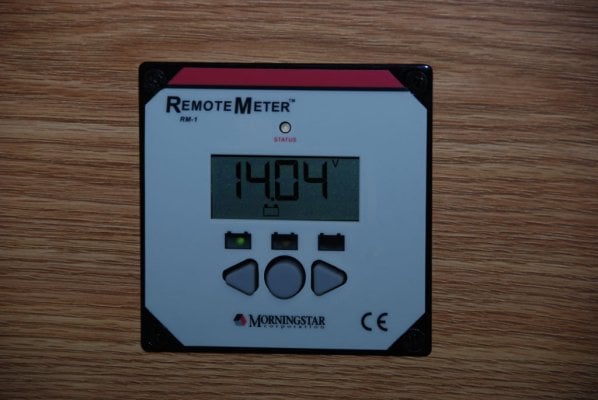
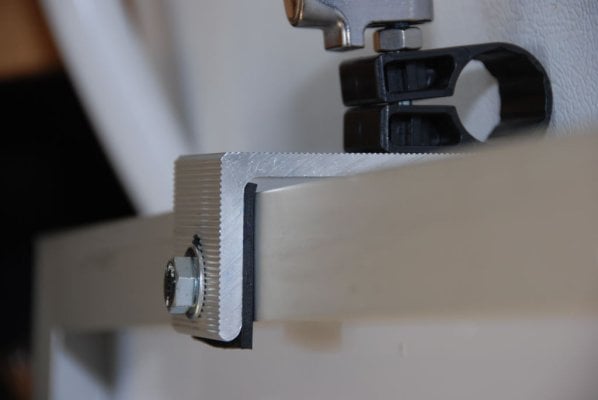
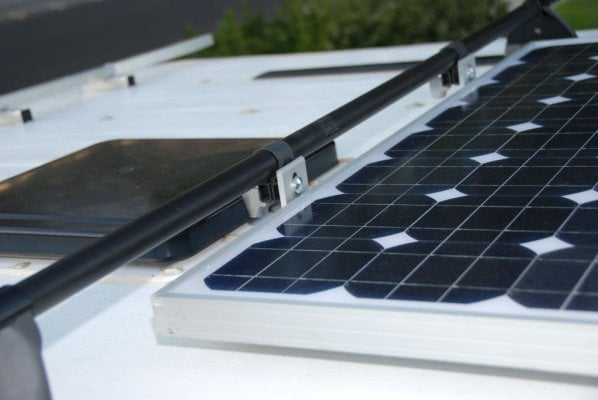
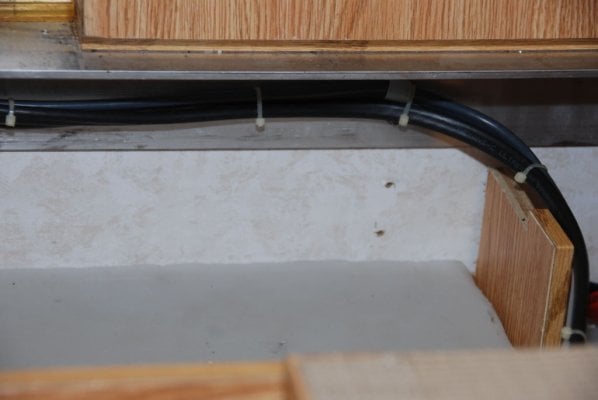
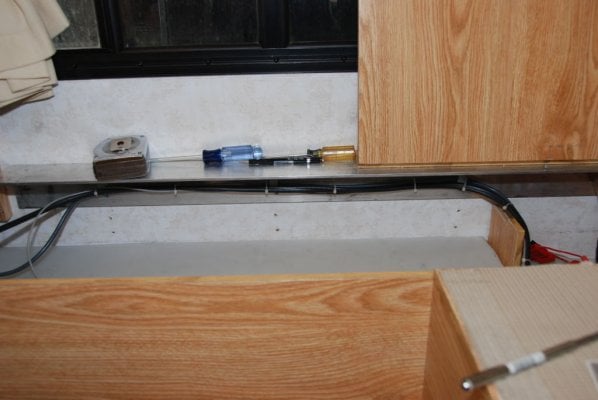
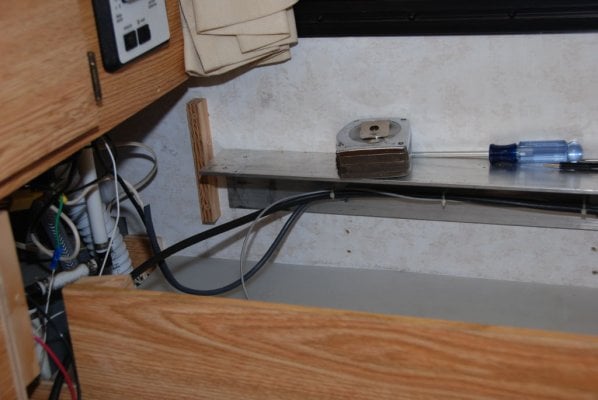
The remote mount meter is essential for you to monitor what is going on with your system. The little led lights on the controller would be good enough to get a rough idea of whats going on....but since we are mounting the controller behind the wood paneling (I assume you are going to mount in the same place that FWC mounts them when doing a factory install) you can't see the controller. Therefore, you would have no idea what is happening. The meter is the only clue from the inside that the camper has a solar system. It is the only visible component from inside.
The meter is really cool. I can see how many volts/amps the panel is providing to the controller, the battery voltage, the watts being used etc. It's nice to know what is going on. For instance....right now my camper battery is fully charged..the watts displayed are 0. When I turn my stereo on I then see that 12 watts are being provided...turn on the fantastic fan and 30 watts are being provided, etc. The meter also provides for system diagnostics so you can troubleshoot problems. It's a really nice unit for what they charge.
The controller uses the battery temperature as a factor in calculating the best charge profile for your battery (hot less juice, cold more juice etc.). Since the controller is phyically mounted in a different location than the battery....the temperature of the battery could be different than the temperature at the controller. Maybe it's not enough difference to effect things much....or maybe it is....the manual for the controller strongly recommends the remote temperature sensor for applications where the controller is not mounted where the battery is located.