Fort Lupton 10" CO 1972

pawpaw

Member
Joined
Aug 4, 2016
Messages
27
Location
Midwest
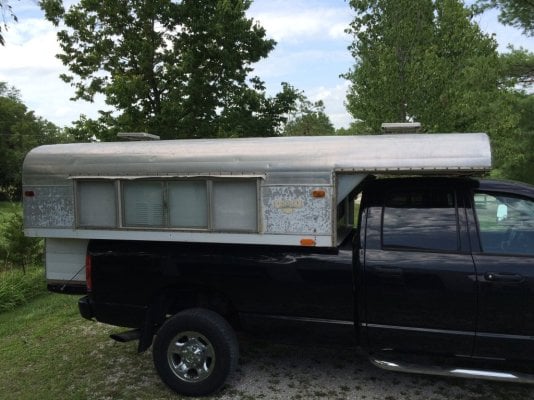
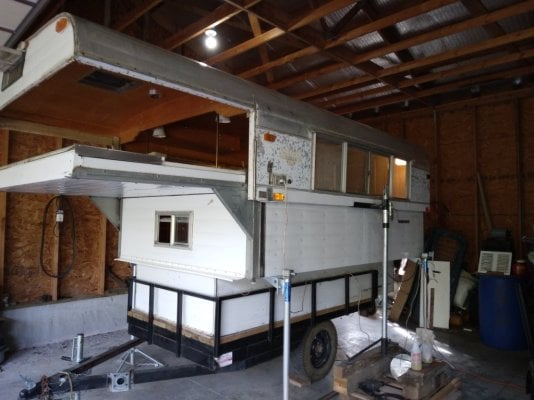
After seven years I finally have the time to start my rebuild on this 1972 CO that came from the Ft. Lupton plant. I never claimed to be fast and with a recent retirement I have the time to start. Can't think of a better location to document my slow progress than here. A shout out to some of my old acquaitenances here that helped in the beginning......I hope Rusty, RipperJ, and Archie71 are all well.

First a little history from 2017: https ://www.wanderthewest.com/threads/a-new-alaskan-on-the-market.12737/

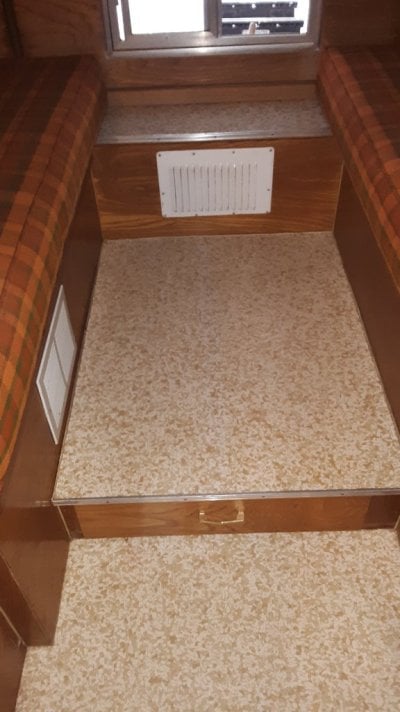
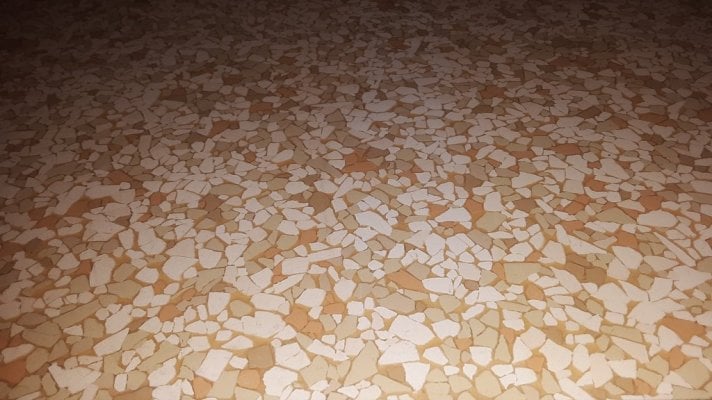
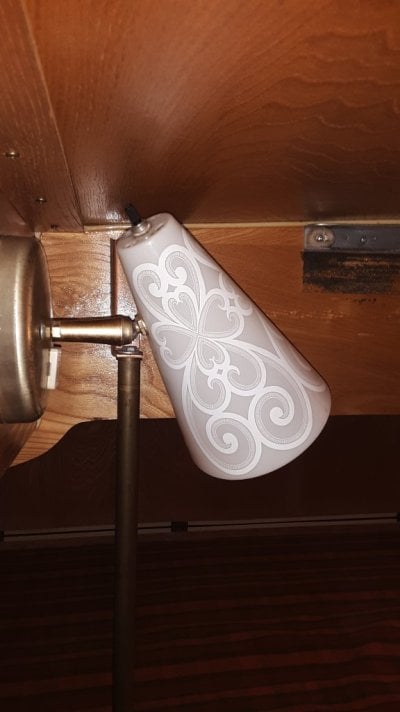
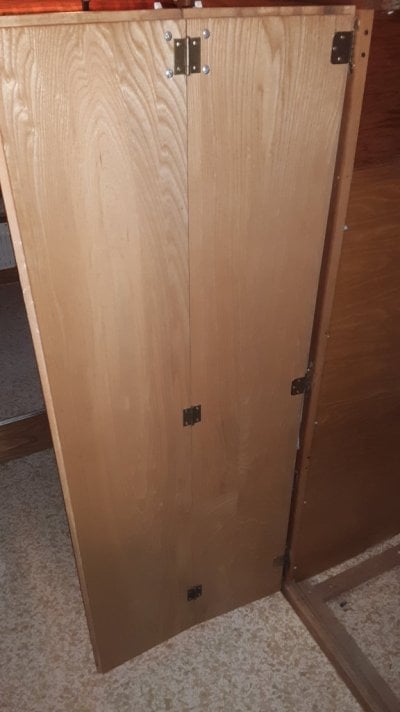
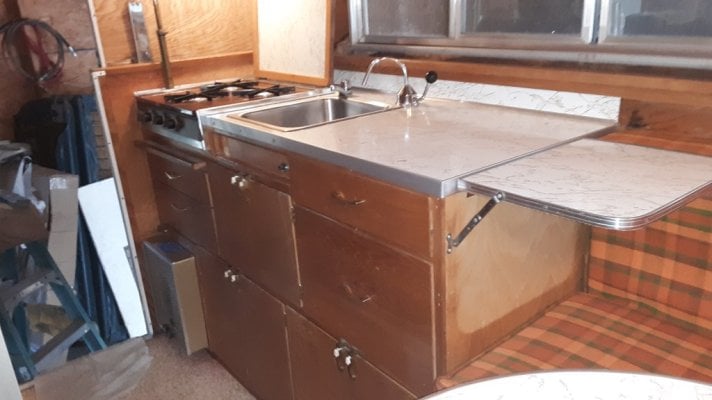
Since acquiring this Alaskan I made sure it was put in the barn to stay dry. Dust and spiders were a different matter. Last week I purchased a small 8' trailer as a camper dolly and moved it into my shop for the rebuild. First priority was to clean it and remove the old smelly carpet that was glued down to the linoleum. To my surprise the flooring had a stamp under the table floor door that read: "Armstrong floor covering" There was a number of the product but I could not read it. The lineoleum is in amazing shape and with a little elbow grease it looks almost new. I have read in some earlier postings that of the 7 Alaskan plants Ft. Lupton was not considered the best plant for quality. Maybe I got lucky and this one was built on a Tuesday but I can atest this one is very well built. The quality shows throughout but especially in the cabinetry. More pictures to come.

Pawpaw
 

Attachments

  • 20240927_102721.jpg
    20240927_102721.jpg
    100.7 KB · Views: 27
  • IMG_3647.JPG
    IMG_3647.JPG
    180.1 KB · Views: 28
  • 20240927_102755.jpg
    20240927_102755.jpg
    130.7 KB · Views: 29
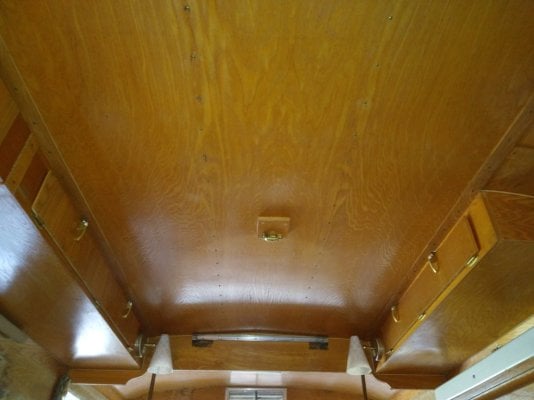
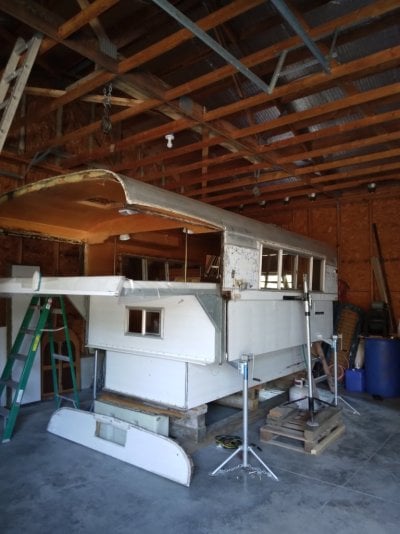
The top section will need rebuilt on the front corners and the very front eyebrow and possibly the bottoms of the windows but 95% of the interior ash veneer is in good shape. The roof and side skins need removal for the rebuild. A few more pics.
 

Attachments

  • 20240927_103141.jpg
    20240927_103141.jpg
    77.6 KB · Views: 31
  • 20240927_103158.jpg
    20240927_103158.jpg
    73.2 KB · Views: 30
  • 20240927_103223.jpg
    20240927_103223.jpg
    73.3 KB · Views: 32
  • 20240927_103535.jpg
    20240927_103535.jpg
    88.8 KB · Views: 33
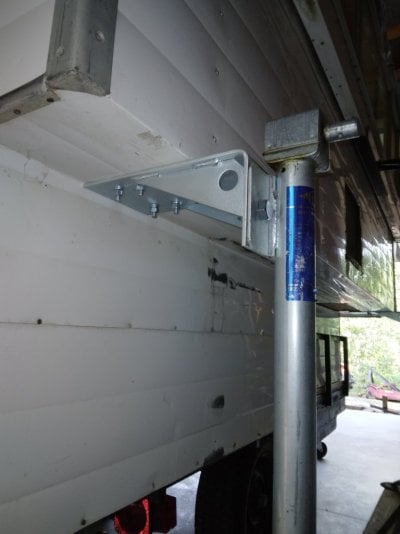
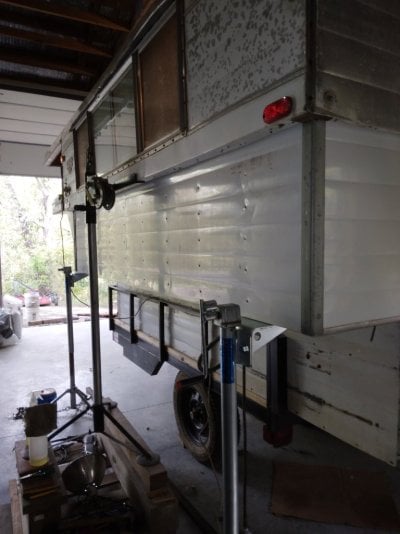
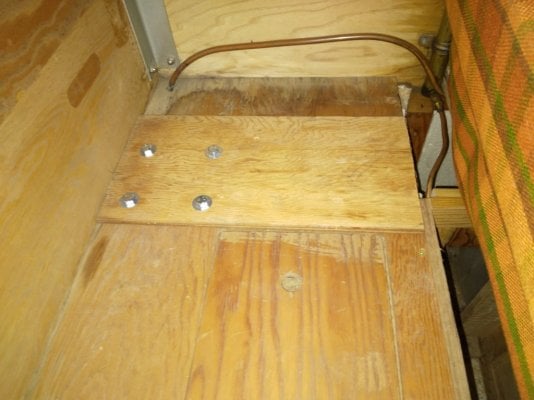
When I picked up this CO in Pueblo it came with two new Brophy cable jacks. Needless to say it was a bit scary to get it loaded on my truck. I just completed adding four Reico Titan heavy duty jacks with backing plates. The Brophy will come in handy for raising the top section to help separate. Next step is to replace the O rings on all four rams. I found them for $5.50 from McMaster carr.
 

Attachments

  • 20240928_155132.jpg
    20240928_155132.jpg
    126.3 KB · Views: 24
  • 20240928_155204.jpg
    20240928_155204.jpg
    85.2 KB · Views: 26
  • 20240928_155235.jpg
    20240928_155235.jpg
    108.8 KB · Views: 25
  • 20240928_160630.jpg
    20240928_160630.jpg
    115.5 KB · Views: 23
Last edited:
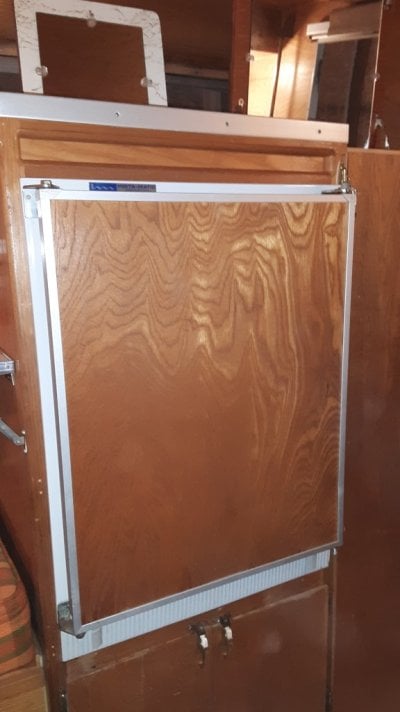
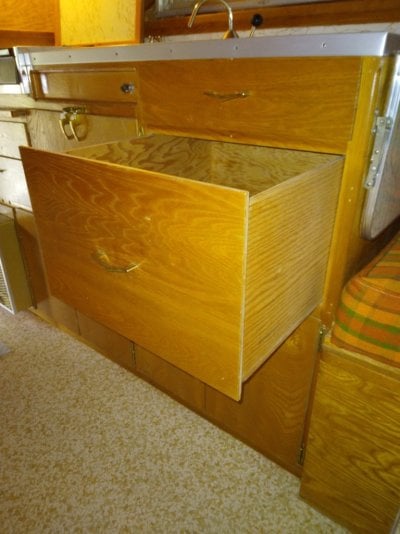
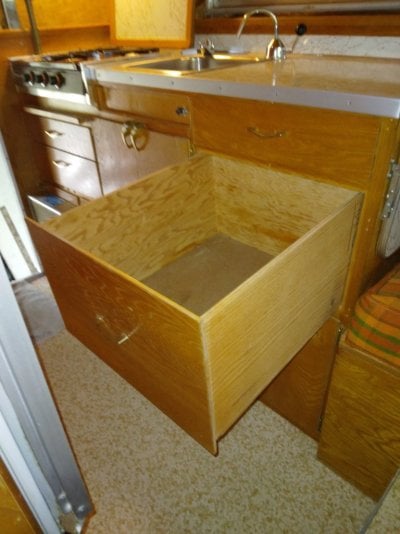
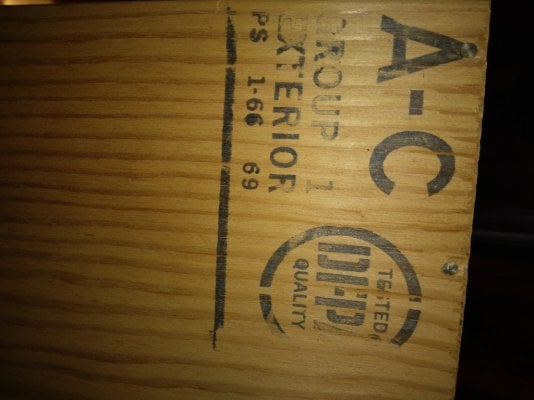
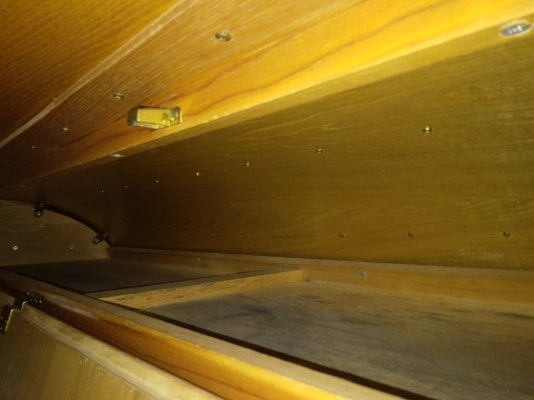
A few more pics of the inside showing the type of plywood Ft Lupton was using in 72. I have owned several truck campers over 20 years but I have never seen a drawer as large as this.
 

Attachments

  • 20240928_155700.jpg
    20240928_155700.jpg
    121.9 KB · Views: 25
  • 20240928_155713.jpg
    20240928_155713.jpg
    115.2 KB · Views: 26
  • 20240928_155806.jpg
    20240928_155806.jpg
    122.9 KB · Views: 29
  • 20240928_161059.jpg
    20240928_161059.jpg
    94.9 KB · Views: 26
  • 20240928_155037.jpg
    20240928_155037.jpg
    89.1 KB · Views: 24
  • 20240928_160024.jpg
    20240928_160024.jpg
    81.8 KB · Views: 25
This is one of my favorite gadgets that Alaskan added.
 

Attachments

  • 20240928_160215.jpg
    20240928_160215.jpg
    154.3 KB · Views: 27
  • 20240928_160151.jpg
    20240928_160151.jpg
    112.8 KB · Views: 25
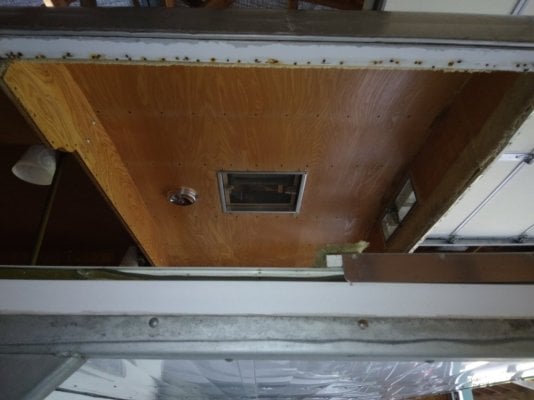
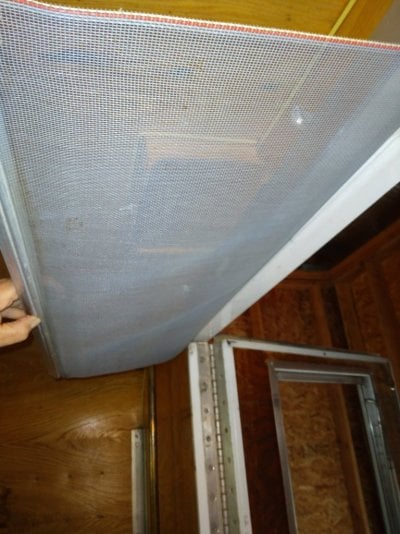
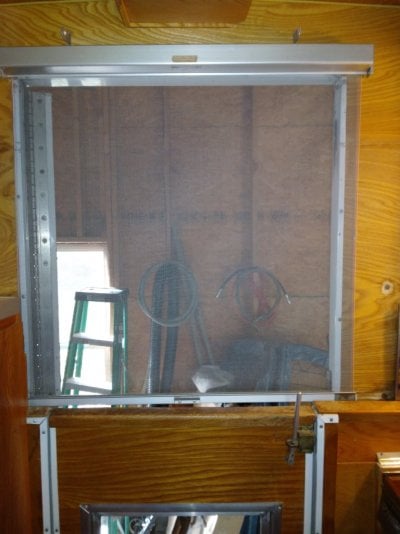
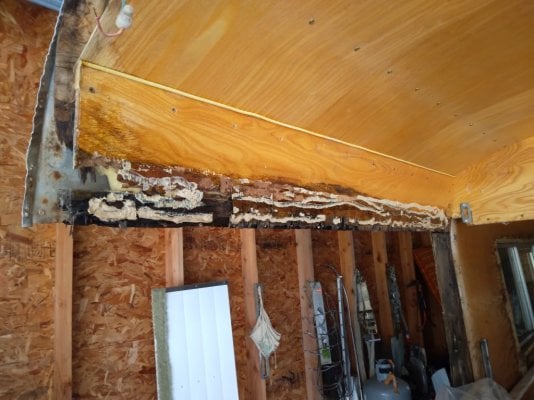
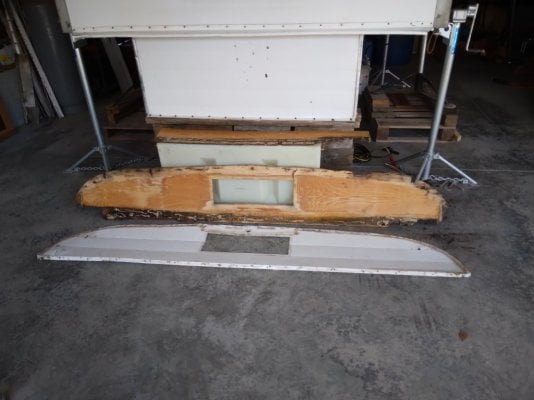
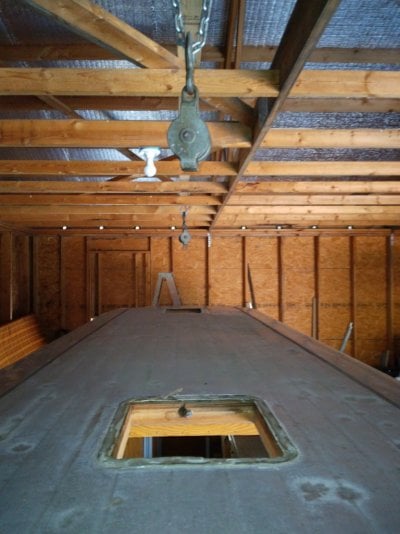
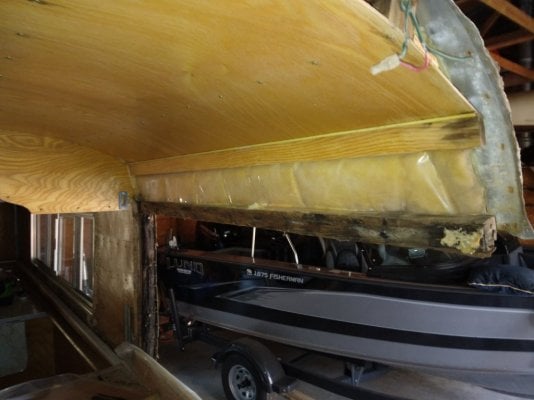
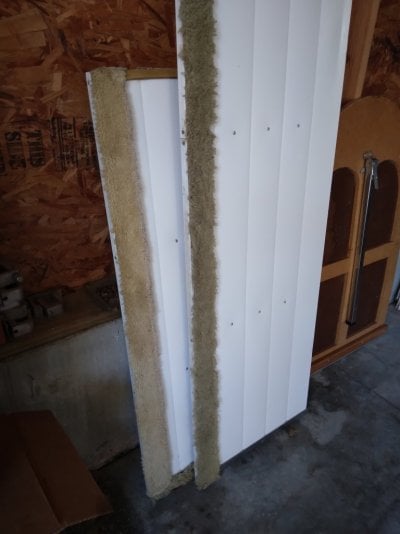
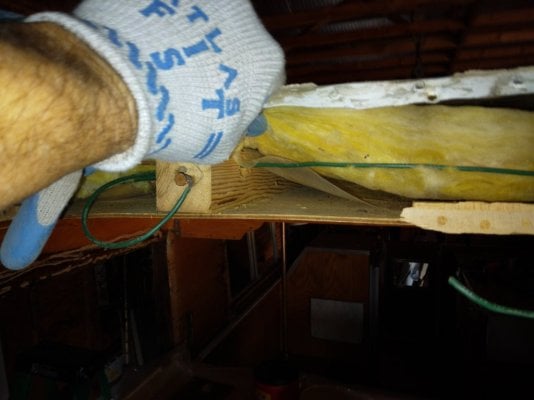
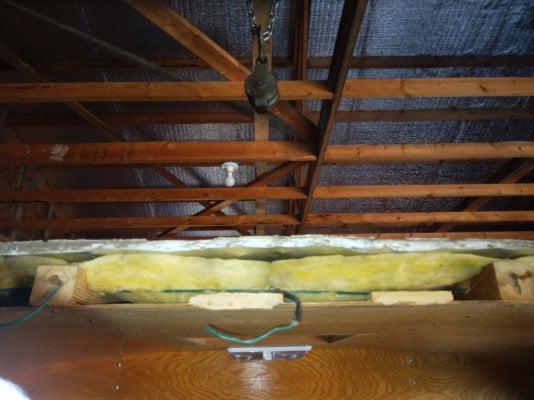
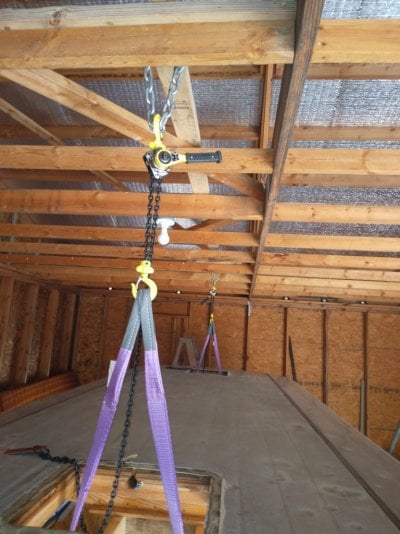
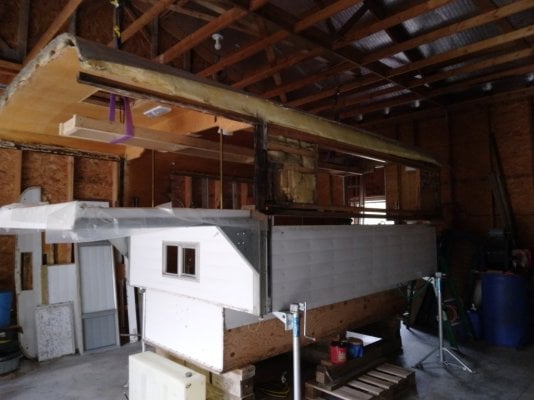
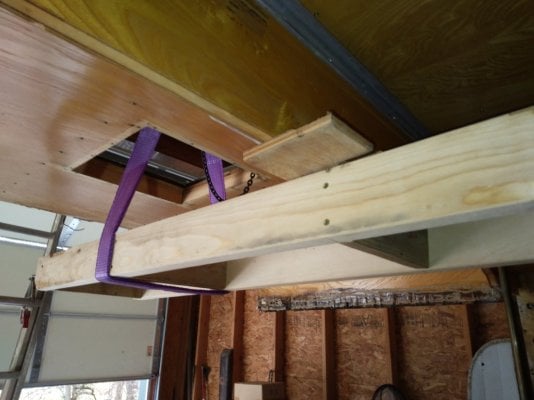
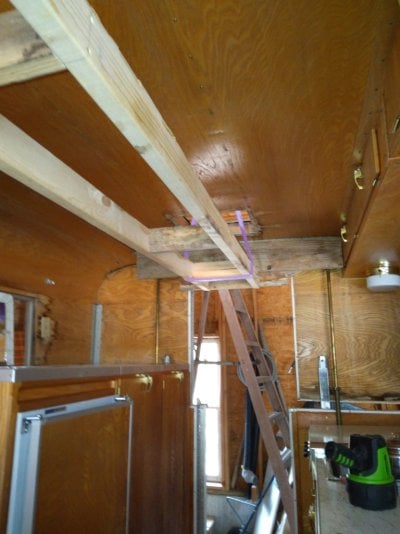
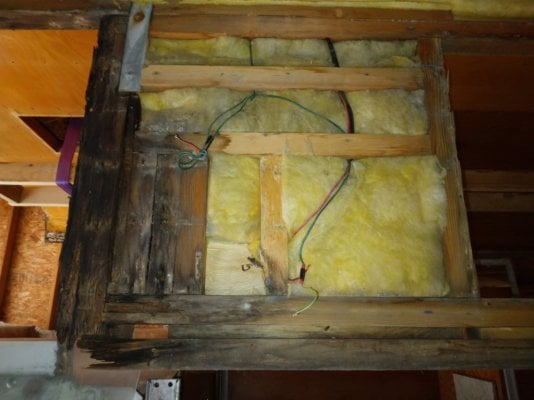
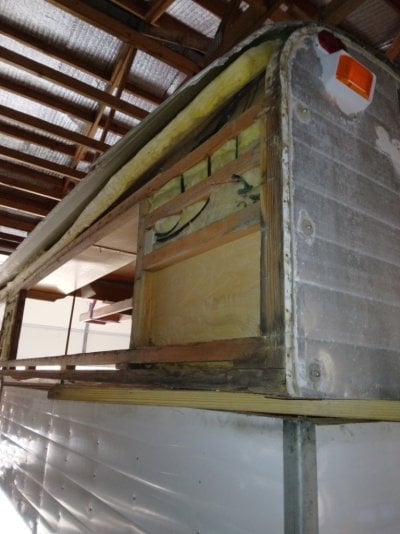
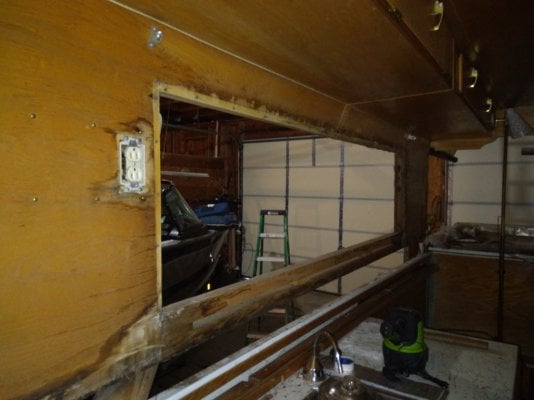
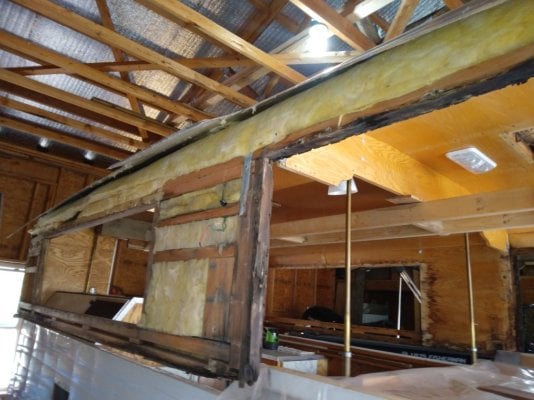
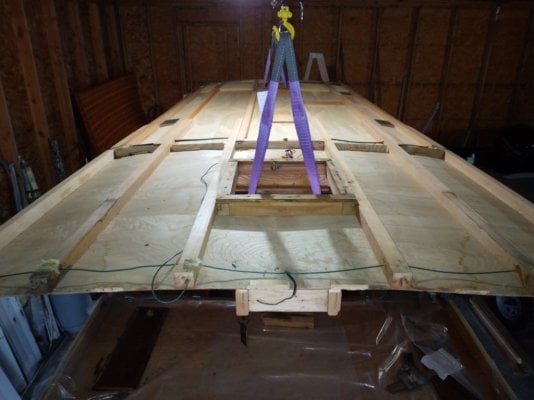
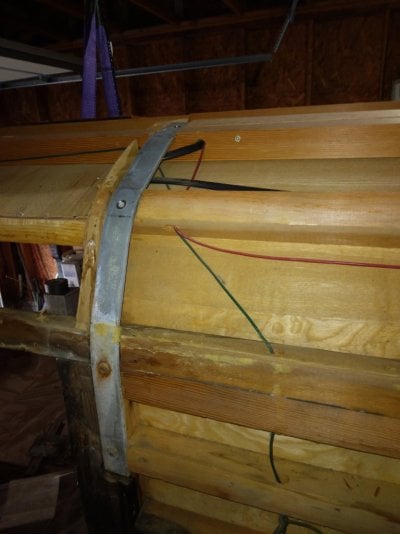
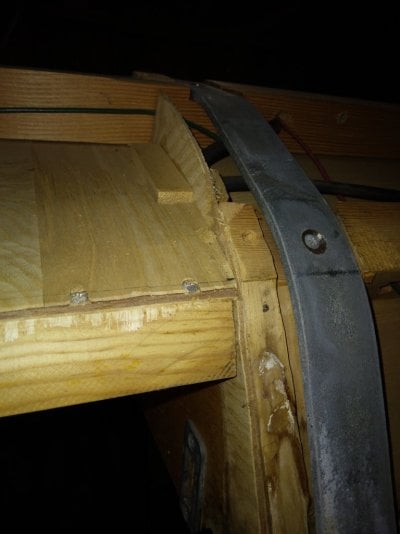
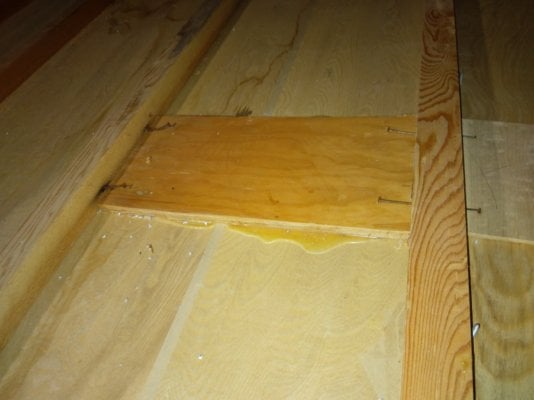
More progress on preparing to rebuild the top CO section. I installed pulleys above each vent and started the removal of the outer skin. Instead of purchasing two overhead winches I am leaning toward quality hemp rope and two come-alongs. Once lifted above the bottom box I can place supports on the corners and lower the top CO down for the final work. As you can see from the pics the usual places on these CO's need replaced. Most of the moisture entered via the clearance lights and screw holes not sealed. One problem area in the CO bed area during the early years was the use of carpet strips to seal the hinged panels. No more carpet for this one.
 

Attachments

  • 20241024_120046.jpg
    20241024_120046.jpg
    140.6 KB · Views: 19
  • 20241024_141744.jpg
    20241024_141744.jpg
    119.5 KB · Views: 21
  • 20241024_120455.jpg
    20241024_120455.jpg
    104.9 KB · Views: 19
  • 20241024_142012.jpg
    20241024_142012.jpg
    128.7 KB · Views: 17
  • 20241024_142103.jpg
    20241024_142103.jpg
    103 KB · Views: 18
  • 20241024_120314.jpg
    20241024_120314.jpg
    83.2 KB · Views: 17
  • 20241024_142050.jpg
    20241024_142050.jpg
    89.3 KB · Views: 17
  • 20241024_141956.jpg
    20241024_141956.jpg
    128.2 KB · Views: 20
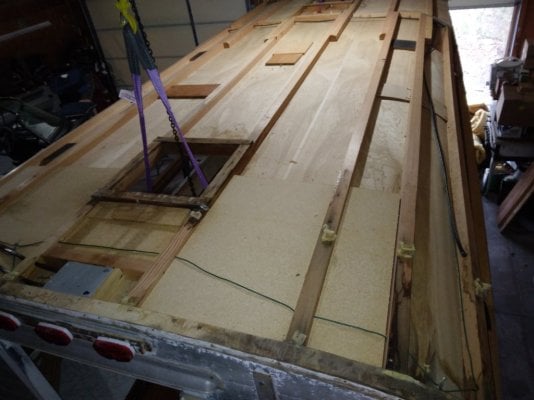
I ended up purchasing two 500 lb overhead winches just to be safe. The top skin is ready to slide off I just need to find a helper.
 

Attachments

  • 20241027_121628.jpg
    20241027_121628.jpg
    150 KB · Views: 10
  • 20241028_105734.jpg
    20241028_105734.jpg
    109.2 KB · Views: 8
  • 20241027_121531.jpg
    20241027_121531.jpg
    101.7 KB · Views: 8
  • 20241027_121436.jpg
    20241027_121436.jpg
    116.6 KB · Views: 8
  • 20241028_105810.jpg
    20241028_105810.jpg
    109.4 KB · Views: 7
  • 20241028_105832.jpg
    20241028_105832.jpg
    123.9 KB · Views: 7
  • 20241028_145828.jpg
    20241028_145828.jpg
    103.1 KB · Views: 8
  • 20241028_140508.jpg
    20241028_140508.jpg
    141.6 KB · Views: 10
Thanks Sagebrush.......As with many rebuilds I am standing on the shoulders of previous Alaskan restorations. There are several well documented restos here that I am relying on. With the camper inside my shop I don't want to waste any more time so I have been working a couple of hours each day.

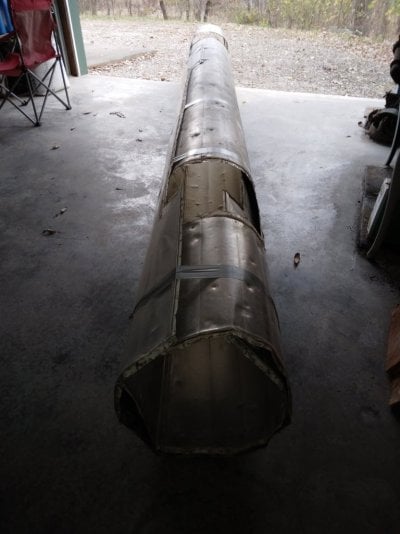
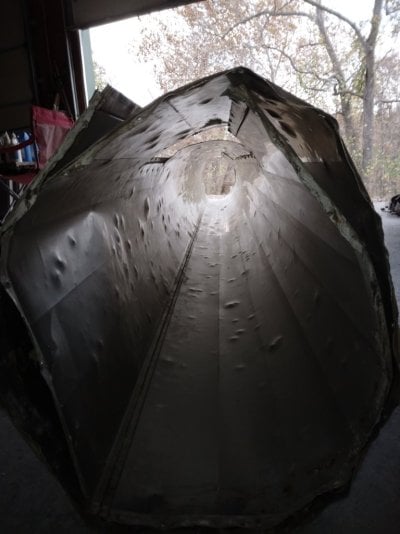
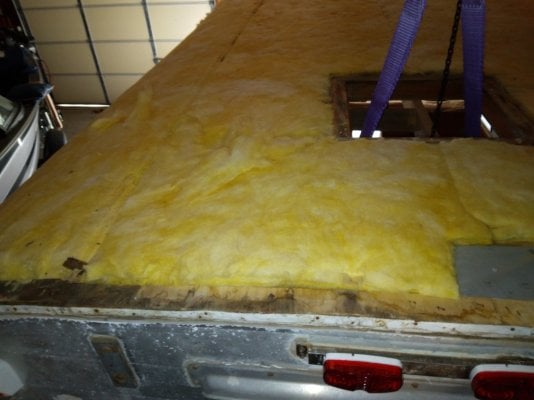
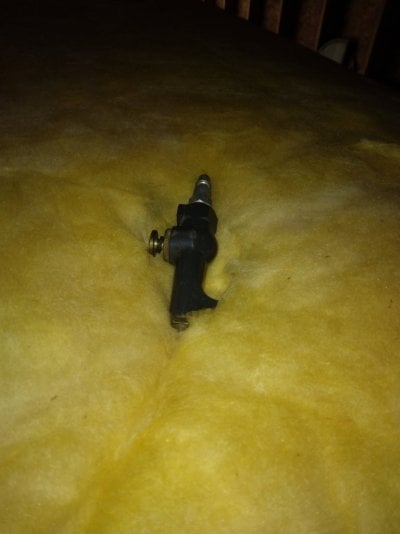
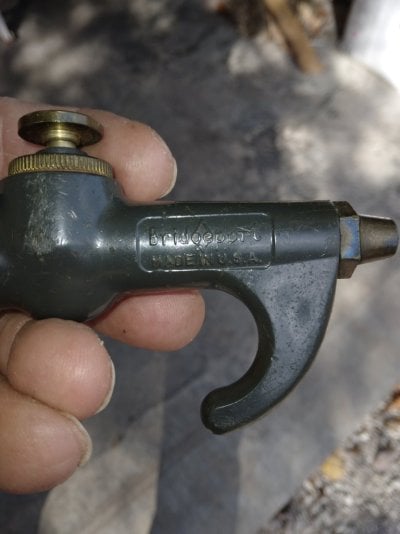
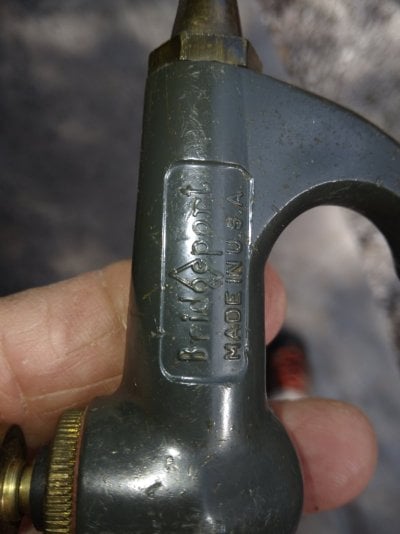
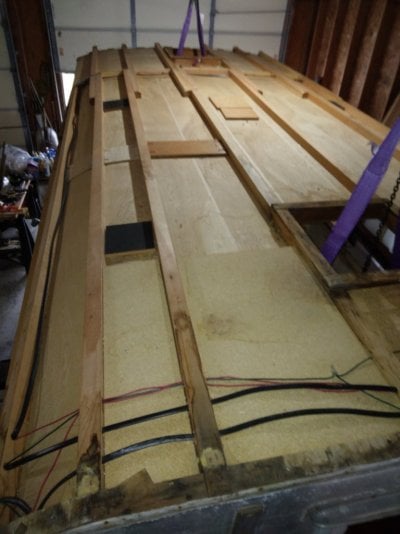
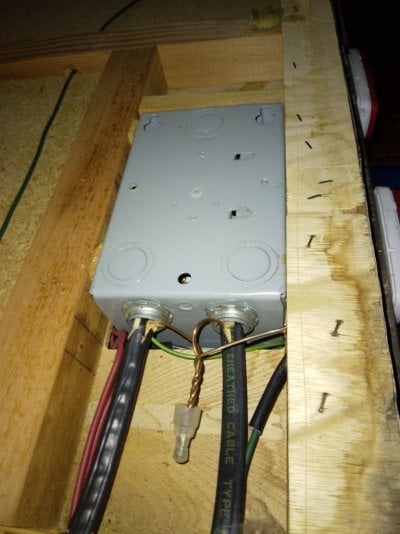
Today I was able to safely slide the top skin off the side on pic boards. Once off a friend came over to help move it and tie it into a roll. The skin is one piece and heavier than I expected. I now have a template to send to Alaskan or Brian Wheat for a new skin. While taking pictures of the fiberglass insulation under the skin I noticed something left by the builders.........at first I thought it was a bolt but a closer look showed it to be a air chuck blower.......in perfect shape. The best part is it works better than the one i had.....Thank you Fort Lupton workers from 1972! A few pics of todays work.
 

Attachments

  • 20241029_124142.jpg
    20241029_124142.jpg
    111.3 KB · Views: 4
  • 20241029_124136.jpg
    20241029_124136.jpg
    103.5 KB · Views: 4
  • 20241029_110730.jpg
    20241029_110730.jpg
    103.4 KB · Views: 4
  • 20241029_110908.jpg
    20241029_110908.jpg
    102.4 KB · Views: 4
  • 20241029_111027.jpg
    20241029_111027.jpg
    77.9 KB · Views: 5
  • 20241029_111053.jpg
    20241029_111053.jpg
    99.3 KB · Views: 4
  • 20241029_111218.jpg
    20241029_111218.jpg
    85.7 KB · Views: 4
  • 20241029_111233.jpg
    20241029_111233.jpg
    92 KB · Views: 4
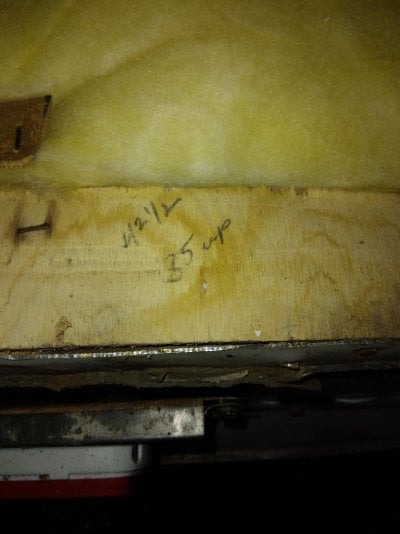
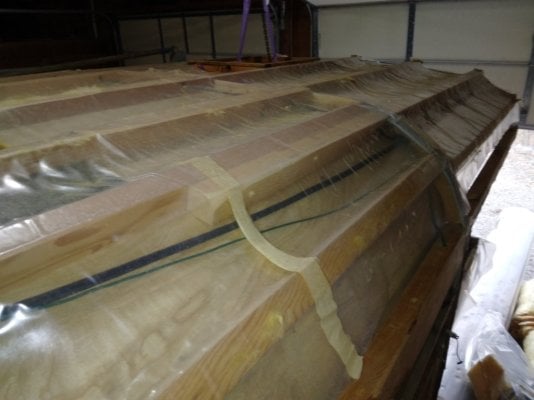
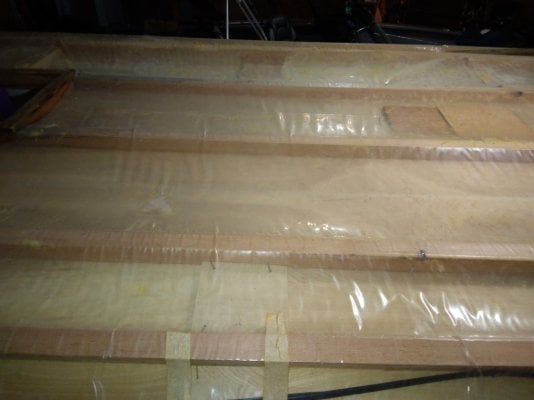
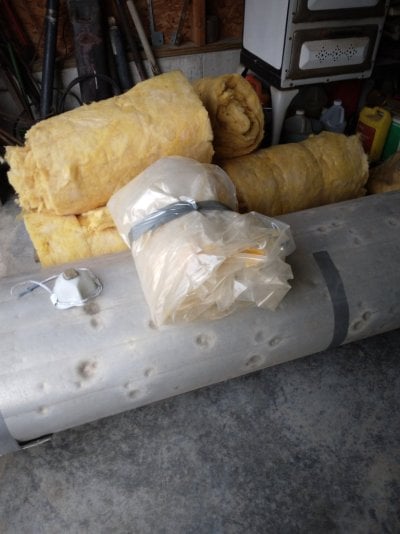
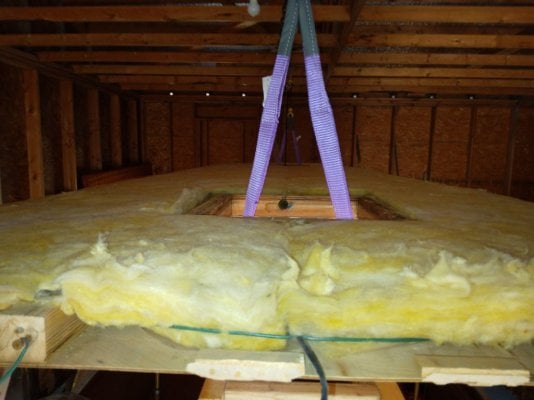
With the skin removed it was time to mask up and tackle the dirty job of removing old bat insulation. I contemplated re-using as it looked in good shape but as I started removing a lot of dust and fiber particles were on the vapor barrier. No water stains or brown spots on the fiberglass and very little water staining on the backside of the wood. The vapor barrier Ft Lupton used was very thick. I fully expected more damage on top but was pleasantly surprised.
 

Attachments

  • 20241029_164242.jpg
    20241029_164242.jpg
    88.1 KB · Views: 1
  • 20241029_164252.jpg
    20241029_164252.jpg
    82.8 KB · Views: 1
  • 20241029_170026.jpg
    20241029_170026.jpg
    111.6 KB · Views: 1
  • 20241029_171043.jpg
    20241029_171043.jpg
    106.5 KB · Views: 1
  • 20241029_170511.jpg
    20241029_170511.jpg
    105 KB · Views: 1
  • 20241029_170210.jpg
    20241029_170210.jpg
    104.2 KB · Views: 1
  • 20241029_170240.jpg
    20241029_170240.jpg
    120.6 KB · Views: 1
  • 20241029_170902.jpg
    20241029_170902.jpg
    100.9 KB · Views: 1
  • 20241029_171142.jpg
    20241029_171142.jpg
    113.9 KB · Views: 1
  • 20241029_170619.jpg
    20241029_170619.jpg
    89.3 KB · Views: 1

Try RV LIFE Pro Free for 7 Days

  • New Ad-Free experience on this RV LIFE Community.
  • Plan the best RV Safe travel with RV LIFE Trip Wizard.
  • Navigate with our RV Safe GPS mobile app.
  • and much more...
Try RV Life Pro Today
Back
Top Bottom