Low Cost Mods

Coming late to the luci..light discussion but...We have several (original and knock-offs) and we love them. Let them ride under our HEKI skylight to charge during the day while we're driving. Just as a warning, don't be stupid (like we were) and leave them inflated if you're going up in altitude :( They will pop! We put 'biners on the loop and hang them from our awning or in the camper from hooks we have in the ceiling.
 
My dad had an ultra shark that he accidentally threw away the attachments. So in looking around it seems you can't get them anymore but since used ones are incredibly cheap now http://www.ebay.com/itm/EURO-PRO-ULTRA-SHARK-600-WATT-TURBO-HAND-VACUUM-W-EXTRAS-/172699721195?hash=item2835b49deb:g:0FYAAOSwJ4hY-jHX I just ordered one that had attachments and kept the vacuum. It has great suction and is perfectly sized for the camper. I tried a 12v vacuum and it was worthless. If you have an inverter (it only runs a short bit so you aren't going to run down the battery) you can clean anytime.
 
We recently added these to our propane tanks:
http://mopeka.com/

This gives us high resolution measurements of our propane level, either on a small display or our iphones. In the summer this gives us the confidence to carry a single propane tank as we know exactly how much gas we have left.

They are about $90 for two gauges and the little LED display, or you can get a single gauge with no display (this is all you really need, use your smartphone as a display) for around $35.
 
rando said:
We recently added these to our propane tanks:
http://mopeka.com/

This gives us high resolution measurements of our propane level, either on a small display or our iphones. In the summer this gives us the confidence to carry a single propane tank as we know exactly how much gas we have left.

They are about $90 for two gauges and the little LED display, or you can get a single gauge with no display (this is all you really need, use your smartphone as a display) for around $35.
That looks like a pretty cool product. I was looking for something like that a few months back and settled on a Truma levelcheck http://www.levelcheck.com/us/
 
rando said:
We recently added these to our propane tanks:
http://mopeka.com/
Hey rando, are you using the LPG Tank Check sensors with 10 lb tanks? The description on their web site doesn't mention compatibility with 10lb bottles.

Can you hazard a guess as to what kind of resolution you're getting?

Thanks!
 
The 10lb tanks have the same vertical dimension as the 20lb tanks - so the 20lb tank setting works fine on a 10lb tank. There is also an arbitrary setting for any size tank. I am going to guess I am getting ~10% precision of better. I haven't compared the Tanks Check to my scale, but I refilled a tank that the tank check said was 60% full and it took ~ 1 gallon which seems to agree.
 
rando said:
The 10lb tanks have the same vertical dimension as the 20lb tanks - so the 20lb tank setting works fine on a 10lb tank. There is also an arbitrary setting for any size tank. I am going to guess I am getting ~10% precision of better. I haven't compared the Tanks Check to my scale, but I refilled a tank that the tank check said was 60% full and it took ~ 1 gallon which seems to agree.
Many thanks - this is very helpful. 10% resolution is impressive, especially for relatively low cost electronics.
 
Some of us go to the REAL boondocks to camp and have to "Be Prepared" as the Boy Scouts say to enjoy and even survive being out there...

So, I wondered exactly how one might add layers of safety to get help if you did indeed break down to the extent you were not going to McGyver it with duct tape to get back to civilization.
1) Communications: Cell phone, ham radio, CB, signal fires, flares (desert not forested locations, please!) or what? Remember: nothing seems to work everywhere! Maybe a Sat phone but it needs power!
2) Notification: Who knows where you went, when to expect you back and will notify the "authorities" if you fail to check in with them when you return to civilization? ( as in the USS Indianapolis sinking)
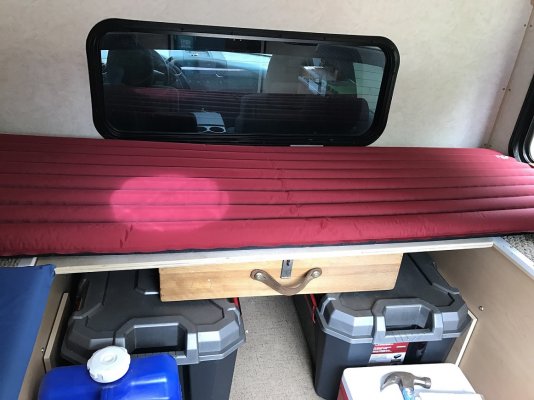
3) Supplies: Deciding how much food and water you need for the trip...plus the extra for an unknown amount of time awaiting rescue?
4) Fuel: One of the most critical supplies: If a road is closed you needed to use do you have enough fuel to double back the way you came or find an alternate route; in other words, how much "spare" fuel should you carry?
5) Weather: This may mean carrying chains, it certainly means being prepared for cold, wet or hot, dry climate changes if you get stuck out there...are you "prepared"?
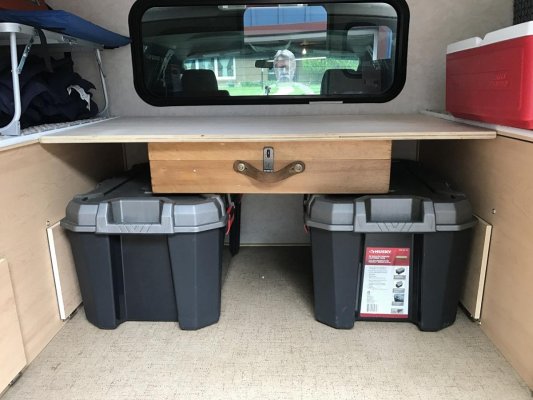
6) Spares: Tools, fan belts, tires, jack, duct tape, rope, etc. How much should you carry and how much do you need? Where to stash it?
7) Planning: Carrying maps that are up to date for the area you intend to travel in are a must and that includes once you get off the highways and into the desert or logging roads or other less-traveled roadways. Checking with Rangers or FS persons may save you time if a washout has occurred recently. Or if a road is still snowed in.

Aside from your choice of communications gear, the rest of this is just stuff you probably have on hand already but need to add to the "Idiot List" you keep when packing for a trip.

In reading many threads on WTW, some people seem really prepared while others are so over loaded with stuff I wonder if they have included or even thought about all this?

OK, most of us don't "wander" too far but many of us have been in at least one of those "Uh-oh" situations we either had to figure out or get some help with! So...as I said, "Be Prepared!"
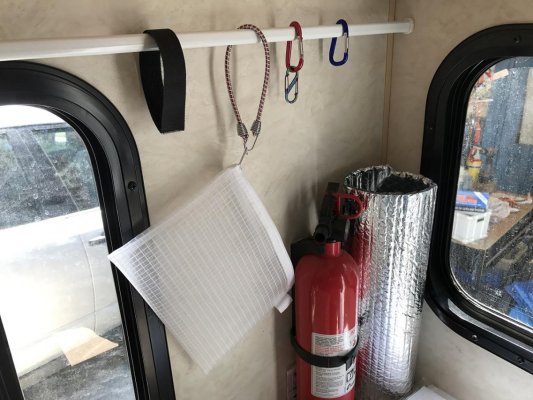
 
'Bout as low cost as you can get, using Home Depot crates and an old box my grandfather made, about 60 years ago. They just happened to be the right height for stacking, when adding a piece of 3/4" plywood to span the distance between the two side cabinets, making for a full width platform for an additional adult. 24" width is just right for a sleeping bag and air mattress (Big Agnes).
 

Attachments

  • IMG_3101_sm.jpg
    IMG_3101_sm.jpg
    131.2 KB · Views: 279
  • IMG_3118_sm.jpg
    IMG_3118_sm.jpg
    296.3 KB · Views: 327
munchmeister said:
'Bout as low cost as you can get, using Home Depot crates and an old box my grandfather made, about 60 years ago. They just happened to be the right height for stacking, when adding a piece of 3/4" plywood to span the distance between the two side cabinets, making for a full width platform for an additional adult. 24" width is just right for a sleeping bag and air mattress (Big Agnes).
Cheap and functional! Love it :)
 
munchmeister said:
'Bout as low cost as you can get, using Home Depot crates and an old box my grandfather made, about 60 years ago. They just happened to be the right height for stacking, when adding a piece of 3/4" plywood to span the distance between the two side cabinets, making for a full width platform for an additional adult. 24" width is just right for a sleeping bag and air mattress (Big Agnes).
Good job. Basic works well.
 
Here is another cheap way to handle curtains & add some "hangers." An expandable curtain rod, from Home Depot, stretches the length of the camper, N-S, and provides a place for those small 'biners, clips, bungees, velcro, so you can hang things off the rod. No screw holes, easy to remove. A 24" valance curtain slides on for the window covering.
 

Attachments

  • IMG_3266_sm.jpg
    IMG_3266_sm.jpg
    147.1 KB · Views: 352
  • IMG_3259_sm.jpg
    IMG_3259_sm.jpg
    300.1 KB · Views: 380
I've got a curtain rod almost like that for my curtains. It falls down every so often but not enough that I need to do anything about it.
 
Not extremely low cost but built with quality maple wood and aluminum... bed is about 48" wide we just camped in mammoth and another couple slept on this bed comfortably. Just need to get cushions made and install a table, then will double as a u shaped sectional dinette when the bed panels are stowed away in the cabinet. IMG_9015.JPGIMG_9018.JPGIMG_9019.JPG
 
Carterjkendall said:
Not extremely low cost but built with quality maple wood and aluminum... bed is about 48" wide we just camped in mammoth and another couple slept on this bed comfortably. Just need to get cushions made and install a table, then will double as a u shaped sectional dinette when the bed panels are stowed away in the cabinet.
attachicon.gif
IMG_9015.JPG
attachicon.gif
IMG_9018.JPG
attachicon.gif
IMG_9019.JPG
So, are the plywood panels just supported on the sides? Wood strips bolted to the existing cabinetry? Any other support under the center portion?
 
munchmeister said:
So, are the plywood panels just supported on the sides? Wood strips bolted to the existing cabinetry? Any other support under the center portion?
correct, 3/4 ply across in two pieces. The back piece also has a lip running length wise along the extra cabinet I built. The lip that the panels sit on is just 1x2 pine. For added strength I used 3/4 aluminum L bracket along the sides of the maple panels to just take out a little flex. Works perfect doesn't sag and is super light weight. I then store the two panels in the box I built when not using the "downstairs" bed.
 

Latest posts

Back
Top Bottom