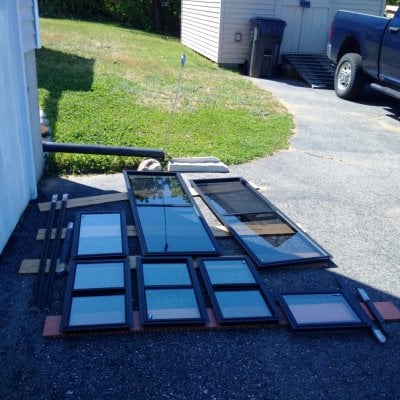
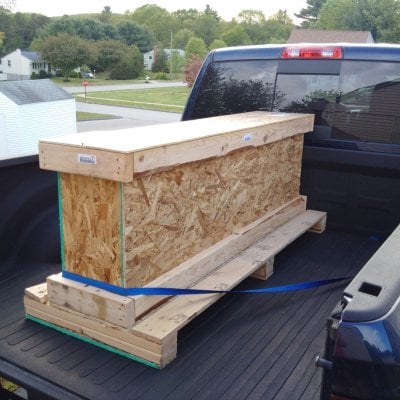
After about a year of living in an '84 10' CO rear side dinette model I have discovered a few design things I would like to change on a rebuild. But has anyone else have any ideas that they have discovered?
- Push/pull pins and steel plates to lock the camper in down and up position
- Additional "runners" at the midpoint of the sides to assist in keepin top sides from splaying out
- Move rear "runners" inward so closer to the edge of the door frame to prevent rear spreading and so on when peeps haul themselves in using the doorframe
- Rear vent much larger (like a school bus roof hatch but with bug screen) so can be used as an escape hatch when the roof is down, as well as roof access hatch
- Latches at top and bottom of lower door, linked together
- Operating rod that extends from upper door latch to above where the lower door sits when lowered so can be opened from inside (some later models had this)
- Window in lower door with bug screen on inside (so can have be removed replaced when top lowered - and so can reach through to access upper door window to open etc when lowered)
- Inflatable flat hose surround on lower half top outer area so can be inflated (once up) to seal better against bugs and (when down) against road dust
- Side windows in front side/front flip up sections (later models have)
- 12v and USB power points, additional 110v power point
- Bug screen insert behind fridge vent outer panel
- Longer metal support of cabover (extending back along top of rear portion) so not as much stress on wood screws of metal brace on front wall
- 110v and RV connect plugs relocated to passenger side (110) and rear (RV)
- teak 1/2" x 2" runners the full length of the bottom that match ridges in pickup bed floor to keep up main floor ply out of condensation and rain/water etc.
- Replace all latches with marine ones to keep stuff closed when off-road
- Better securing of fridge and stove/oven against off-road motion/bumps
- Euro style flexible slats on cabover under foam for spring and to allow airflow/prevent condensation in winter
- Better roof insulation (than pink fiberglass - later models have foam), and ply strips full length on either side of hatches (marked above on aluminum as "load bearing" to allow securing stuff and walking etc.
- Rigid foam insulation of lower walls and floor
- Double windows for insulation with tinting for less heat transfer inwards
- All screens "petscreen" for durability against tree branches


