Sorry, didn't intend to deviate into the details. I almost ordered the jack conversion kit last year but then started thinking about the wiring issue.
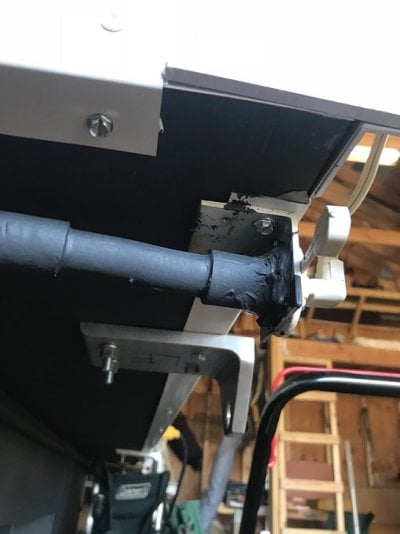
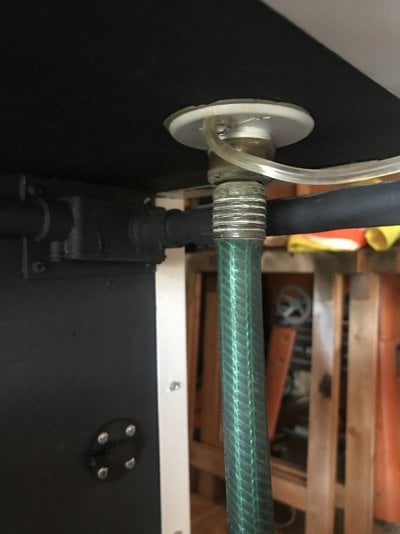
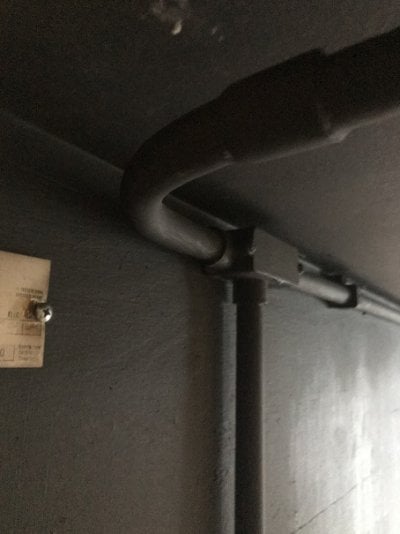
Getting back on topic, my conclusion from prior interior work is that there is no easy way to get behind the wall panels on all 4 corners unless you start with a shell model or have minimal interior upgrades. Mounting the plugs on angle brackets like shellbacks approach is a good solid method. I'll probably end up going with something a little less formal and run exterior wiring but see if I can leave the plugs dangling on each corner between the camper and the truck bed and then just reach over the truck bed rail and pull them out when needed. Of course I'll have to secure and minimize the slack in the wires so they don't get in way when installing the camper. Yes, it won't be as clean as having a mounted plug and I'll have to use two hands to push together the wire connectors, but I'll try it out for a season. I can always modify it later if needed.