Yukon
Senior Member
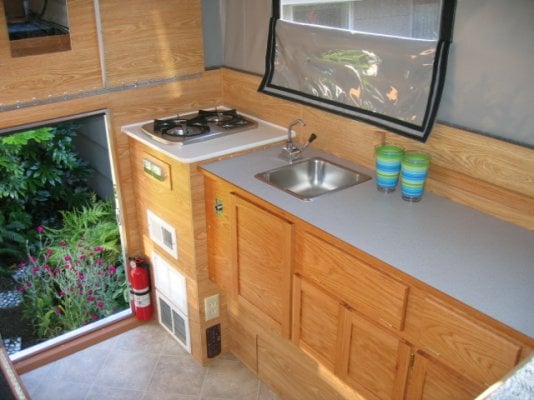
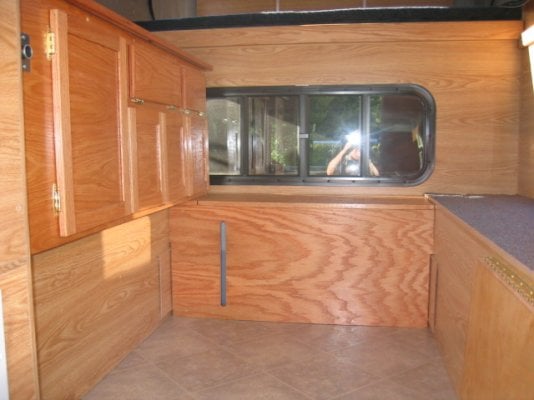
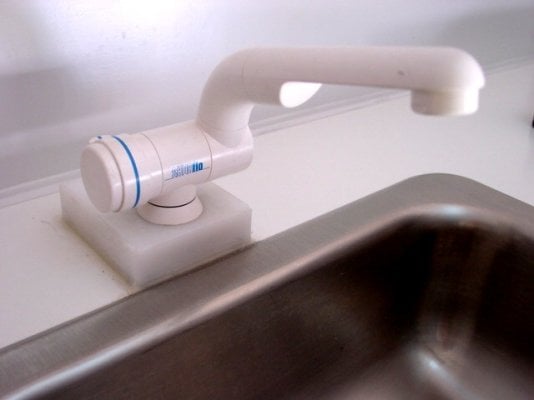
After about 2 months of work, my Eagle shell interior work is finally done. Bought shell with only the furnace & battery…nothing else. Several photos will give you an overview of key elements that I built/installed myself. Photo1: stove, AC & DC power meters (switched to save power). DC auxillary outlet, sink and hand pump faucet. AC outlet. Formica counter; Oak panel doors that were planed thin to make light weight. Kept simple with desire for lots of space and minimum power usage.
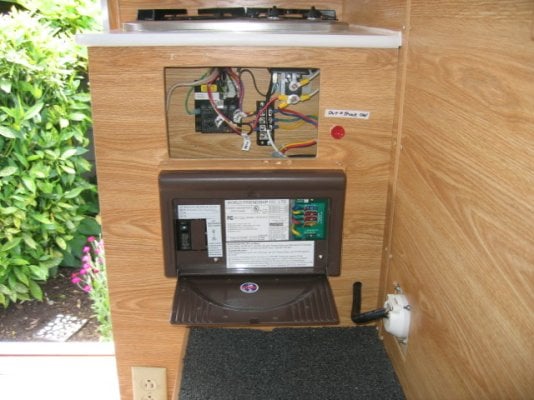
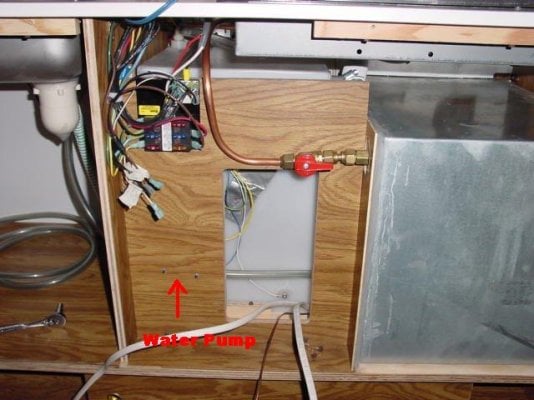
Photo2: electrical panel hidden inside the counter. Dismanteled DC breaker that came with shell and added a single unit that has 3-stage battery charger, AC breaker, and DC circuit breakers with alarms. You can see AC power input line I added.
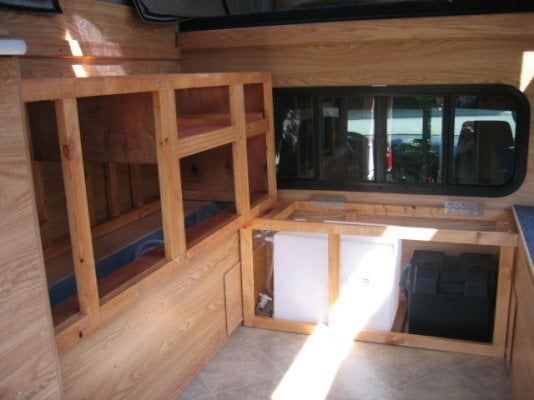
Photo3: Framing. You can see 10 gal water tank and battery. Weight in center of truck. All framing is screwed together and can be removed, or even re-designed if desired.
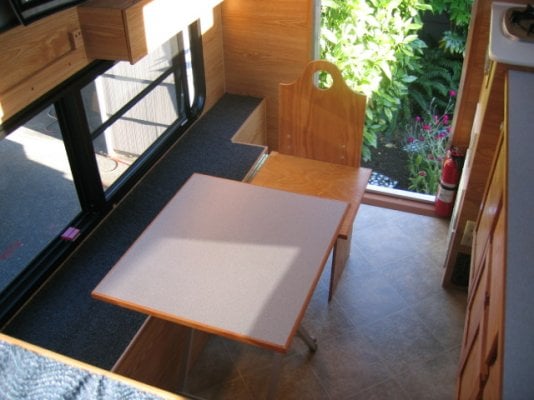
Photo4: Table and chair. Table is two piece. Frame is aluminum from camping store and folds up. Can be used outside. The top if separate and formica. I may later make a base and install as part of camper but like idea of moving it outside. Chair is fully hinged and folds down completely out of the way. I have cushions that fit on it and fit on bench on other side. People sit facing each other.
Photo5: Water tank & battery compartment. Hinged top for each access. Notice slit in the wood so you can easily see the water level. No fancy gages! Notice the chair that is folded down.
We will decide if we are going to add anything more after taking it for a spin. Have not taken her on a voyage yet. I don’t recommend doing this your self if your motive is saving money. It’s a LOT of work. I only did it because I wanted the design to be exactly the way I wanted it (I’m an Engineer). Next step is installing my homemade awning (mentioned in earlier posting) outside.
Hope to see you guys on the road!
Chris
PS: wish I had seen the neat DC outlet that was posted earlier.

