New Granby Home Build

Hadley,
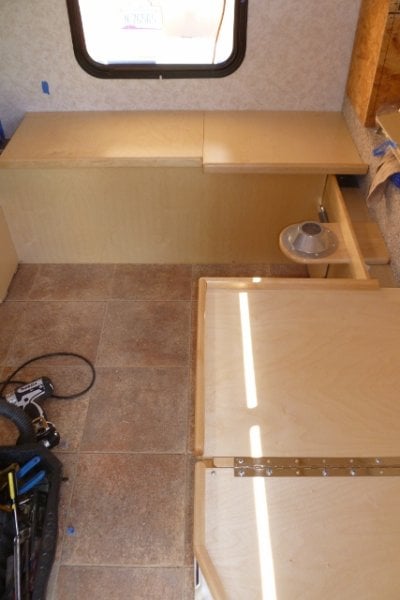
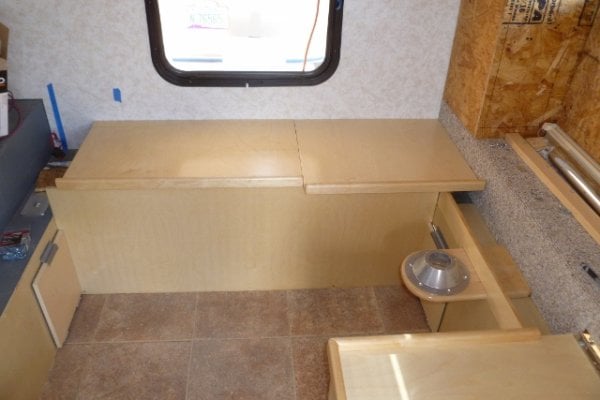
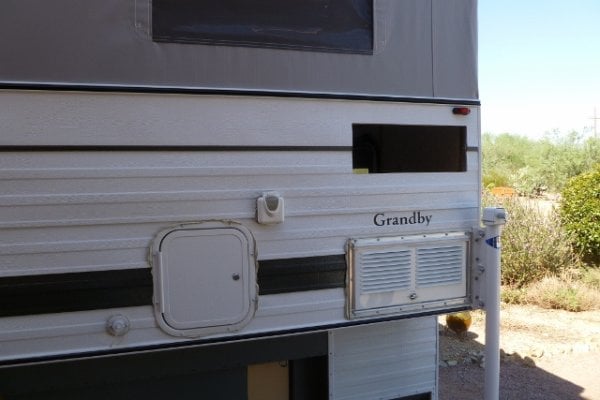
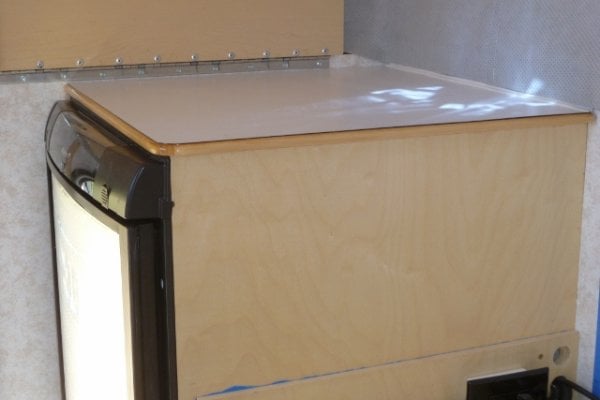
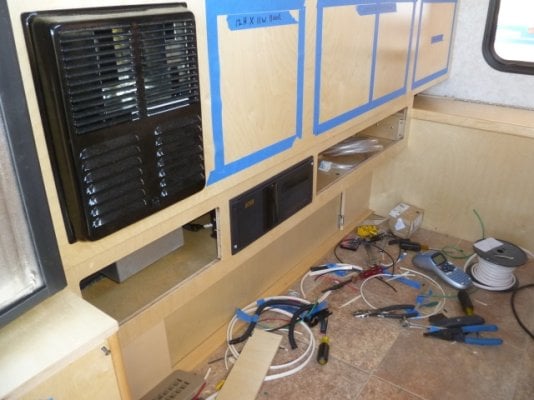
The interior paneling is a vinyl covered 1/4" ply.The aluminum skin on the inside might work ok.Thats the way Airstream did my 1990 excella.But it is cold to the touch in the winter.


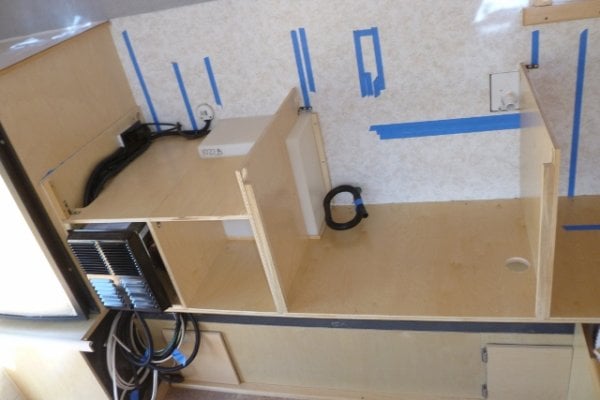
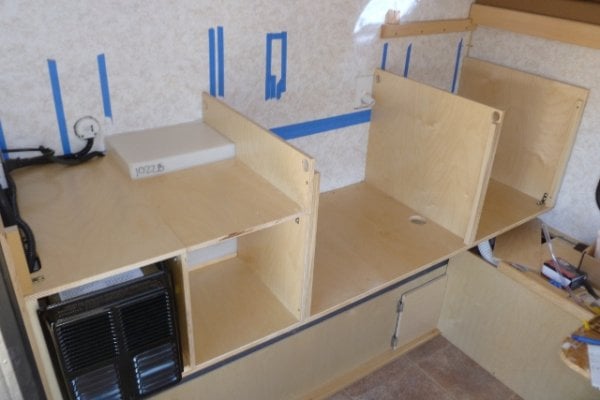
It might through them for a loop for a half second, esp. on how to price it, but in reality it would save time/materials on the build so there should be a win/win common ground on deleting that. No point paying for all the materials/time if you're going to tear it out when it gets to you. I'm assuming you're ordering a 100% shell though, otherwise I can see issues with trying to have them do this.

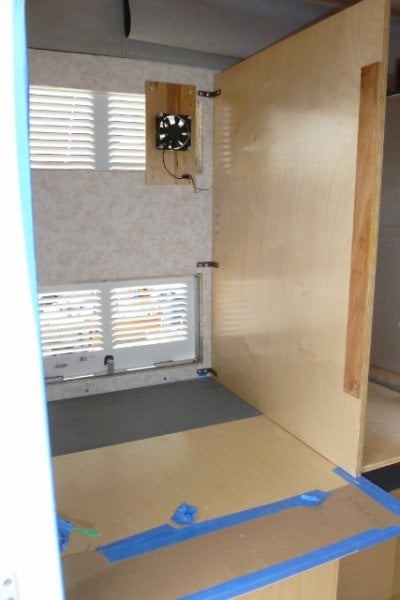
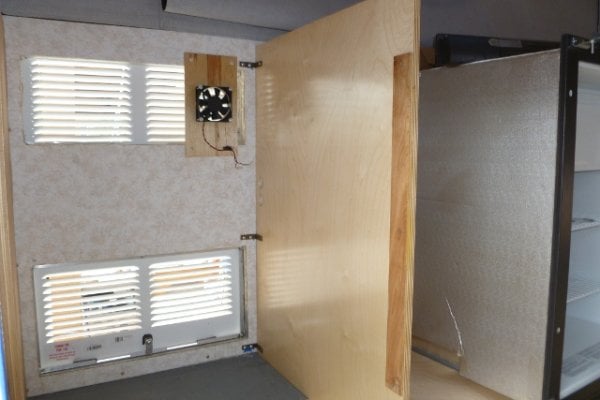
However it could be tricky based on some of the trip work (top edge of the lower camper, where the cabover meets the front wall, etc.) that are normally on the outside of the interior walls. Also the window trim rings might not fit right w/o the paneling (but could probably just have some scraps stuck in for shipment purposes.

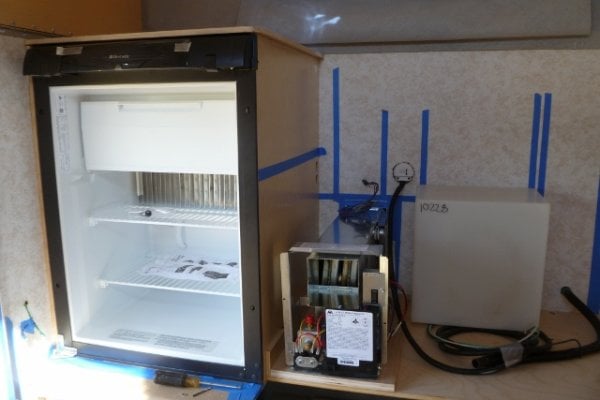
Final thought is if you know what paneling you'd really want to use see if they'd consider installing it.

Just spit balling here.


Thanks for the info and ideas.
 
Here are some pictures of the forward locker.22 gal. water tank and the 2-31 series AGM batteries in this area.I went with the raised table leg for more foot room.
 

Attachments

  • P1010069 (427x640).jpg
    P1010069 (427x640).jpg
    168.4 KB · Views: 906
  • P1010065 (640x427).jpg
    P1010065 (640x427).jpg
    169.2 KB · Views: 925
I thought I would take a day off woodworking and put some more holes in my new Grandby. I had the factory frame the wall for a standard Grandby so I could put in my water inlet, 120V power input, furnace outlet and 3 CU FT frig. I had the factory frame my water inlet 3 inches lower than standard so I could lower my countertop as my wife is only 5 foot tall. I was not planning on a HWH so lowering the water inlet was not a problem.
 

Attachments

  • P1010070 (640x427).jpg
    P1010070 (640x427).jpg
    152.5 KB · Views: 458
  • P1010079 (640x427).jpg
    P1010079 (640x427).jpg
    132.7 KB · Views: 522
  • P1010082 (640x427).jpg
    P1010082 (640x427).jpg
    170.8 KB · Views: 463
Got my 3 cu. ft. 2 way frig so I thought I would get it in.This is the frig. the wife wanted.I went back and forth on 12V or propane. I need all the amps I can get for my HF ham radio. So, I hope it will work ok. Furnace will be next, neat unit Atwood 8012 only draws 1.8 amps..
 

Attachments

  • P1010084 (427x640).jpg
    P1010084 (427x640).jpg
    158.1 KB · Views: 562
  • P1010085 (640x427).jpg
    P1010085 (640x427).jpg
    169.2 KB · Views: 700
  • P1010087 (640x427).jpg
    P1010087 (640x427).jpg
    162.4 KB · Views: 672
Furnace will be next, neat unit Atwood 8012 only draws 1.8 amps.


I picked up the same one for my build. Interested to see how it installs/fires up for you since you're cruising along on this interior build and will have it fired up while I'm still building my shell. :p
 
Got the frig top on. Maple trimmed white mica. I will make the top removeable so I can get to my frig fan from the top. Started to do some wiring,frig 12VDC and 110VAC done,furnace 12VDC wired running T-stat wires to the bed side passenger cabinet easy on in the morn from bed.110VAC to A/C done, aux outlet on passenger self done w/12VDC there too.Got the galley area dividers in .I am taking the counter top to within 1" of the front wall but not tying to it .Will start lower cabinet this week,waiting on IOTA distribution panel.
 

Attachments

  • P1010090 (640x427).jpg
    P1010090 (640x427).jpg
    142.8 KB · Views: 621
  • P1010092 (640x427).jpg
    P1010092 (640x427).jpg
    163.8 KB · Views: 4,456
  • P1010093 (640x427).jpg
    P1010093 (640x427).jpg
    163.9 KB · Views: 696
What's the white box we're looking at (looks like it correlated to a hatch on the outside of the unit)?
 
Bisleybud, are you considering going into the custom interior building business? Looks like very nice work.

We probably can't afford him. Fine joinery and fine design though, eh?
 
Looks great!

I'm guessing this isn't the first time you've joined two pieces of wood . . .

Mine saw the light of day for the first time yesterday -- just a few loose ends now (after 8 weeks and about 175 hours of labor). Any guess how long before yours hits the road? I'd like to check it out some time when you get it wrapped up . . . maybe a WTW happy-hour? I'm sure there are a couple other locals we could talk into a cold one some evening.
 
Pods8
Yes the box is for power cord & hose,you are seeing it from the back.

ski3pin
Had a marine service company for 20 years-Retired now this is just for fun..

Goodtimes
Looks like I have another month of fun here.We will have to get together and compare notes.
 
Pods8
Yes the box is for power cord & hose,you are seeing it from the back.


I see I wasn't thinking of that. I just had the recessed male plug like most of these have in my head. Almost looked like a shower fixture box but I didn't see the hose connection.
 
Had company for a week so got back to it this week.Finished up the AC and DC panel.Laid out the cabinet for doors.Cut the countertop and finished the tank plumbing.
 

Attachments

  • P1010124 (640x480).jpg
    P1010124 (640x480).jpg
    190.6 KB · Views: 736
  • P1010134 (640x480).jpg
    P1010134 (640x480).jpg
    204.4 KB · Views: 740
Nice!

I kinda wish I didn't have the left side window in mine so I could have pushed the cabinet all the way up to the front wall like you did.
 
Hadley,

I am just going with white mica with the same maple trim as I did on the frig top.Only difference is the counter will be 3/4" so the maple reveal will be a little thicker.Thought about something dark and rich looking but want to keep the interior as light and bright as possible.
 

New posts - WTW

Back
Top Bottom