Star152
Senior Member
- Joined
- Jan 5, 2007
- Messages
- 188
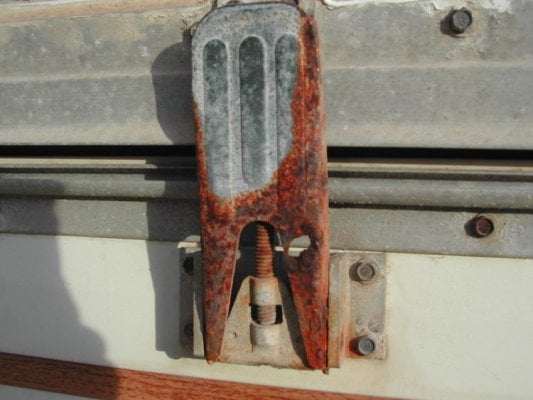
I‘ve had my 04 Granby for one year now. Living in SF I must deal with FOG and Rust. The first to go was the four jack mounts. All started rusting all over. I took as much rust of as I could with a Dremel. I use OSH paint in a can. I primed first then painted gloss white. After I let the paint dry I sealed the top and bottom with 3M quick dry adhesive from West marine very expensive for a tube $25. I also filled the holes and the edge where the two plates meet for a total seal. I did this work in the early summer and so far it look like the rust has slowed and not coming through the paint. This made the camper look brand new.
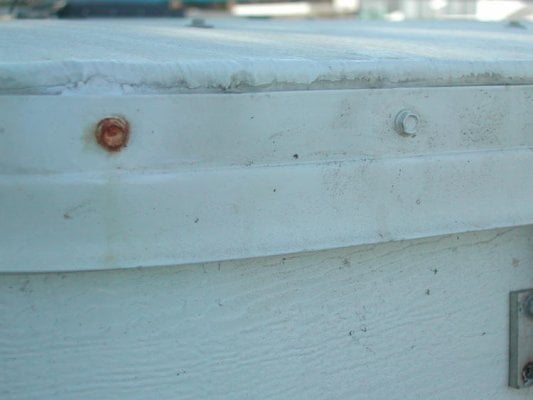
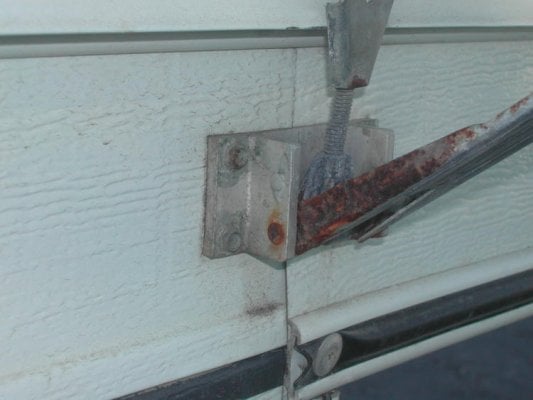
Next the roof edge with all those hex screws. First I cleaned and removed the all the calking around the roof edge. Tighten all screws (not to tight) using the same 3M re-calk the roof edge. I used a plastic putty spreader and an old metal butter spreader. I let the calk cure. Some time later a month or two I replaced all the screws. www.boltdepot.com thanks WarpathE for the site. I ordered 300 S/S sheet metal screws, Hex washer 8 x ¾ and for the stripped out ones I ordered 100 10x 3/4. Using the same 3M I dipped the screw then put them in. A NOTE I replaced the screws holding the roof latch and all four just snapped off. Rather then trying to drill out the hole I had to shift the latch over slightly it was easier to drill four new holes. So I will wait until the latch screws rust and try to replace them. The latches have a longer screw. The ¾ will work fine.
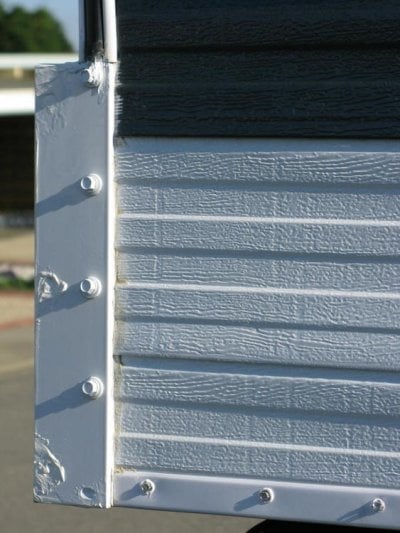
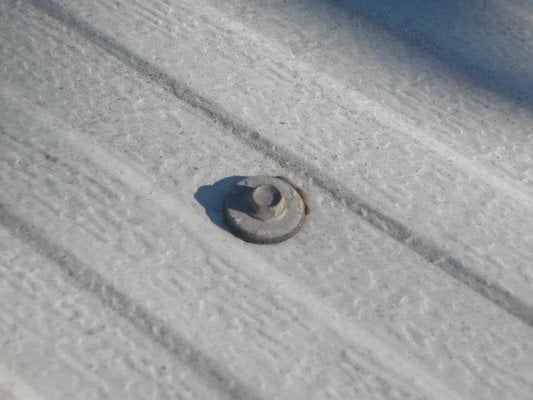
Baton strips inside some of the staples were coming loose so I just replaced the loose ones with a finishing washer and ¼ matching screw. I was able to remove some of the staples and drill a hole in the same spot. The ones I could not remove I drilled a hole next to the staple and the washer covered the hole.
Door stop. I removed the factory door stop because of rust. After I painted it I found a left over plastic door stop from OSH with the double sided tape I placed it on the door. It touches the taillight and I will use a bungee cord to hold the door open.
Photos coming.
Next the roof edge with all those hex screws. First I cleaned and removed the all the calking around the roof edge. Tighten all screws (not to tight) using the same 3M re-calk the roof edge. I used a plastic putty spreader and an old metal butter spreader. I let the calk cure. Some time later a month or two I replaced all the screws. www.boltdepot.com thanks WarpathE for the site. I ordered 300 S/S sheet metal screws, Hex washer 8 x ¾ and for the stripped out ones I ordered 100 10x 3/4. Using the same 3M I dipped the screw then put them in. A NOTE I replaced the screws holding the roof latch and all four just snapped off. Rather then trying to drill out the hole I had to shift the latch over slightly it was easier to drill four new holes. So I will wait until the latch screws rust and try to replace them. The latches have a longer screw. The ¾ will work fine.
Baton strips inside some of the staples were coming loose so I just replaced the loose ones with a finishing washer and ¼ matching screw. I was able to remove some of the staples and drill a hole in the same spot. The ones I could not remove I drilled a hole next to the staple and the washer covered the hole.
Door stop. I removed the factory door stop because of rust. After I painted it I found a left over plastic door stop from OSH with the double sided tape I placed it on the door. It touches the taillight and I will use a bungee cord to hold the door open.
Photos coming.