davidshourd
Advanced Member
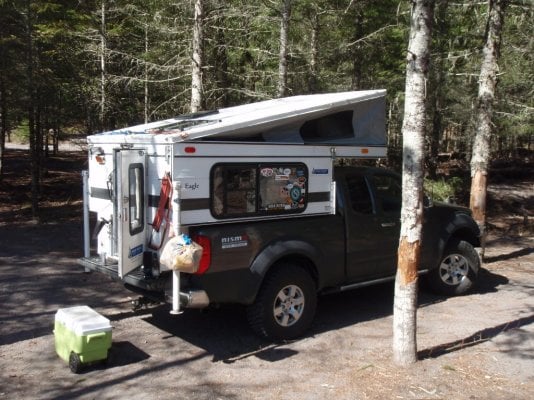
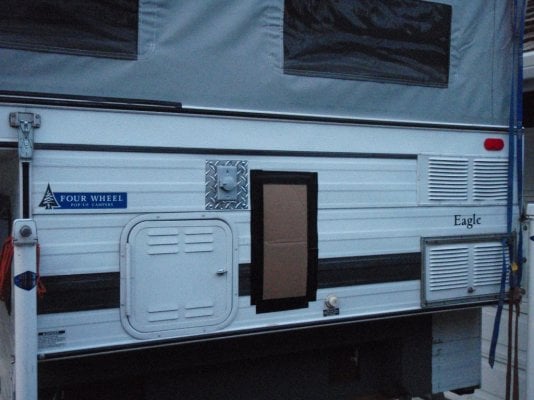
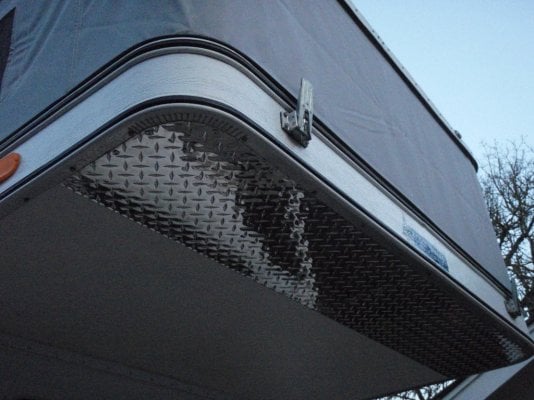
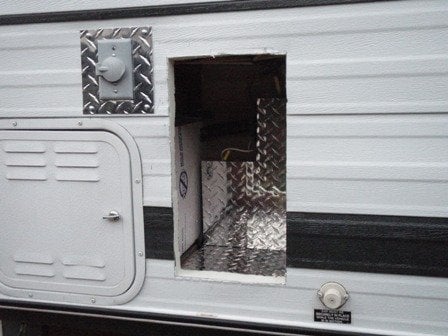
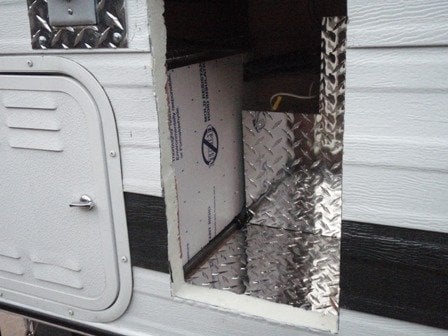
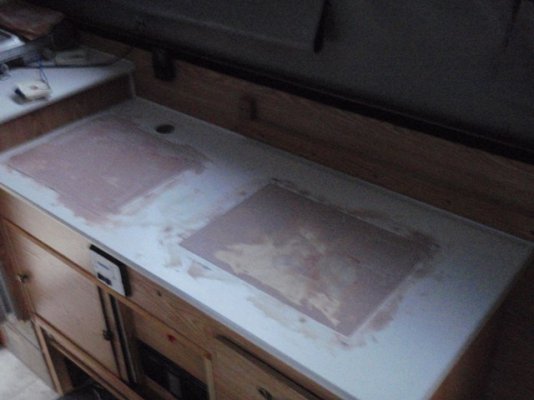
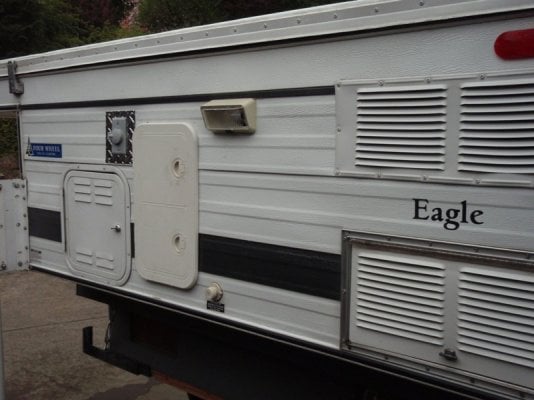
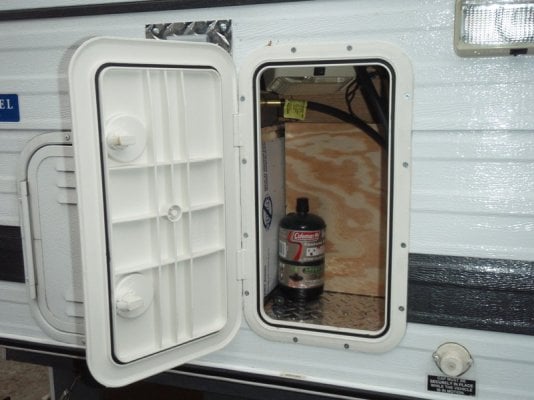
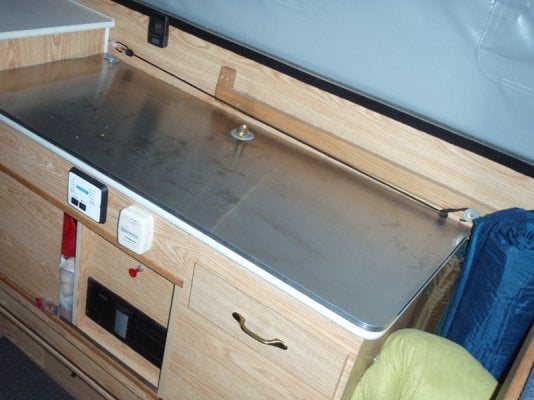
I have been considerng for a while removng the build in two burner stove, sink and water tank. well I finaly pulled the trigger when I got back from a weekend out and around Mount Hood last weekend. I have pulled the stove, sink and carefully pulled the water tank out. ordered a nice sheet of stainless to skin the counter with. Ran a flexible gas line hose that will allow for setting up the camping stove in side, on the tailgate or on the side of the camper. Last night I proceeded with cutting a 9 1/2" by 16" holes in the side of the camper just to the right of the propane tank storage. I got a "marine grade access hatch" online that will plugthis hole and give access to behind the breaker/fuse panel. I am going to fit it out in there for additional storage. Also pulled the water fill up hatch (no water tank to fill up) and moved the land power outlet to that hole. trimed it out with some aluminum diamond plate. Up front under the "bill" of the camper, very front edge of the bed area, was some dry rot in each far corner I noticed while cleaning. you could poke the white marine grade plywood and I am sure you could get a screw driver right in side. so I got some aluminum diamond plate 12" wide and screws and siliconed it all the way across after doing some deep repair. I will get some pictures up when I get home tonight. I know it sounds like I removed some usefull items but after nearly 60 nights out over the past 12 months I think we discovered what we use and what we could use more of. I will keep you guys posted. I think my next step is to replace the boards that make the roof stay up at each end. anyone try replacing with anything but wood?