Truck camper home build

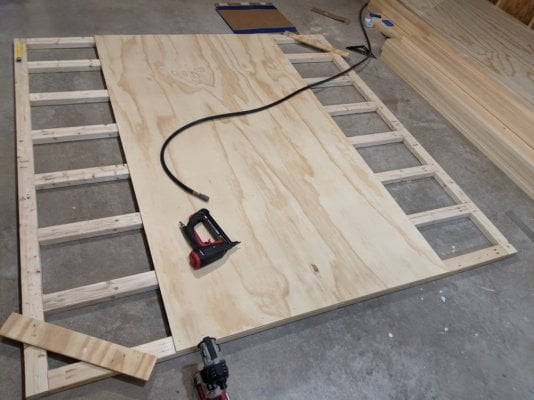
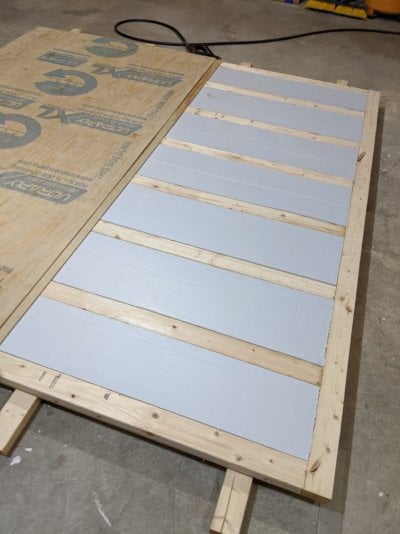
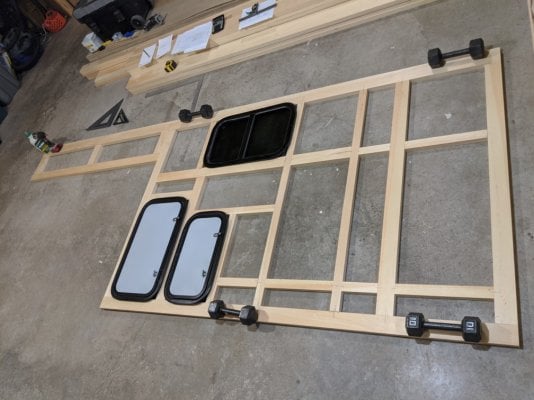
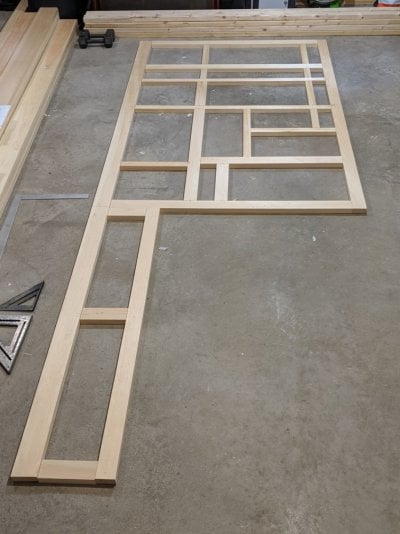
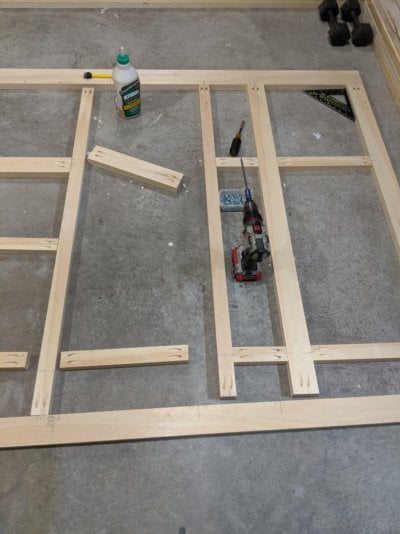
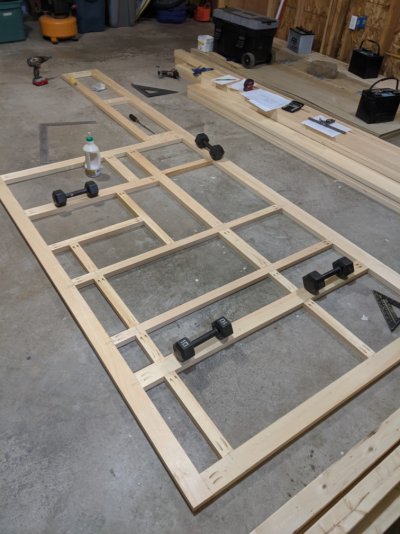
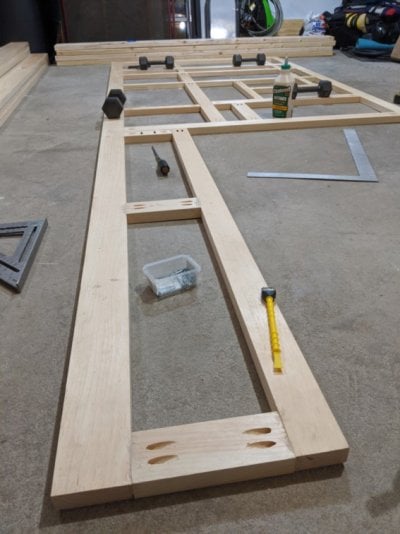
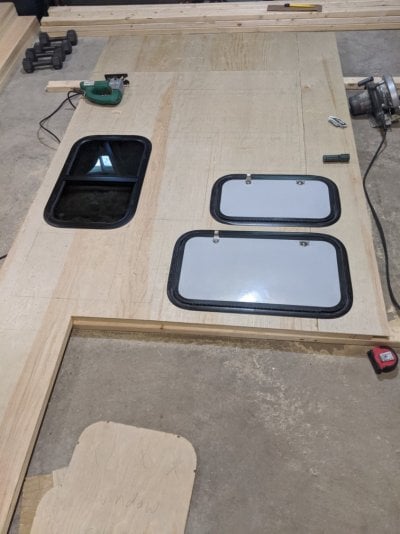
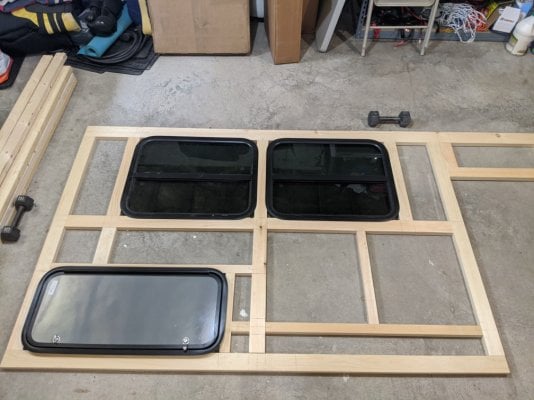
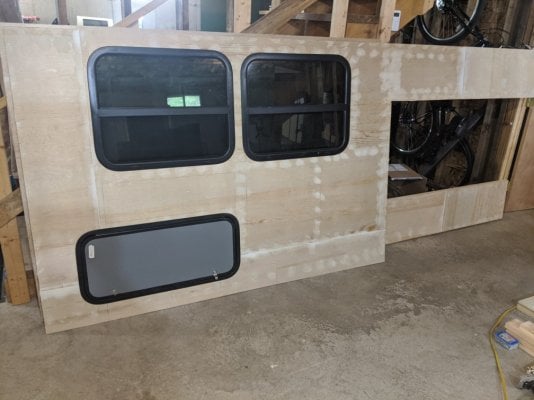
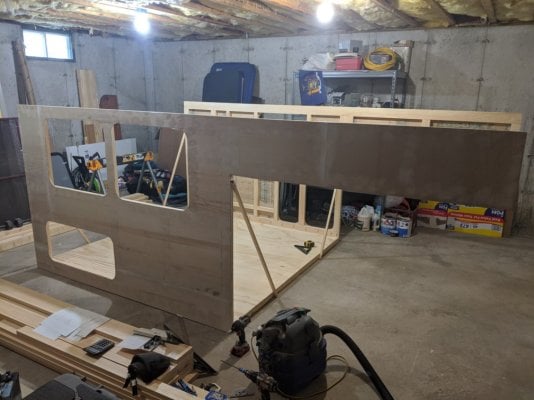
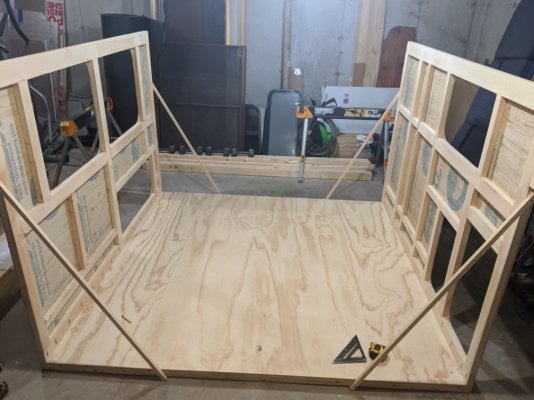
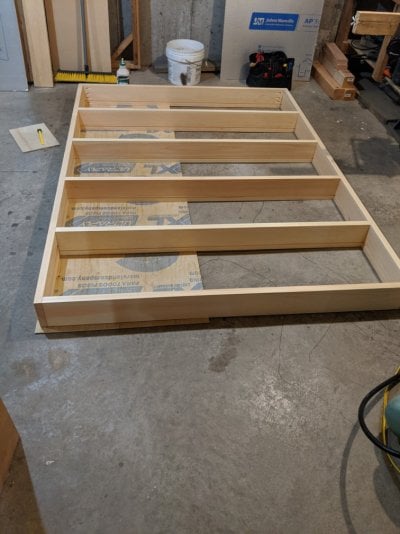
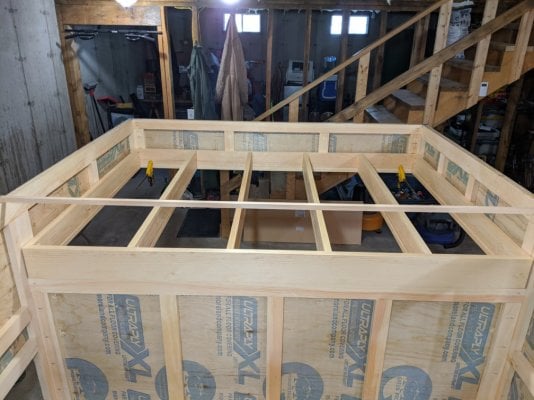
After snowbirding for a few years in a bunch of different rigs, we've decided to build a replacement for our '01 Lance. This will be a pop-up flat bed truck camper that may be the proof of concept for a later build using different materials.

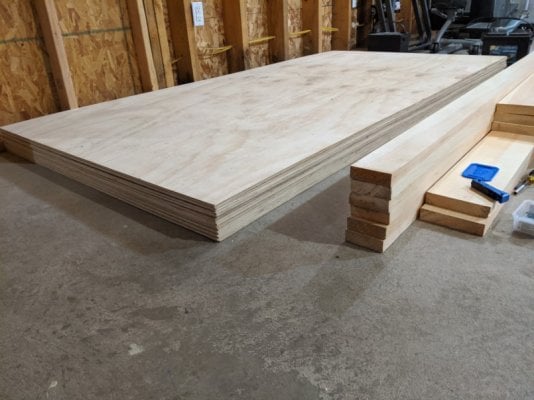
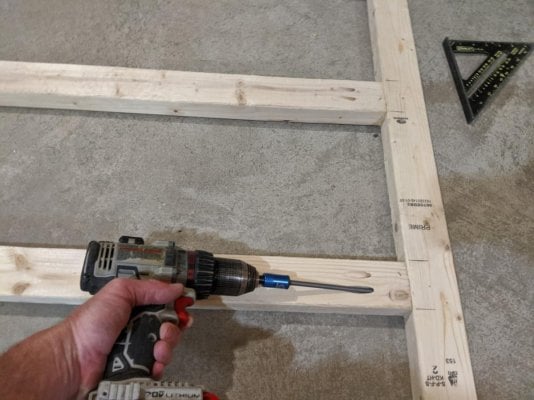
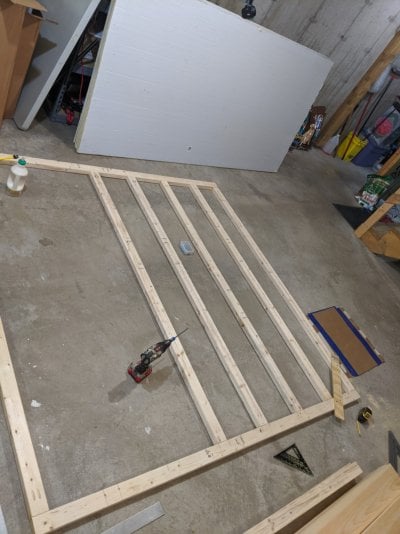
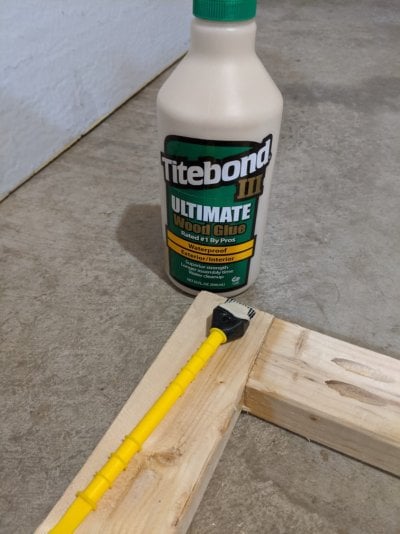
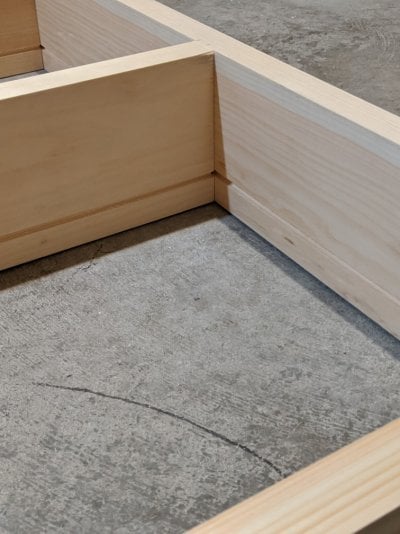
We'll be building with wood for this project. Most of the materials will be from the local lumber yard or big box home center.

I'll do my best to add lots of pics. After reading through years of build threads here, I know you folks like the picture heavy threads. Feel free to chime in if you like.
 
Please keep the pics coming through out the project. Always nice to see other people's vision and ideas come to life.
 
This is where I'm starting with materials. We've got some locally milled 5/4 pine for the framing and two kinds of plywood. 3/8 BC for the subfloor and 1/4 ultraplyxl underlayment for sheathing.
 

Attachments

  • Resizer_15916241683251.jpg
    Resizer_15916241683251.jpg
    115.7 KB · Views: 187
I'm building the floor with 2x3's on the flat. The joints are pocket screwed and glued. The depth is filled with 1 1/2" of polyiso. Then 3/8 bc is glued and stapled on the topside and 1/4 underlayment on the bottom. I think I'll be coating the underside with Olympic Max deck resurfacer that I already have.

How do the pics look as far as size? If I shrink them some more I can load more per post.
 

Attachments

  • MVIMG_20200607_140033-1.jpg
    MVIMG_20200607_140033-1.jpg
    124.6 KB · Views: 224
  • MVIMG_20200607_140046-1.jpg
    MVIMG_20200607_140046-1.jpg
    305.6 KB · Views: 230
Avg.Joe said:
It's been a few years since I was active on a forum and I'm trying to figure out how to resize pics to he posted. Any suggestions on best way to do that appreciated.
There are several threads on photos in the Member Support forum.
 
I got started on the road side wall a couple of days ago and finished cutting pieces yesterday about lunch time. I thought I'd go back down and drill the pocket holes. That went real quick so I started gluing and screwing and before you know it was done.

I was amazed that my old Porter Cable 1.5ah battery made it til the last scew.

The first two pics are of the mock up. Pic three is during assembly.
 

Attachments

  • MVIMG_20200609_134309-1.jpg
    MVIMG_20200609_134309-1.jpg
    171.4 KB · Views: 220
  • MVIMG_20200609_134716-1.jpg
    MVIMG_20200609_134716-1.jpg
    160.7 KB · Views: 236
  • MVIMG_20200609_161348-1.jpg
    MVIMG_20200609_161348-1.jpg
    152.4 KB · Views: 185
Two more pics after glue up was completed.

I realized during mock up that my "plans" weren't nearly detailed enough and I ended up just using them as a guide.
 

Attachments

  • MVIMG_20200609_165448-3.jpg
    MVIMG_20200609_165448-3.jpg
    172 KB · Views: 171
  • MVIMG_20200609_165510.jpg
    MVIMG_20200609_165510.jpg
    92.9 KB · Views: 187
Both side walls are framed and sheathed now. The seams of the plywood and the staple holes are filled using "big stretch" caulking. I intentionally left 1/16" joints in the sheathing to allow for movement and expansion. I was thinking a caulked joint would seal and look better than a joint opened by shrinkage or popped due to swelling. Hope it works out well.
 

Attachments

  • MVIMG_20200615_101947.jpg
    MVIMG_20200615_101947.jpg
    148.1 KB · Views: 173
  • MVIMG_20200615_145750.jpg
    MVIMG_20200615_145750.jpg
    168.6 KB · Views: 198
  • MVIMG_20200620_094611.jpg
    MVIMG_20200620_094611.jpg
    149.3 KB · Views: 189
After painting the floors underside, I laid it down and attached the side walls with a few pocket screws. I wanted to get accurate measurements for the front and rear walls. On final assembly I'll add glue to the wall seams.
Next the rear wall was framed.
 

Attachments

  • MVIMG_20200620_110255.jpg
    MVIMG_20200620_110255.jpg
    155.6 KB · Views: 188
  • MVIMG_20200620_110330.jpg
    MVIMG_20200620_110330.jpg
    154 KB · Views: 198
  • MVIMG_20200620_154517.jpg
    MVIMG_20200620_154517.jpg
    149.1 KB · Views: 184
After assembling the front wall of the cabover, work began on the bed and storage platform.
 

Attachments

  • MVIMG_20200706_155223.jpg
    MVIMG_20200706_155223.jpg
    174 KB · Views: 131
  • MVIMG_20200706_155236.jpg
    MVIMG_20200706_155236.jpg
    162.4 KB · Views: 141
  • MVIMG_20200706_155256.jpg
    MVIMG_20200706_155256.jpg
    153.9 KB · Views: 134
After many many hours of reading wtw project threads I thought documenting mine on here was a good way to keep the knowledge sharing alive...a way to repay the gift others gave by sharing their experience. It doesn't seem like there's much interest here for legacy style building. On previous threads there seemed to be a fair amount of interaction from the community. I have been slow in uploading info and short on description because it appears that there's a lack of interest in the project. I'm not sure if I'll continue.
 
Don't give up Joe. I've been following your build but I don't feel the necessity to comment unless I have something to add.
 
Back
Top Bottom