Truck camper home build

I started installing the inside plywood after getting the exterior lighting wires run through the walls. I made the mistake that I always seem to make. See if you can spot it in the pics.
After getting the cabover plywood on I got the bed frame in place, with some help and persuasion from a rubber mallet. The humidity has got things swelled up so it's snug.
 

Attachments

  • MVIMG_20200722_153504.jpg
    MVIMG_20200722_153504.jpg
    134.6 KB · Views: 275
  • MVIMG_20200722_153453.jpg
    MVIMG_20200722_153453.jpg
    135.9 KB · Views: 323
  • MVIMG_20200722_153442.jpg
    MVIMG_20200722_153442.jpg
    150.6 KB · Views: 276
made the mistake that I always seem to make. See if you can spot it in the pics.

OK, I'll bite - changed wood grain direction?
 
Vic, I goofed up which sides measurements I was looking at and ended up with the stickers on the inside. A quick YouTube search squared me away on how to get them off cleanly.
The grain isn't important on this project because it's all getting paint. Good eye picking that up.
 
The under bed area has been insulated. Sorry I forgot to take a pic of the insulation and plywood sandwich. After a little more sanding the inside will be ready for paint. The outside got another coat of paint this morning to cover the cabover corners and underside. I'm not super happy with the rounded profile of the cabover corners because the router adjustment kept slipping. I did my best to fill voids and sand it smooth.

The vinyl canvas liner is on order from Phoenix Pop Up so now it's time to get the roof built.
 

Attachments

  • MVIMG_20200820_112613.jpg
    MVIMG_20200820_112613.jpg
    130.4 KB · Views: 195
  • MVIMG_20200820_112705.jpg
    MVIMG_20200820_112705.jpg
    190.4 KB · Views: 185
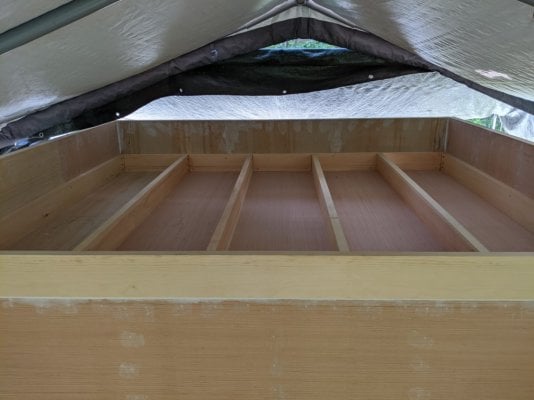
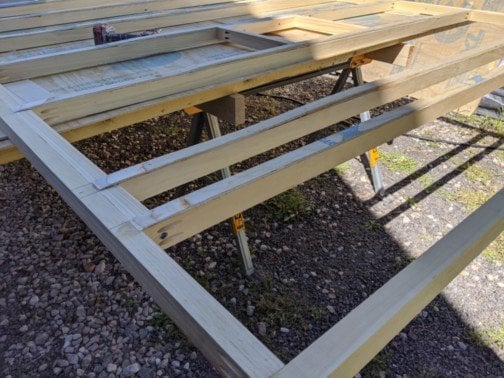
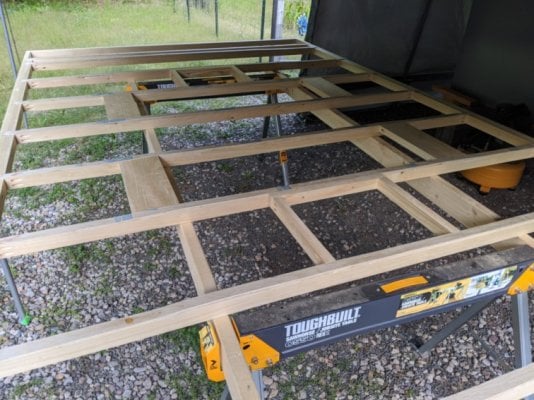
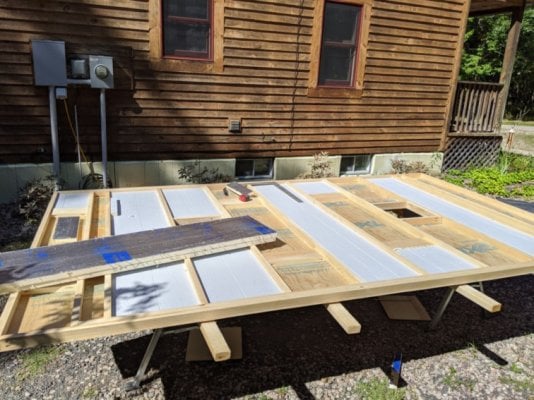
Most of the roof framing is cut and drilled for pocket hole screws. The layout is pretty well ironed out. I had thought I'd have enough room to mount the solar panels together but after a framing change order the panels will need to be separated with a fan in between. I'm going to save final roof construction for another day.

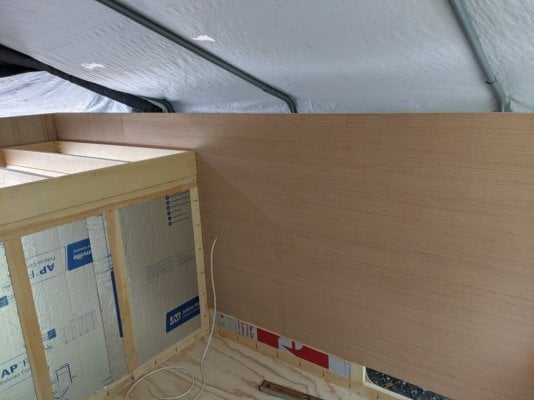
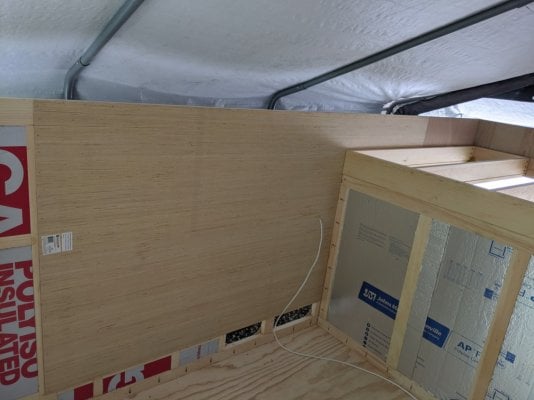
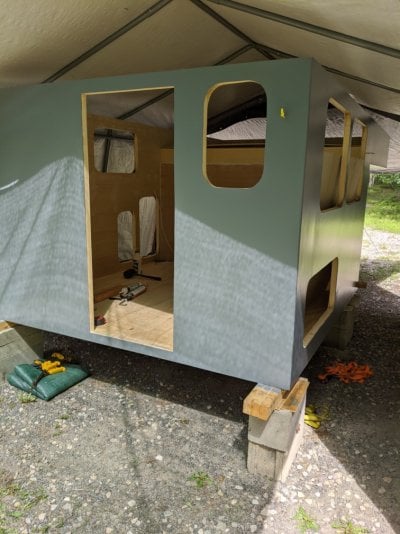
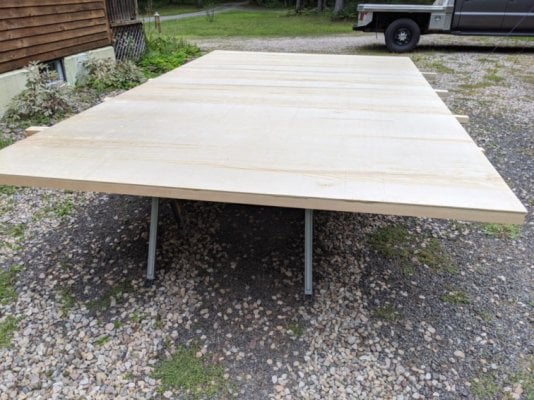
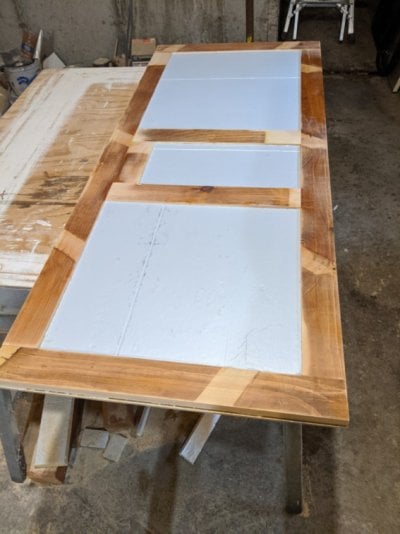
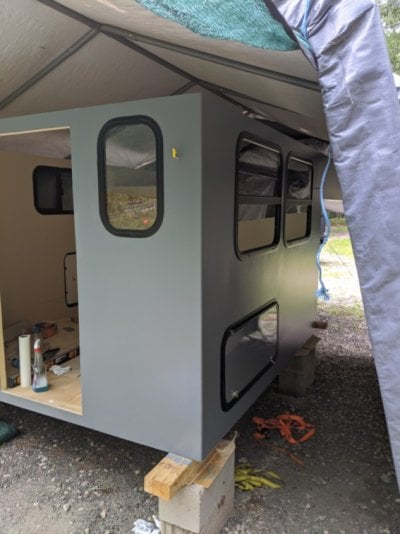
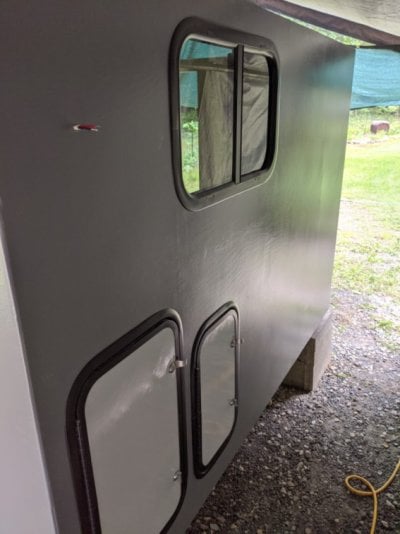
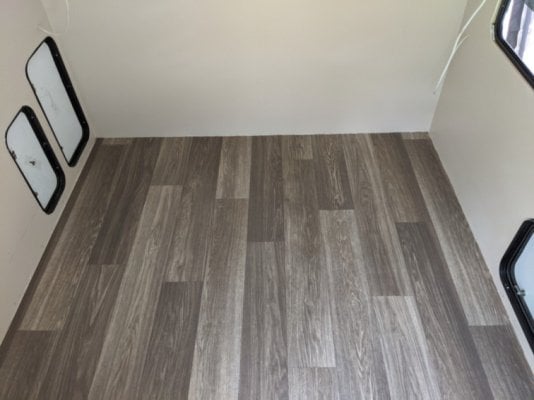
After putting all the framing pieces away, I sanded, vacuumed, and painted the interior.

The corner jacks are on order from Rieco Titan. They'll be manual style to save weight and wiring. It's gonna be an adjustment for us going from electric jacks operated by a remote to cranking one end at a time, but we'll be fine. I'm thinking about removing the jacks after the camper is mounted and leaving them at home for the winter. It'll depend on available storage room for them.
 
Made some progress on the roof. It's ready for wiring and insulation.
As I was assembling the thing, I was thinking how am I going to mount the latches and gas struts with so little roof thickness. I'm thinking I'll mount some aluminum flat stock, behind the roof trim,that hangs down enough to securely attach brackets for those things.
 

Attachments

  • MVIMG_20200826_150739-1.jpg
    MVIMG_20200826_150739-1.jpg
    65.1 KB · Views: 199
  • MVIMG_20200826_184724.jpg
    MVIMG_20200826_184724.jpg
    142.4 KB · Views: 226
  • MVIMG_20200827_152638-1.jpg
    MVIMG_20200827_152638-1.jpg
    146.3 KB · Views: 197
Door construction is started. I went with 3/4" pine for framing so there'd be room in the opening for rubber gasket. My hope is that it will be a solid door but it's hard to add weight to such a small door.
While the glue was setting on the door skin, the Mrs. and I got the windows installed. I used the new DAP Dynaflex ultra caulk. It looks like this new stuff is an improvement on the old stuff, but we'll keep an eye on it for long term durability. I didn't want to use butyl tape due to the thickness.
 

Attachments

  • MVIMG_20200901_113147.jpg
    MVIMG_20200901_113147.jpg
    88.3 KB · Views: 142
  • MVIMG_20200901_153205.jpg
    MVIMG_20200901_153205.jpg
    90.6 KB · Views: 177
  • MVIMG_20200901_153249.jpg
    MVIMG_20200901_153249.jpg
    80.3 KB · Views: 141
I'm following this with interest. Nice to have the photos rather than trying to visualize what you are doing. Also nice to have a couple of those links to parts suppliers.
 
I've been working on the roof this week. Roof wiring is done with two lighting circuits and one fan circuit. The insulation is just about finished. R value for the roof is between 9-12 depending on roof thickness.
I forgot to order solar panel wire before now so I have to wait for that to arrive before I can put the ceiling panels on.
 

Attachments

  • MVIMG_20200904_110357.jpg
    MVIMG_20200904_110357.jpg
    137 KB · Views: 151
The fridge arrived. It was packed amazingly well and was in great shape when I unpacked it. It appears well built and roomy enough for a week's worth of food.
I couldn't resist taking the end panel off to look at the internals and was happy to see high quality innards. I've read that these fridges are rebranded by many different companies and are well known for quality construction.
 

Attachments

  • MVIMG_20200905_111722.jpg
    MVIMG_20200905_111722.jpg
    132.8 KB · Views: 161
  • MVIMG_20200905_111954.jpg
    MVIMG_20200905_111954.jpg
    114.6 KB · Views: 187
  • MVIMG_20200905_112619.jpg
    MVIMG_20200905_112619.jpg
    106 KB · Views: 190
  • MVIMG_20200905_112002.jpg
    MVIMG_20200905_112002.jpg
    77.9 KB · Views: 177
The vinyl floor has been glued down. It's pretty thin but it's what I could find locally. Hopefully it holds up.

The next day was sunny and warm so I decided to get the roof rubber installed. When I took the tarp off I found evidence of a mouse nest. Pesky little critters! Rubber install went well. It's Superflex from Rec Pro. It came as a kit from Amazon. I've used their stuff before and it's good quality.
 

Attachments

  • MVIMG_20200911_131832.jpg
    MVIMG_20200911_131832.jpg
    75.3 KB · Views: 178
  • MVIMG_20200912_121107.jpg
    MVIMG_20200912_121107.jpg
    93.9 KB · Views: 192
  • MVIMG_20200912_123818.jpg
    MVIMG_20200912_123818.jpg
    159.5 KB · Views: 208
  • MVIMG_20200912_132806.jpg
    MVIMG_20200912_132806.jpg
    135.5 KB · Views: 181
Does anyone else ever have this thought? "Next time I build something like this I'm gonna remember to do this part different."
Some days the price for not being an engineer is steep. Oh well that's what makes it fun.
 
Avg.Joe said:
Does anyone else ever have this thought? "Next time I build something like this I'm gonna remember to do this part different."
Some days the price for not being an engineer is steep. Oh well that's what makes it fun.
Only have that thought with every project I undertake. I’m from the “I cut that board off three times and it’s still too short.” school of engineering...
 
But it really says you are interested in education and learning. A big part of learning comes from doing - or at least attempting. My mistakes have given me the best lessons, in so many areas.
 
Back
Top Bottom