Where did you mount your Hi-Lift jack?

billharr

Senior Member
Joined
Jun 30, 2009
Messages
2,828
Location
Stockton CA
I have a 4WC Hawk, where is the best place to mount a Hi-Lift jack? Found one at a yard sale this morning. When I asked what they wanted for it the lady said you can't use those bumper jacks on new cars. She then said $15.00 and I got her down to $6.00 I almost feel bad :D
 
I carry mine inside the camper, in that space behind the couch-back. Yeah, that seems like an odd place to carry an outside-use tool...but I only expect to use it when I get stuck, and since I get stuck only once every 100,000 miles, it rarely gets use.
wink.gif


YMMV.
 
Under my rear seat and well tied down so it will not move! I have been trying to find a good place to mount one since I put the FWC on-just no real good place to do it without tearing up things, but here are some thoughts and ideas I've tried or seen or heard about! They have all sorts of mounting brackets you can use to attach it to the side of the truck, but no mater how well you tie them down they shack and rattle. Seems to me there was a thread about this a while back; one of the main problems with Hi-lift jack attachment is that it is usually mounted upright/laying down in the back bed of the truck (like in my old govt rig or my truck before i got my FWC) and the FWC now takes up most of that space.

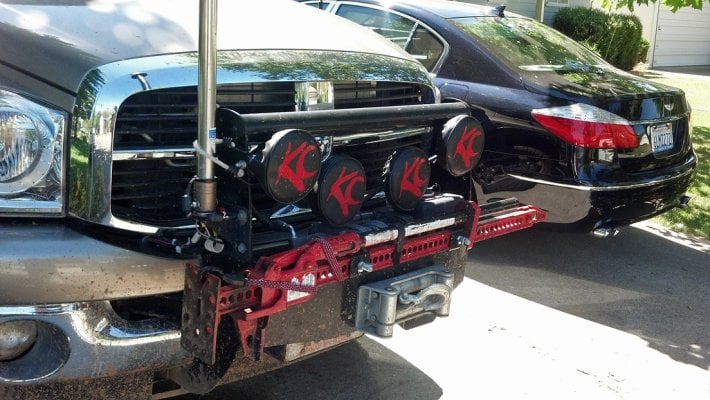
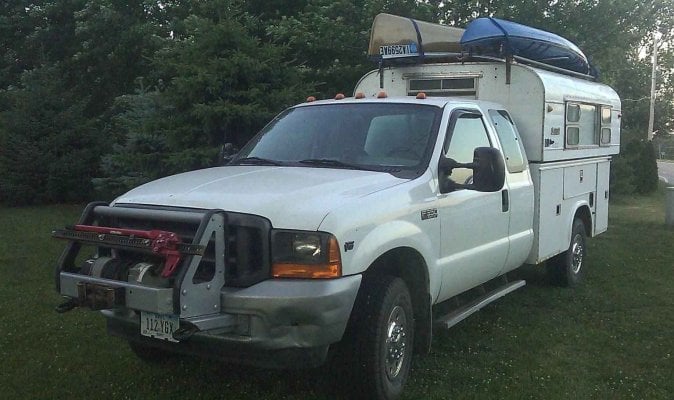
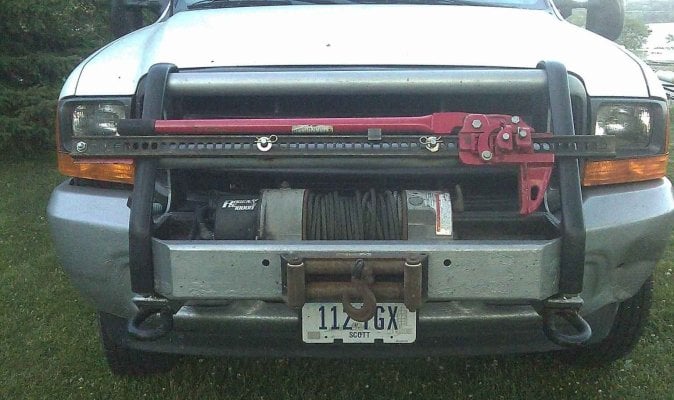
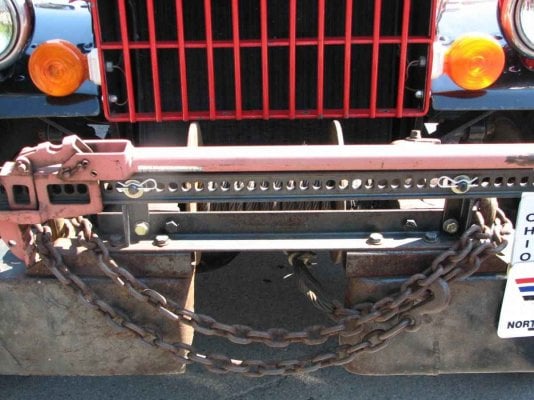
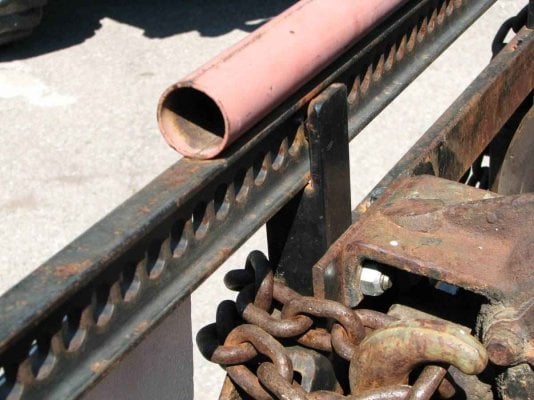
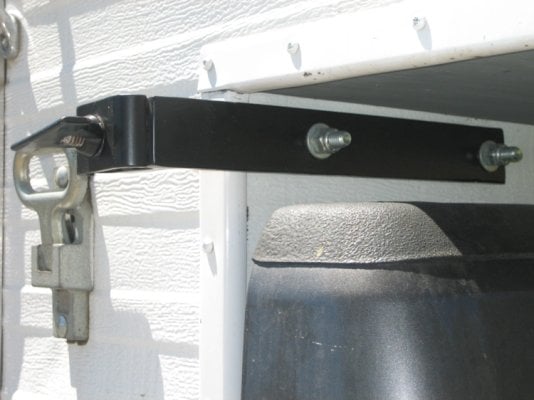
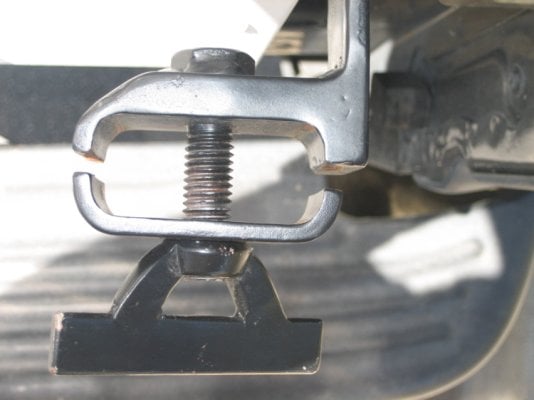
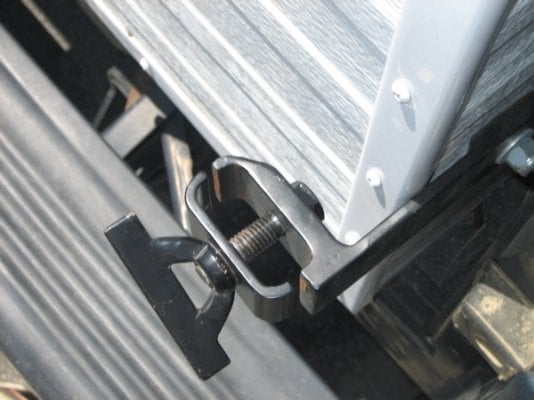
If you want to do some neat modification adapt your front bumper to carry it and a shovel/pick/palaske/tow rope and just about thing else (they make bumper kits that help you to adapt the bumper). Another place is on the side panel of the truck-again once you start messing with your truck-there goes the resale value. Again, almost any place that you can fit one, you can try to mount it, just remember trying to get at it when you need it. I've seen some mounted on the rear bumper of the truck-but again, I don't think the the FWC camper shell is strong enough to hold up the jack unless u use one of the FWC internal supports or beef it up some way. There was a thread awhile back talking about mounting a gas can-same problems!

Don't try to mount it on the fwc roof-it may look neat and the roof may support it, but try and get it down when you are hot, dirty and pissed off-they do weigh more than you think, and they are awkward. By the way, you need to get some adapters to make the thing work on some of the newer rigs, seems like it will not fit under the front bumper because you need a straight angle to use one, but they are cheap and well worth the cost! Hope this helps and good luck!


Smoke
 
I built a couple of brackets that bolt to the floorpack and hold the jack and shovel on the back of the camper. Pictures are in this post.
http://www.wanderthewest.com/forum/index.php?/topic/6095/
 
I built a couple of brackets that bolt to the floorpack and hold the jack and shovel on the back of the camper. Pictures are in this post.
http://www.wanderthe...hp?/topic/6095/

:LOL:
Carmelracer----

Who said you can't teach and old dog new tricks!!! I've been trying to do what you have done for the last six years! I always thought that the skin of the FWC was to thin to hold my handyman up and that it would pull out on the road some day and surprise any following drivers. Did you drill into the actual frame and not just the skin? And did you use a bolt or screw to attach the quick fix? Did you add some backing to the inside of the FWC for support? Sorry about all the questions, just I've been trying to do what you've done for years, but been afraid of tearing things apart. I noted you left a space between the bumper and the high lift to take into account the movement of the truck and camper-been worried about that! Now if we can just figure out a good way to do the jerry can ( I keep rereading the recent thread on that on wondering which method to try?). Thanks again!

Smoke

Smoke,
I didn't attach anything to the aluminum frame. These brackets attach the side of the plywood floor pack with through bolts and washers. I didn't like the idea of bolting through the aluminum and thought the floor pack was much stronger. The base of the jack is about a 1/2 inch above the bumper. Its been Baja tested without any problems.

This is an afternoon fix if you have access to a welder. Let me know if you would like more pictures or a sketch.

Dick
 
They don't always have to be on the rear, If you have a winch, mount it up front. Just be sure you carry a can of WD40 with you:oops:
 

Attachments

  • hilift.jpg
    hilift.jpg
    276.7 KB · Views: 318
More pictures and a sketch would be nice. I purchased the metal, now just have to do the fabrication.
 
I just mounted mine last week. All I did is take two clevis pins and welded them on the crosstube that is part of my winch mount. Took about 20 minutes. Used a couple rubber bushings under the washers. Kind of copied one I saw two weeks ago. I'll try and post the picture. The last two pictures is the one I copied. He used 1/4 inch angle iron and welded a stud on. Dan
 

Attachments

  • phpTPZtMBPM.jpg
    phpTPZtMBPM.jpg
    99.9 KB · Views: 237
  • phpIlkUFmPM.jpg
    phpIlkUFmPM.jpg
    109.1 KB · Views: 263
  • phpFr2a4JPM.jpg
    phpFr2a4JPM.jpg
    80.7 KB · Views: 244
  • phpXj7rIDPM.jpg
    phpXj7rIDPM.jpg
    70.9 KB · Views: 207
More pictures and a sketch would be nice. I purchased the metal, now just have to do the fabrication.


x2
I think you nailed it, Camelracer. Through bolting plywood is generally going to give you Baja tested quality. :) I've got a Hawk and been looking to find a good location to attach my jack. I recently spent a whole night and a morning reflecting on why I should always have my hi-lift with me.
Damn, I left my jack at home!

I just sent an email a welder I know asking him about fabbing something similar.
I included a link to your link showing the photos, since he's young and uses the web. :D
Thanks for sharing your design.


Any other details as to the design would be welcome. I notice you must have a two piece
clamp including T-nut (are those stock or custom?) to secure the jack to the bolt.
 
I mount mine to the garage floor/corner. I HATE my hi-lift and generally want nothing to do with it....


That cracked me up!

Have to say I feel the same way. I dragged around my 5' model around for 20 some years and never once used it. I have two of them mounted in the same place as Ha Ha. :)

With the new truck I don't think the monster would even work on the front end.
Of course I have now doomed myself on my next trip.
 
I mount mine to the garage floor/corner. I HATE my hi-lift and generally want nothing to do with it....


That's where mine has spent the last 20 years since I inherited from my Dad. I look at the Tundra and think: "Where would I lift this thing with a Hi-Lift". Then I came across their Lift-Mate and now I'm thinking maybe it will come along on the next trip - as soon as I figure out where to carry it. Aluminess makes a nice rear bumper which solve all my problems except I would have to starve for the next 6-months :unsure:
 
Here's a sketch and photos of the brackets I built.

The clamps are 2-1/2 x 1-1/2 x 3/16 wall rectangular tubing that I split in half. The rest of the material is 1-1/2 x 1/4 flat stock. I welded the clamp to the bar at a 90* angle. I added another piece of flat stock to this joint because I don't trust my welding ability (if 1 is good 2 has to be better). I welded pads to the bar where it bolts to the floor pack so the bar will clear the trim on the back edge of the camper. The bolt through the clamp is 1/2-13 x 2 with the head tack welded.

The length of the bar and the location of the 3/8 mounting holes may vary from camper to camper depending on the configuration of the floor pack. You need to pick a spot that won't interfere with anything on the inside of the camper. I mounted the brackets so there is about 5/8 clearance between the base of the jack and the bumper and the jack is spaced 1-3/4 off the back camper wall.

I used wing nuts with a bar welded on for the clamp so I didn't need tools to remove the jack. A regular nut could also be used.
 

Attachments

  • IMG_1721.jpg
    IMG_1721.jpg
    154.1 KB · Views: 190
  • IMG_1723.jpg
    IMG_1723.jpg
    131.6 KB · Views: 188
  • IMG_1724.jpg
    IMG_1724.jpg
    114.2 KB · Views: 203
  • 0001rs.jpg
    0001rs.jpg
    66.4 KB · Views: 195
Here's a couple of photos of the clamps with Quick Fists that I use to carry a shovel with the jack.
 

Attachments

  • IMG_1710.jpg
    IMG_1710.jpg
    93.6 KB · Views: 135
  • IMG_1711.jpg
    IMG_1711.jpg
    96 KB · Views: 126
:LOL:
As one who has carried and used my handy man many times during the last 40 or so years with both my private and govn't rigs, thank you camelracer for the information! Being stuck, getting stuck and getting "unstuck" is a part of field life and anyway to get the handyman from under my rear seat and onto the FWC is welcomed! When you are hot, stuck and pissed off, easy (or an easier) access to a hi-lift makes getting an"unstuck" experience less a problem and besides, leaves more time for important things like drinking more beer!

Smoke
 
Here's a sketch and photos of the brackets I built.

The clamps are 2-1/2 x 1-1/2 x 3/16 wall rectangular tubing that I split in half. The rest of the material is 1-1/2 x 1/4 flat stock. I welded the clamp to the bar at a 90* angle. I added another piece of flat stock to this joint because I don't trust my welding ability (if 1 is good 2 has to be better). I welded pads to the bar where it bolts to the floor pack so the bar will clear the trim on the back edge of the camper. The bolt through the clamp is 1/2-13 x 2 with the head tack welded.

The length of the bar and the location of the 3/8 mounting holes may vary from camper to camper depending on the configuration of the floor pack. You need to pick a spot that won't interfere with anything on the inside of the camper. I mounted the brackets so there is about 5/8 clearance between the base of the jack and the bumper and the jack is spaced 1-3/4 off the back camper wall.

I used wing nuts with a bar welded on for the clamp so I didn't need tools to remove the jack. A regular nut could also be used.


Looks really sharp Camel. Want to make $50?? I'm sure a few others would like something like that too. I have great intentions to fabricate metal gadgets but my lack of welder is often an issue...
 
Looks really sharp Camel. Want to make $50?? I'm sure a few others would like something like that too. I have great intentions to fabricate metal gadgets but my lack of welder is often an issue...

:LOL:
I second that-maybe we can have a get together (a ronday-----vouz) and carmalracer can make enough to buy a new camel or two!

Smoke
 
Back
Top Bottom