2011 Cougar Build Thread

Rafter C

Advanced Member
Joined
Dec 19, 2008
Messages
76
Location
Grass Valley, CA
So this is probably a "johnny come lately" thread since I've owned my camper for over a year, but I'm starting to really get going on building it the way I want it, so I figure I'll get everything documented from the git go...
I bought my 2011 in November of 2016 from the original owner who had used it a couple of handfuls of times to go hunting. It was in perfect shape (minus the lingering scent of whatever aftershave he used), a relatively short distance from my home, and the seller was hard-nosed enough on his price (with the requirement of cash only), and “contactibility” was challenging enough, that it sat on CL for quite some time before I found it and arranged to buy it.
It’s a basic Cougar model with all the usual amenities (3 way fridge, sink & water tank, stove, furnace, 8' awning), and the basic couch and bed set up. It seemed to me at the time that I was paying a little too much for it, but I’ve since learned that the rarity of a used ATC unit, especially one in immaculate shape, commands a premium, and I’ve since reconciled the price as a good deal. Basically, I got an “in new condition” unit for about $3k less than buying a new one, and having to wait for construction. The only downfall of that was my inability to customize during construction. But that can be worked around…
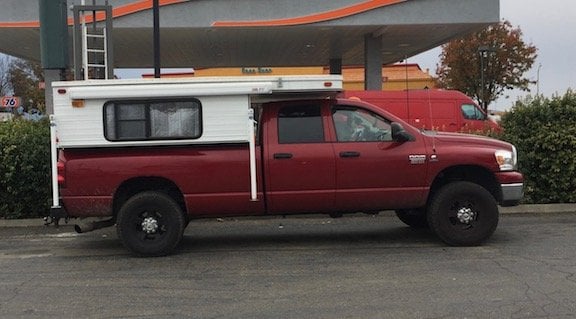
One fortunate thing about the camper’s location when it was for sale (Antioch, CA), and where I live (Grass Valley, CA), is that the ATC factory was about half way in between, and right on the way. So after buying it and attaching it to my factory bed tie downs for the ride home, I was able to stop by and see “the guys” at ATC, and get the new owner intro to the camper from Marty. And while there, I bought a battery isolator and the proper bed eye bolts to mount it correctly. And then Marty offered me (free to a good home) a barely used Interstate AGM battery to replace the still in place original Optima blue top. It was really a great first experience interacting with them, and has been followed by several more since.
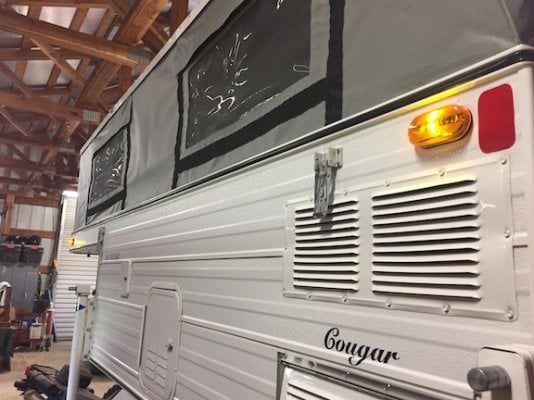
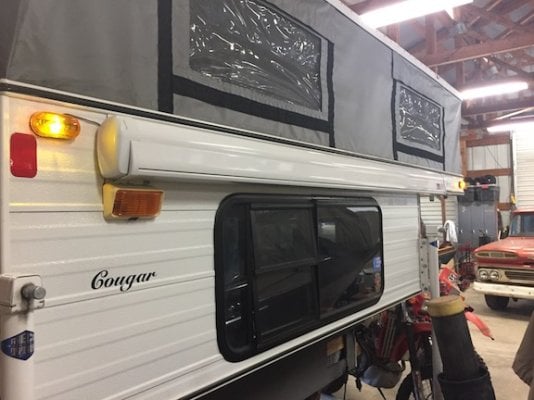
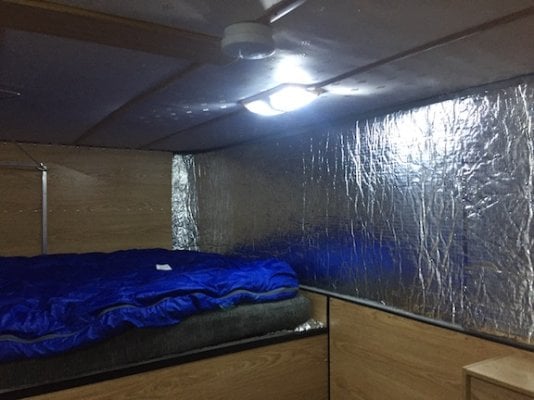
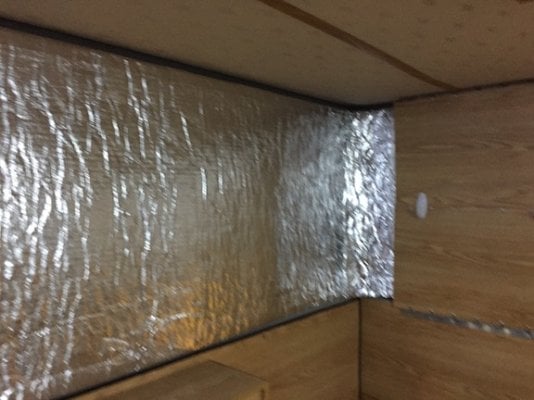
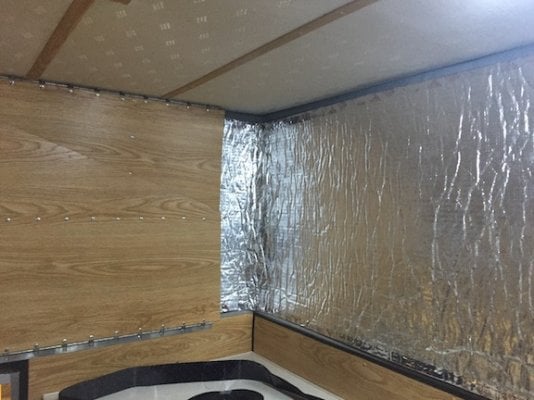
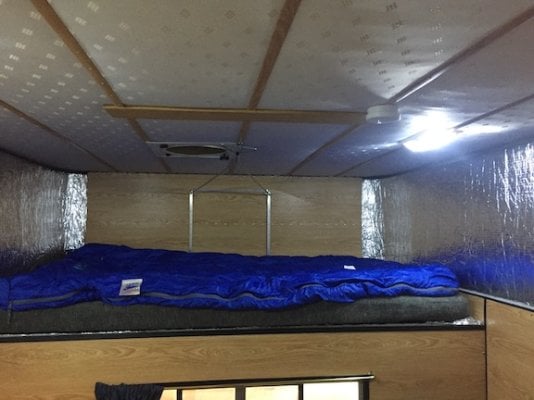
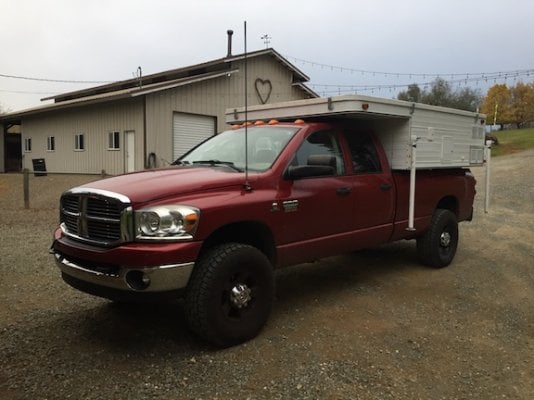
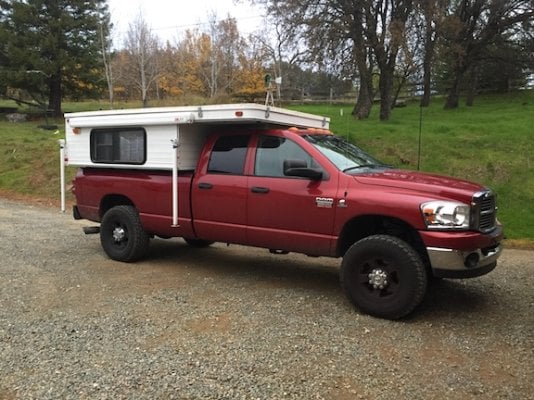
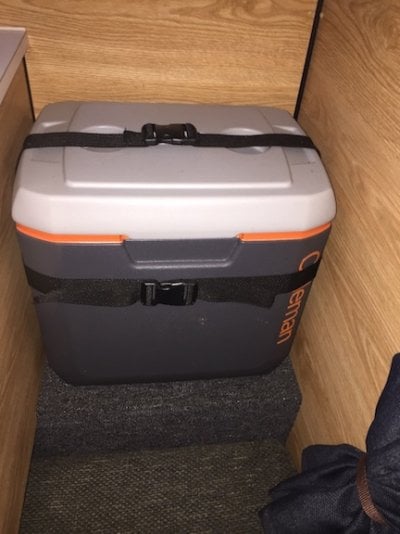
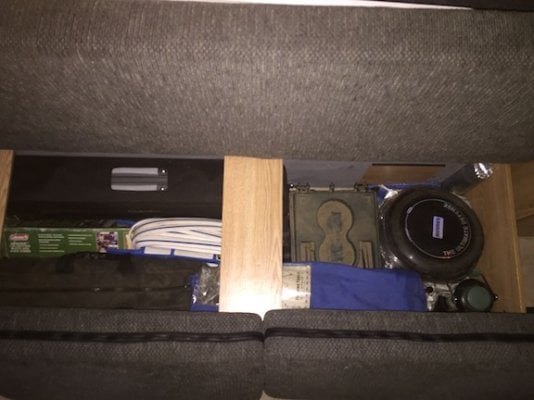
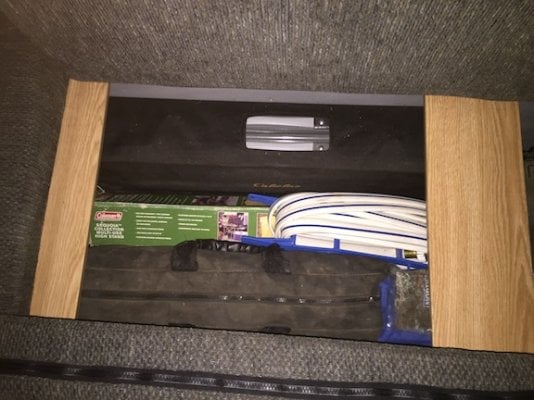
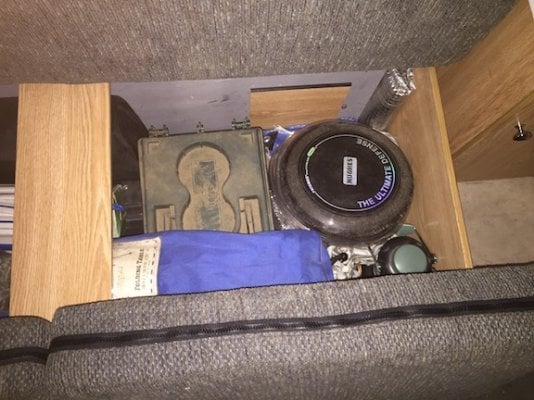
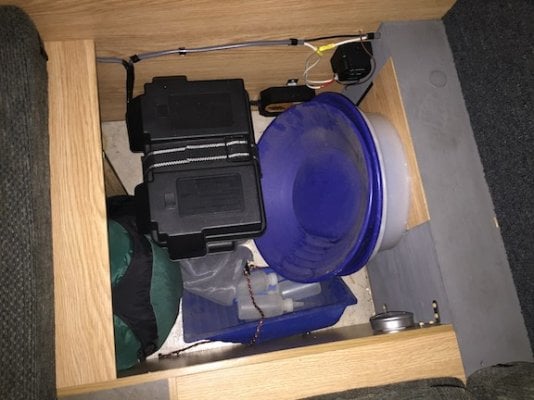
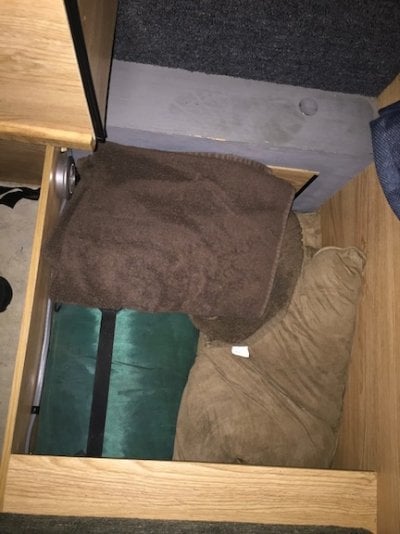
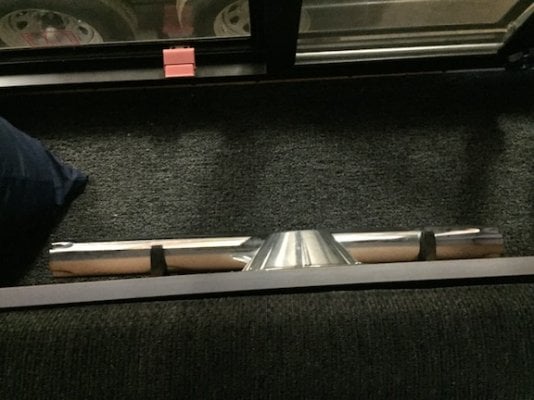
I’m going to post the progress I’ve already made, and that going forward in a series of posts over the coming days so I can chronologically document my work, and so I can take my time and include plenty of pics with each post, so hopefully it’ll be of some interest to the group, and any feedback will be appreciated. The first pics are the day we brought it home. I think we've got a pretty nice looking rig to start this journey.
More to follow…..
 

Attachments

  • IMG_4064.jpg
    IMG_4064.jpg
    56.7 KB · Views: 411
  • IMG_4065.JPG
    IMG_4065.JPG
    98 KB · Views: 517
  • IMG_4066.JPG
    IMG_4066.JPG
    142.2 KB · Views: 508
So after getting the camper home, I took it off the truck pretty much immediately to address the need for properly mounting it, getting the truck wired to charge the camper battery, and go to work “outfitting” it to meet ours needs/wants etc…
​ The eye bolts were a no brainer to mount. A drill, four holes, some bridge washers for backing strength, and done.
I’m lucky that my factory vehicle electrical system is quite substantial, using dual Odyssey 1000 CCA AGM batteries, and a 120 amp alternator, so I have no concerns about its ability to keep the camper batt up to snuff. I ran dual (hot and ground) 10 gauge wires from the passenger side battery on the truck back to the camper plug mounted to the “stake pocket well” at the front of the pickup bed, with the hot lead holding an inline 40 amp fuse back near the battery. I know there are lots of folks out there who have ideas/opinions/theories about what is adequate electrically for these units, but coming from the K.I.S.S. point of view, I’m confident this set up will work fine for me.
The next question for us was “what do we want to take with us?”. Our most recent camping iteration was using the same pickup (’08 Dodge 3500 4WD) with a SnugTop camper shell, and a “sleeping platform/gear storage box in the bed of the truck. I built the platform here at home using plywood, and configured it with compartments for most of our camping gear, kitchen items, Easy Up, etc, and then we’d put a couple of Action Packers, an ice chest, and milk crates for firewood on top of for traveling during the day. At night those would come out, we’d roll out a 2” sleeping pad and bags, and we were good to go for the night. It worked great.
So, upgrading to a pop up camper was quite a luxury, but our pragmatic approach to camping still remains. Originally, I envisioned a shell model like many folks here have built, but when opportunity knocks, you have to open the door, and that CL ad changed our plans. For the better I believe….
As most of you know, the basic Cougar camper configuration offers a lot of storage. And having it ride in a 1 ton truck with a Cummins engine allows the ability to haul it and pretty much whatever I want to put in it with no trouble. However, as a relative minimalist, and being a fan of spending more time outside the camper than in when camping, the equipment hauled is focused around that mentality.
Under the couch seat I have a PETT toilet, a privacy shelter for it, a Cabelas camp kitchen, an ice chest stand, a Zodi shower kit, a roll out table, and miscellaneous other items relative to setting up a nice outside camp when we decide to stay somewhere a while. But whats nice about it being stored under the couch is that when we are on the move, and only want to sleep and have some coffee in the morning, everything is out of the way.
On the floor of the camper, I have an Action Packer that I also haul on my Jeep full of miscellaneous camping items (folding shovel, lantern hooks, lantern fuel, tent stakes, folding water buckets, etc.), a 5 gallon water jug, and a second Action Packer we use to store whatever dry goods we want to take with us for each trip. These 3 things are kept in place with a 2” piece of webbing with quick clip buckles at each end attached to a couple of footman loops screwed to the camper body. Barring jumping the truck (yeah right), this works great, and still allows room on the floor to move in and out of the camper while on the road. We then slid a milk crate of firewood and a small cooler in next to those items on our first trip, but that has since changed.
I've since discovered a Coleman cooler that, once I cut off it's handles, fit perfectly in the "dead space" between the sink/stove/water tank space and the front wall of the camper. I made a new handle out of some webbing, and then held it in place with more webbing and more footman loops screwed into the camper wall. Its primary use is for beer. Which in the volume that I like to carry on a trip would quickly overwhelm my fridge space.
In the battery compartment are: the battery (duh), the battery separator, a 110V battery “smart” trickle charger for when the camper is stored in my shop, and some gold pans (you never know when you might find that one big nugget!)
In the compartment next to that, are an extra down sleeping bag (for extra cold nights!), some pillows, some towels and similar items. Basically soft goods….
We discovered that some simple plastic containers from Target fit perfectly in the shelf compartment with the sliding doors. Three of them fit end to end with some room to spare. In one we have kitchen utensil stuff, in another are our toiletries, and the third has dish soap, etc. Under the sink we keep a couple skillets, a backpacking set of pots, coffee pot and another plastic container for paper plates, bowls and plastic silverware. Oh…. and a bottle of Bulleit bourbon (for the really, really cold nights!)
Finally, in the rear compartment at the foot of the couch, we keep a Coleman lantern, a 12V bug zapper, and broom and dust pan.
Pretty basic stuff really, and not too exciting from a reading point of view, but just enough to keep us comfortable in the various camping scenarios we have found ourselves in in the past, and that we anticipate we will encounter in the future.
Oh….. and each compartment has at least one AAA powered LED “puck” lights. Thought about hard wiring LED lights, with a single switch, and be all trick, but then I slapped myself back into the K.I.S.S. mode, and went with the quick solution.
Next up, outdoor lighting…..
 

Attachments

  • IMG_5699.JPG
    IMG_5699.JPG
    98.7 KB · Views: 489
  • IMG_5700.JPG
    IMG_5700.JPG
    75.6 KB · Views: 238
  • IMG_5701.JPG
    IMG_5701.JPG
    79.9 KB · Views: 374
  • IMG_5702.JPG
    IMG_5702.JPG
    72.2 KB · Views: 340
  • IMG_5712.JPG
    IMG_5712.JPG
    82.8 KB · Views: 507
  • IMG_5698.JPG
    IMG_5698.JPG
    88 KB · Views: 377
A few more pics showing camper storage.....
 

Attachments

  • IMG_5713.jpg
    IMG_5713.jpg
    64.3 KB · Views: 196
  • IMG_5714.jpg
    IMG_5714.jpg
    83.9 KB · Views: 301
  • IMG_5715.jpg
    IMG_5715.jpg
    94.3 KB · Views: 198
  • IMG_5718.jpg
    IMG_5718.jpg
    75.3 KB · Views: 362
  • IMG_5719.jpg
    IMG_5719.jpg
    71.6 KB · Views: 480
  • IMG_5717.JPG
    IMG_5717.JPG
    73.4 KB · Views: 634
Thanks for posting your "building"of the Cougar.
Great camper to start with.It seems like when you visit Marty to have tings gone or talk you
always leave with something thrown in free.Great group to work with.
Only wish I lived a bit closer to them.
Frank
 
Hello wcorbett
I must say nice looking camper you got there. We've had ours a year now and just starting to get sorted out. Kinda nice being able to make it what you want right! Are you storing the table, and pole behind the bench back? I think where you have the cabinet we have a porta potti.
Inside the door on the right between end of bench and rear wall.
I also just changed out the strap with a snap to Velcro to hold the curtains open, and some reflectix insulation under the mattress which is over the cab. Couldn't really say if it made a huge difference, but I think it helps.
Not that I'm bias but like the Cougar camper. :)

Russ
 
Congrats on your new to you camper and thanks for documenting your work and organization to benefit others. Best wishes for happy adventures.
 
Congrats and welcome. Thanks for sharing and posting pictures. Looks like you have a great set-up. I may have missed something on your wiring
I seem to remember FWC installing some kind of isolator near the truck battery, or some small box. Did you do that. I'm no electric wizz. jd
 
longhorn1 said:
Congrats and welcome. Thanks for sharing and posting pictures. Looks like you have a great set-up. I may have missed something on your wiring
I seem to remember FWC installing some kind of isolator near the truck battery, or some small box. Did you do that. I'm no electric wizz. jd
I don't know what FWC does, but ATC uses a simple electronic "battery separator" in the battery compartment of the camper. It is wired to a "hot" and a "ground" lead that comes directly from the vehicle battery, through a plug in the pickup bed. My understanding it that it "senses" camper battery voltage vs vehicle charging system output, and will "turn off" or disconnect the connection when that batt voltage is adequate relative to the load on it.
I'm sure others here may have a better explanation or understanding of the system than me, and maybe they can chime in.
 
As a by-product of having an original Cougar model camper (84” wide), DOT requires ATC to put clearance lights on all 4 corners of the camper (2 amber on the front, 2 red on the rear) that are supposed to be wired to the truck running lights circuit. In order to do that, ATC wired my camper plug with 3 wires (hot, ground, running lights).
I decided that I don't care what the DOT requires, and I didn't want to tap into my vehicle wiring harness to find the running lamps circuit, so I ran just the camper battery charging wires, and left the clearance light wire disconnected. It then occurred to me that those lights could be a resource as additional area lighting around the camper. At first, I thought that I’d tap into the wire end that I’d left out of the camper plug, but it was in the battery compartment, and that wasn’t a convenient spot for a switch. Then I figured I could run a wire to a more convenient spot, but that was gonna be a pain in the butt. Then I figured out that because ATC wires the camper outside lights (door and passenger side rear) with an interior switch, and the lights have their own switch as well, that if I could tap into the switched power going into the outside lights, then I could use the clearance lights as the initial area lights, and switch on the outside lights as needed.
So, I ran a short jumper wire from inside the passenger side rear outside light to the passenger rear corner clearance light. And because all the other clearance lights are connected: Voila… switched clearance lights. I then replaced the incandescent bulbs with an LED bulb, put a little reflective tape inside the light housing to increase the brightness, and replaced the 2 rear red lenses with amber ones.
The end resulting amount of light is adequate for basic camp use, is not obnoxious to other campers that might be near by, and because of the amber lenses, should minimize the bug attractant factor. If it turns out that the light produce isn’t enough, I can always upgrade to manufactured LED clearance lights available at most auto parts stores which tend to run much brighter than converted lights.
The second half of my outdoor lighting projects are what I’m calling work lights or camp set up lights, and they are made up of the rear spots, and some smaller round LED lights that Marty was kind enough to give me when I was down there having work done.
My camper wasn’t ordered with the rear facing spots at the time it was built, but fortunately, the ATC guys have enough foresight to wire the campers for all their options, so “all” that had to be done to wire the the lights after they were mounted was to drill a hole in the siding in the exact spot where the wire was dead ended. No problem….
Except that all the campers are custom (read hand) built, so where that hole needed to be was in some doubt. On a previous visit to ATC, Marty had told me that he was pretty sure that when my camper built, the location was 8” over from the side, and 6” down from the top. Pretty sure…
So I decided that I’d let them find the hole. I took the camper in a couple weeks ago to have them mount and wire the lights, and do some other work that I’ll cover later, and of course, Marty was right, and the wire was right where it should be, and the job got done quickly.
And as I said above, while I was there for the other work, a conversation with Marty about lighting led him to offer me some small round LED lights from his personal stash. I decided I would use them as “work/set up” lights mounted on the underside of the camper edges at each corner. I wired them them into the circuit with the rear spots. I tapped into the switched wire at the backside of the switch installed by ATC, and ran a wire to the outside of the camper, where I tapped it into some 2 wire “cable”. The cable runs to all 4 lights, and is grounded into the camper frame in the battery compartment, and so now all the corner lights and the rear spots all come on with the same switch.
With the 4 corner lights on, and the rear spots on, there is more than adequate lighting to set up a camp in the dark, but to me, it is much too bright and “intrusive” to keep on once camp is set, hence the use of the amber clearance lights and ATC outdoor lights.
Anyway, I think I’ve got lighting covered…..
 

Attachments

  • IMG_5705.JPG
    IMG_5705.JPG
    112.9 KB · Views: 150
  • IMG_5706.JPG
    IMG_5706.JPG
    76.4 KB · Views: 159
  • IMG_5711.JPG
    IMG_5711.JPG
    114.5 KB · Views: 158
  • IMG_5746.JPG
    IMG_5746.JPG
    46.5 KB · Views: 150
  • IMG_5755.JPG
    IMG_5755.JPG
    48.8 KB · Views: 148
  • IMG_5761.JPG
    IMG_5761.JPG
    51.3 KB · Views: 142
  • IMG_5762.JPG
    IMG_5762.JPG
    38.7 KB · Views: 134
Thanks for this write up. It is very timely as I have just ordered an new cougar.

And what do I spy in the background? A 60 or 61? Chevy pickup.
 
62C20 said:
Thanks for this write up. It is very timely as I have just ordered an new cougar.

And what do I spy in the background? A 60 or 61? Chevy pickup.
'60 Chevy short bed stepper.... Another hobby.
 
http://www.wanderthewest.com/forum/topic/13975-another-arctic-liner-and-mattress-insulation/#entry164476

Above is a link to a post I made last year about the arctic liner and mattress insulation I made for my camper. I've included it here so that my whole "build" can be included in one thread. It is a fairly detailed post, so no additional info here, except to say that after about a year since I made it, we have yet to use it. We've yet to camp in a situation that required anything that extreme, and my wife and I are pretty hardy, and actually like it cold in the camper at night, and we use some heavy duty sleeping bags, but we also appreciate the ability to hit the furnace in the AM to knock the chill off. I know eventually we'll use this for its intended purpose, but if not, it makes for some good added foam padding for sleeping.

Pics are contained within the linked post......
 
CougarCouple said:
Hello wcorbett
I must say nice looking camper you got there. We've had ours a year now and just starting to get sorted out. Kinda nice being able to make it what you want right! Are you storing the table, and pole behind the bench back? I think where you have the cabinet we have a porta potti.
Inside the door on the right between end of bench and rear wall.
I also just changed out the strap with a snap to Velcro to hold the curtains open, and some reflectix insulation under the mattress which is over the cab. Couldn't really say if it made a huge difference, but I think it helps.
Not that I'm bias but like the Cougar camper. :)

Russ
Hi Russ, yes I moved the table pole clips to the bottom of the table for storage so I could use the space on the floor for Action Packer storage.
 
I just re-looked at my linked post for the Arctic liner, and the pics suck. So, here's a few more:
 

Attachments

  • IMG_4203.JPG
    IMG_4203.JPG
    89 KB · Views: 166
  • IMG_4204.JPG
    IMG_4204.JPG
    74 KB · Views: 153
  • IMG_4205.JPG
    IMG_4205.JPG
    73.6 KB · Views: 142
  • IMG_4206.JPG
    IMG_4206.JPG
    78.8 KB · Views: 161
  • IMG_4207.JPG
    IMG_4207.JPG
    68.2 KB · Views: 155
Hay there wcorbet
Lots of lighting going on there, if you think of it. I’d like to see it in action next time your out camping. Like the idea of the lights underneath, kinda like illuminating you counter top from the cabinets. Went back ad looked the pics, see it better now. Excellent idea, will try that when we get home. We are in Quartzsite right now and actually left the table and base at home. Don’t really need it as we have six tables here and could just use one if need to. Thanks for your write up, is the refextic held on with velcro?

Russ
 

New posts - WTW

Back
Top Bottom