You are using an out of date browser. It may not display this or other websites correctly.
You should upgrade or use an alternative browser.
You should upgrade or use an alternative browser.
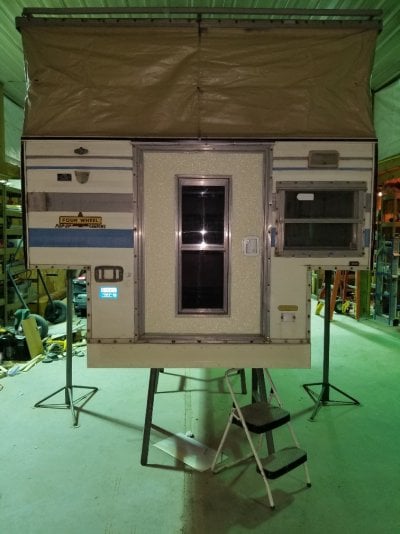
83 Fleet Rebuild on a 2010 Tundra
- Thread starter Sleddog
- Start date
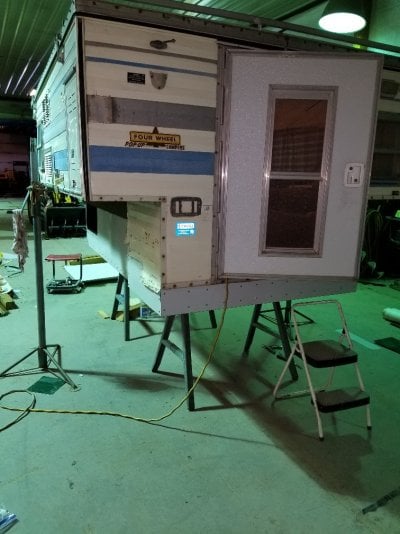
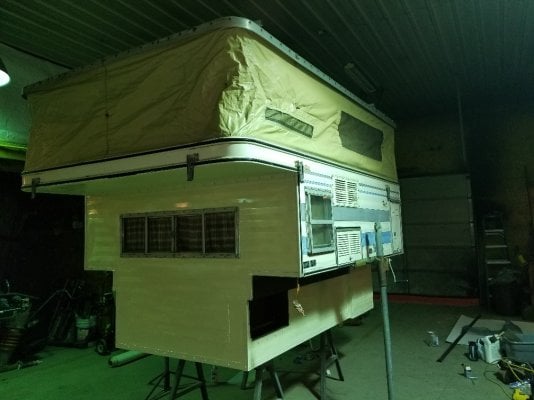
To finish up the outside of the wider floor pack, I used a 2x6 on each side to firm up the base and used three pieces of 2x2 per side to frame up from there. I covered the framing with metal from a roll of metal roof flashing I already had. I forgot to take photos of the framing before covering it with metal.
Attachments
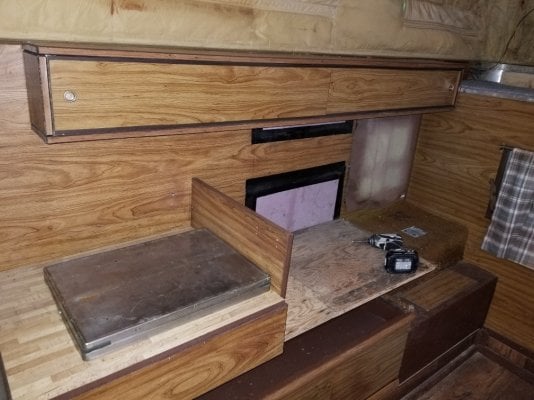
Priority #4, Stove, Sink, and Countertop. I ended up doing the kitchen before the bed. Someone had removed the furnace before I got the camper, but everything else was still there and in working order.
I reused the stove and sink and cut up the old countertop to fit the new arrangement, dropping the stove and sink as low as possible. I want to be able to use the stove even if the top is down, sometimes you just want to stop for a quick cup of coffee, tea, or maybe even some hot soup without having to pop up the top. And we use the stove for heat, so it's nice to be able to use it when you're camping incognito or if the wind is howling. I also want to be able to carry the insulated water cooler on top of the sink in a usable position while traveling.
The sink went between the door and the propane box, the stove on the driver side between the propane box and the bed.
Attachments
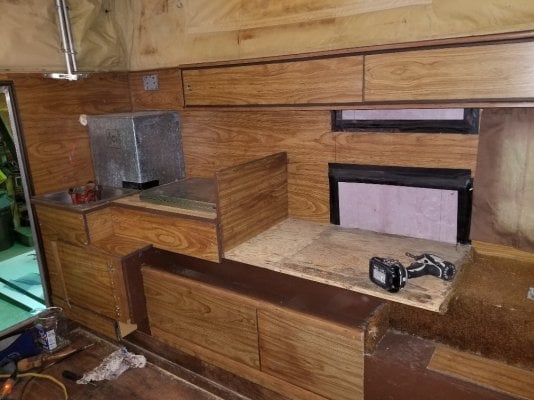
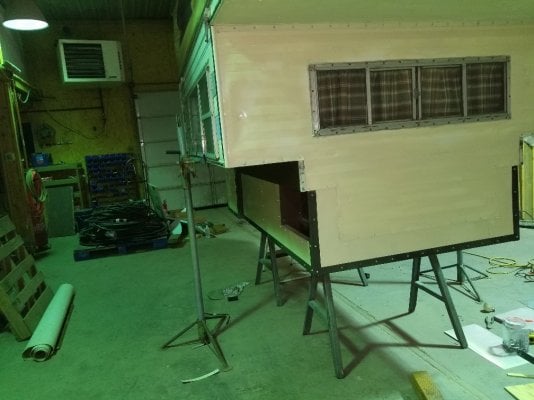
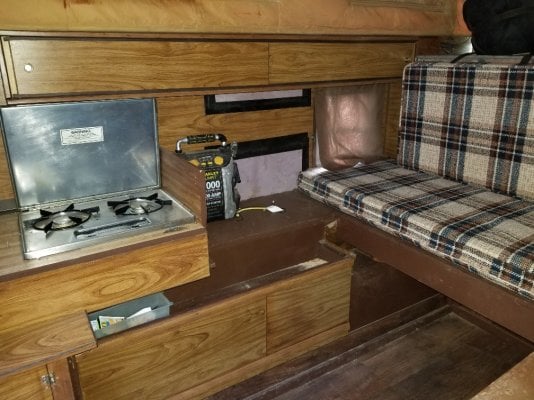
I closed in the area where the furnace used to be and reused a door to make storage for pots, pans, dishes, soap, and hand towels. Everything is accessible all the time.
I covered the propane box with scraps from making the door and more roofing trim.
I covered the propane box with scraps from making the door and more roofing trim.
Attachments
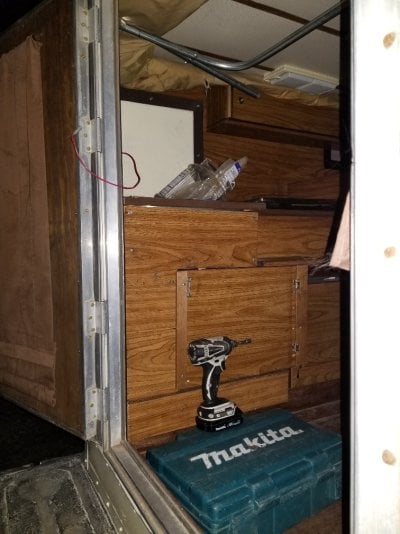
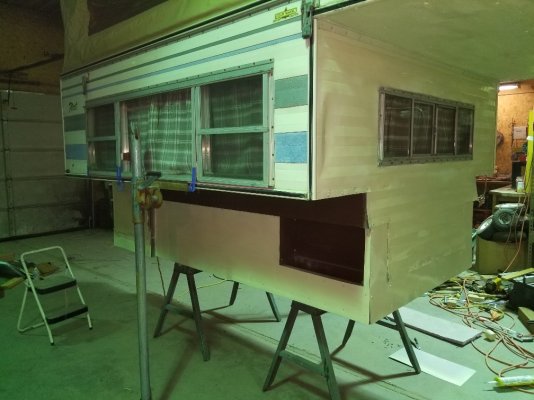
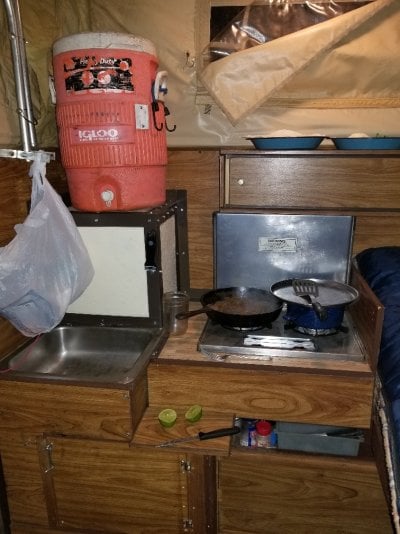
The 5 gallon water cooler sits on top of the propane box over the sink when the top is up, otherwise it sits on the bench on the passenger side opposite the propane box with bungee cords to hold it in place, in a usable position even with the top down. I still need to make a cutting board insert for the sink where the water cooler can sit while in transit, opening up more space for a future custom built ice box on the passenger side. Eventually, I want the open floor space not under the bed to be clear at all times.
Attachments
BBZ
Senior Member
looking good!
Thank you everyone for the warm welcome, compliments, and encouragement. It's been a fun project.
We camped out of the Tundra with a basic canopy topper for years. I had a small kitchen setup so we could get out of the weather to cook and we had plenty of room for gear and dogs. We slept in a small tent. Life was simple and good, then time caught up with us and we both got tired of crawling in a tent, getting dressed laying down, and cooking all hunched over.
I started researching pop up campers, they seemed perfect for our style of travel, and quickly decided on either a FWC or an ATC. I looked at new ones, but couldn't imagine paying as much for the camper as I paid for the truck. I looked at lightly used ones, but even those were more than I wanted to spend on something I would just use and abuse. I eventually ended up on the Wander the West forums and realized that it was possible to rebuild an old one. Reading through all the rebuilds gave me the confidence to do my own.
For now the goal is to have a lightweight, basic, functional camper that I can use for a few years with a minimal investment of cash, then worry about making it look good when I'm ready to sell it. No point making it look nice right now, the two humans and two dogs would only make a mess of it. I've realized it will be an ongoing project and that is part of the fun in it.
Only 30 days and one more holiday to get through before we hit the road for a while...
BBZ
Senior Member
Man.. sounds exactly like my story! We camped the same way for years and when my wife finally said she wanted to go to Baja, I said it was time for a camper. I was shocked at prices and got lucky on our first fleet for 1700 that didn't need much, just painted the exterior and did a couple things and it was good for the first trip. Then we realized a little bigger would be nice and along came the Grandby, what a mess, but so glad I did it, like having a new camper for a fraction of the price...Sleddog said:Thank you everyone for the warm welcome, compliments, and encouragement. It's been a fun project.
We camped out of the Tundra with a basic canopy topper for years. I had a small kitchen setup so we could get out of the weather to cook and we had plenty of room for gear and dogs. We slept in a small tent. Life was simple and good, then time caught up with us and we both got tired of crawling in a tent, getting dressed laying down, and cooking all hunched over.
I started researching pop up campers, they seemed perfect for our style of travel, and quickly decided on either a FWC or an ATC. I looked at new ones, but couldn't imagine paying as much for the camper as I paid for the truck. I looked at lightly used ones, but even those were more than I wanted to spend on something I would just use and abuse. I eventually ended up on the Wander the West forums and realized that it was possible to rebuild an old one. Reading through all the rebuilds gave me the confidence to do my own.
For now the goal is to have a lightweight, basic, functional camper that I can use for a few years with a minimal investment of cash, then worry about making it look good when I'm ready to sell it. No point making it look nice right now, the two humans and two dogs would only make a mess of it. I've realized it will be an ongoing project and that is part of the fun in it.
Only 30 days and one more holiday to get through before we hit the road for a while...
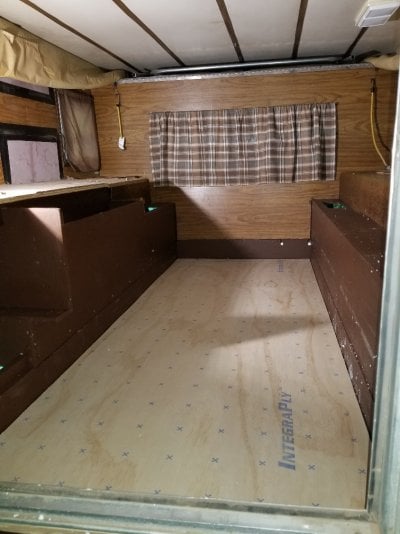
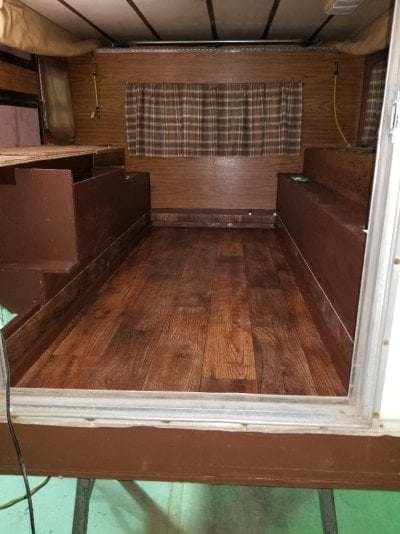
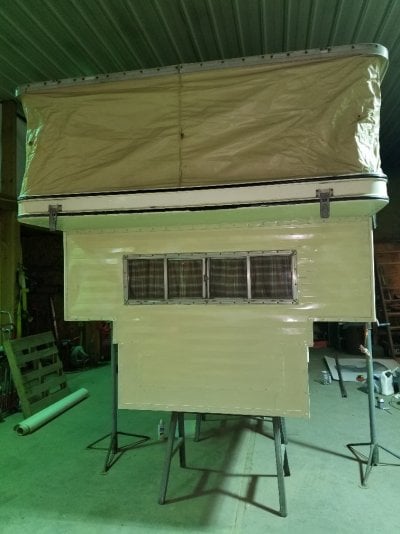
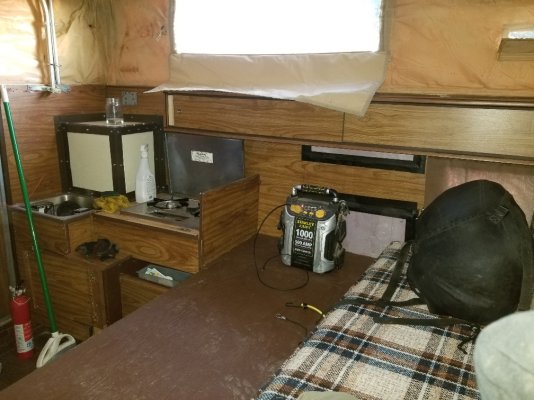
Priority #3 - The bed. It was important to me to be able to use the bed with the top down without blocking all of the available floor space. We decided 48" wide x 75" long oriented across the truck bed from side to side was plenty for the two of us since we're both fairly small.
The original cushions were in pretty good shape, so I was able to use them for the bed and couch for now and will eventually order custom cushions. At some point I will also make the couch wrap around along the passenger side.
The original cushions were in pretty good shape, so I was able to use them for the bed and couch for now and will eventually order custom cushions. At some point I will also make the couch wrap around along the passenger side.
Attachments
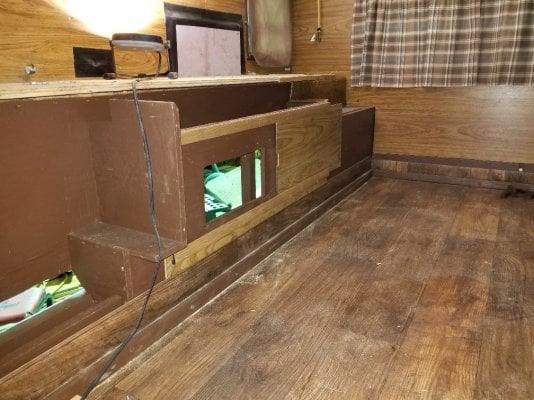
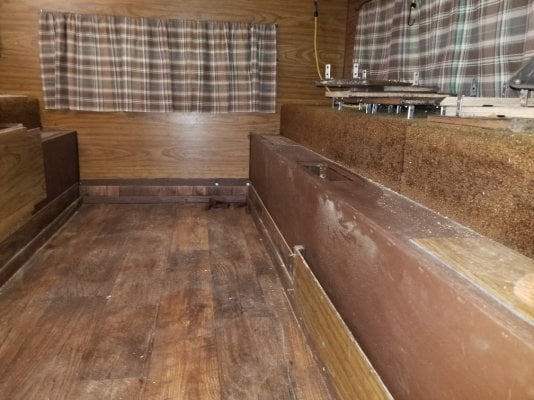
I made two removable bed frame pieces 24 inches wide. The section closest to the cab makes a couch and flips up for access to storage and turnbuckles. I used a piece of 3/4" plywood with a 2x4 along the front for support and put a thin support strip on the wall of the camper.
Attachments
Similar threads - WTW
- Bailey77FWC
- Four Wheel Camper Discussions
- Replies: 39
- Views: 2K
- Sagefemme
- Four Wheel Camper Discussions
- Replies: 29
- Views: 1K
- Black914
- Four Wheel Camper Discussions
- Replies: 6
- Views: 358
- Black914
- Four Wheel Camper Discussions
- Replies: 2
- Views: 283