oliverjohn
New Member
- Joined
- Nov 29, 2014
- Messages
- 1
I am thinking about sewing a thermal pack for myself but have never seen one in person. Does anyone know what kind of materials/insulation it is made of? Thanks for any info you can give.
To expand this a little, somebody here on the boards did a thorough job, but all I could remember is that it was one of the ski-related names (makers telemark or ski3pin) -- sounds like it was ski3pin. Get in touch with him or look search his posts/gallery.Kolockum said:
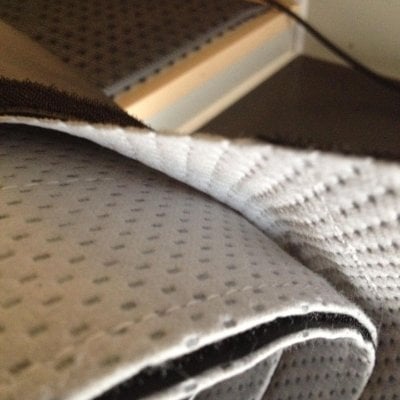
I have been looking at making mine using neoplume insulation, the same stuff in a lot of synthetic outdoor jackets and sleeping bags. It is really warm, compacts small and with the right outer fabric breathes well. I will be using the same construction as lined out by ski3pin, just different material.
I believe we did hem the sides also. The fold over is held in place with the outside line of stitching down the velcro. I'll check when it stops raining (I hope not soon!) to raise the top. The ends that stuff behind the lift panels are not hemmed and show no unraveling, so other than appearance, is it necessary?RnK said:Inspired by Ski3pin's excellent writeup, we are about to start sewing on a thermal pack ourselves (using the Evolution fabric and experimenting with polyester batting and ripstop nylon behind). This is a bit of an adventure for us as neither of us are big sewers. We are wondering if Ski3pin or anyone else could tell us why they hemmed the top and bottom of the panels but not the sides. We are quite willing to hem the tops and bottoms, just wondering if there's a reason it's needed.
Once again, we probably wouldn't be tackling this without that very clear writeup by Ski3pin. Thanks!
")
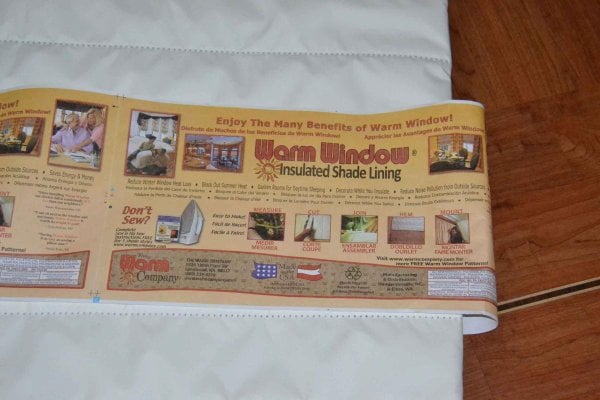
Ski3pin, we were referring to this quote from your writeup, but we may have misinterpreted it or maybe you changed your method at some point. Thanks for the quick reply!Although the info at Seattle Fabrics states 54” wide, it came 55” wide. This allowed a ¾” wide hem on both the top and bottom edges leaving an overall finished width of 26”, perfect! The vertical edges are not hemmed.
I posted an update on the original topic -ski3pin said:We also made a minor design change where the fabric goes behind the lift panels.
Great idea.