Will.I.Am
Advanced Member
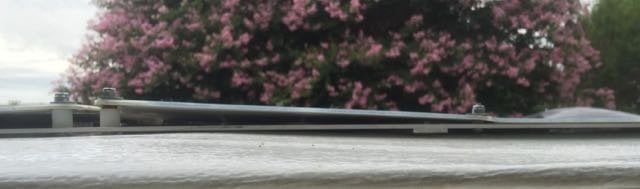
Has anyone bought and used these HQST 100W flex panels? I've read here about the Renogy recall...panels look very similar.
https://www.amazon.com/gp/product/B017OMTAV6/ref=ox_sc_act_title_4?ie=UTF8&psc=1&smid=A2D22KZJD14Y8Y
Thanks for your thoughts.
https://www.amazon.com/gp/product/B017OMTAV6/ref=ox_sc_act_title_4?ie=UTF8&psc=1&smid=A2D22KZJD14Y8Y
Thanks for your thoughts.