Newby going solar

travelingdan

Advanced Member
Joined
Feb 24, 2009
Messages
76
Hello:

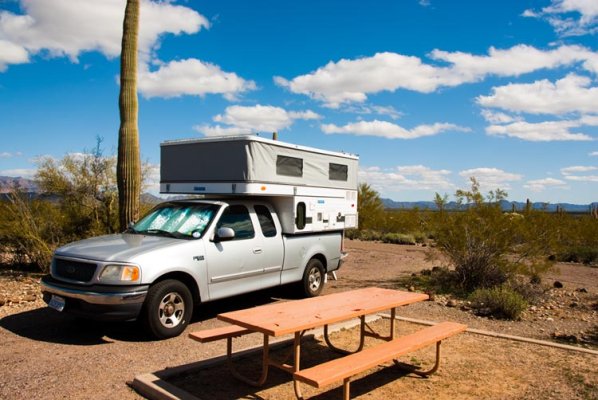
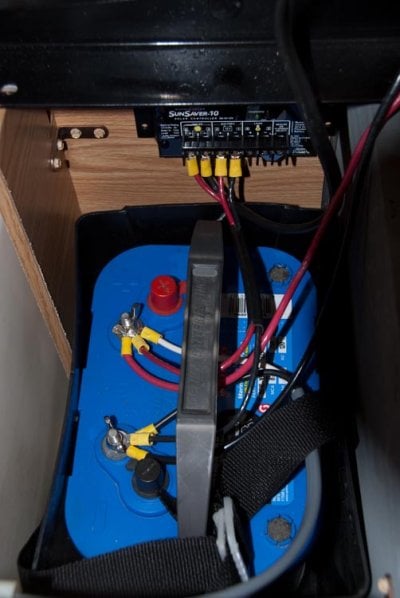
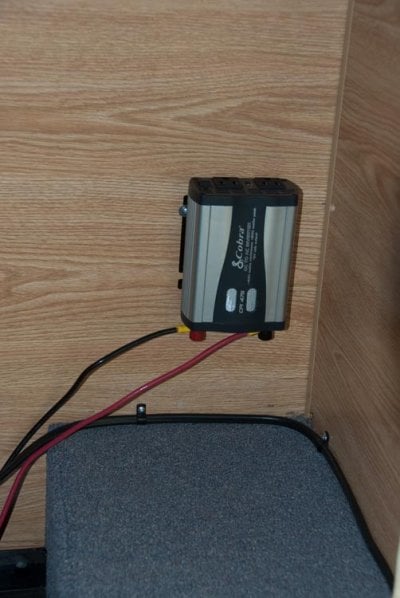
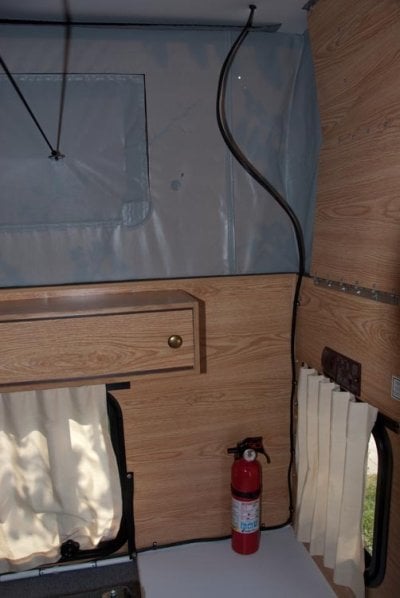
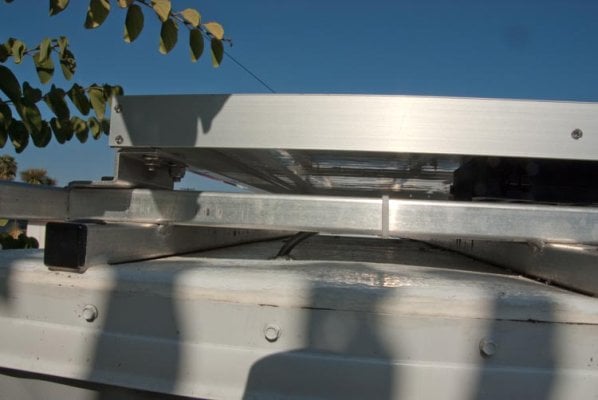
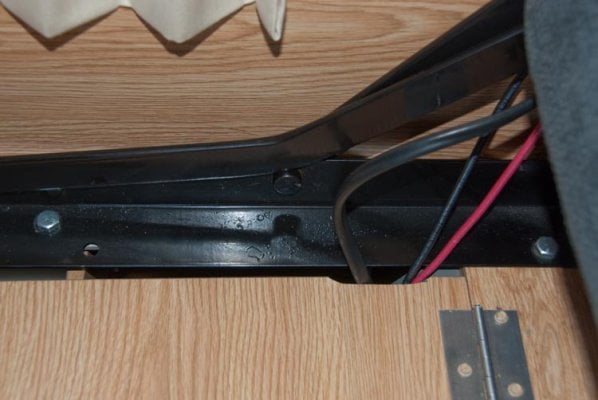
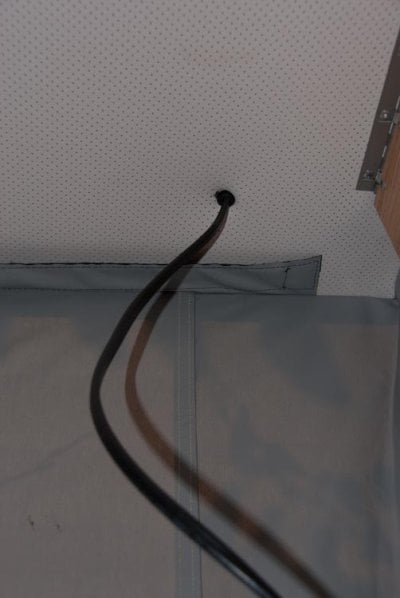
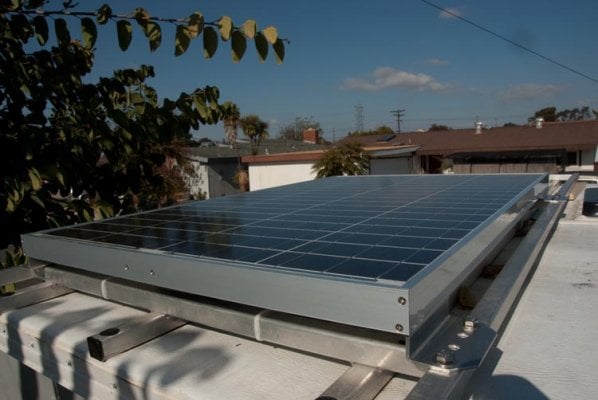
I just picked up a used 2005 Grandby that I've installed on my 1998 Ford F150. After my maiden voyage from San Diego to Southern Arizona and return I realized that I could use a solar panel to charge the auxiliary battery. I have the panel, the control box and the wiring (gleaned from studying the solar discussions on this forum) but my one question is wiring. I don't want the wiring hanging off the side of the truck, so do I carefully drill a hole in the camper roof and run the wire inside? Once inside where is it best to run/hide the wire? Also, do I silicone the hole in the camper roof or is there a better way? FYI: The solar panel is being secured atop a roof rack that came with the camper when I bought it. Any help would be appreciated.

Dan
 

Attachments

  • Camper.jpg
    Camper.jpg
    133.4 KB · Views: 485
Being a 2005 I think there is some stock wiring already ran for it that they just have tucked up in the roof. I don't know all the details on it so I'd search the boards for folks using the stock wiring and give the factory a call. Could save you a lot of effort...

If I was starting from scratch I'd likely try and tuck it under the vent flange so I had a horizontal entry rather than a vertical one. Fishing new wires under the headliner could be troublesome so if it wouldn't look too bad I'd likely just run a discrete wire loom along one of the supports till I got to the front or back sidewall then tuck behind the folding panels.
 
Going solar

Thanks for the advice.

I tackled the job last weekend

First I attached the controller to the box that houses my auxiliary battery.

I then connected the controller to the battery.

From the controller I ran the 10 gauge wiring out from the battery box along the wall just below the windows and below where I had attached an inverter (where I plug in my laptop) all the way to the rear of the camper. (Because the wire rubbed against the door that shuts over the battery, I cut out a small space in the door with a bandsaw.)

I ran the wire up the back wall to the camper's ceiling where I drilled a 3/8" hole into the ceiling.

Up on top, I attached the 85 watt solar panel to the rack that came with the camper when I bought it. I ran the wire along the rack then into the solar panel, zip-tieing the wire to the rack.

I covered the hole with silicone and because the hole in the camper ceiling is situate underneath the solar panel it will be guarded somewhat from the elements.

I parked the truck under the sun and the battery is now fully charged.

I leave next week for Southern New Mexico.

Dan
 

Attachments

  • Solar1.jpg
    Solar1.jpg
    77.5 KB · Views: 449
  • Solar2.jpg
    Solar2.jpg
    80.8 KB · Views: 467
  • Solar3.jpg
    Solar3.jpg
    68.7 KB · Views: 448
  • Solar4.jpg
    Solar4.jpg
    65.4 KB · Views: 494
  • Solar8.jpg
    Solar8.jpg
    62.8 KB · Views: 466
A few more photos

Here's a few more photos I couldn't post with the previous message because I was limited to five.
 

Attachments

  • Solar6.jpg
    Solar6.jpg
    74.4 KB · Views: 404
  • Solar5.jpg
    Solar5.jpg
    59.2 KB · Views: 452
  • Solar7.jpg
    Solar7.jpg
    81.6 KB · Views: 451
Right on. Looks like the panel is more to the passenger side. Still have room on the driver side for a kayak or such if you wanted?
 
Nice job & Images

Dan, Nice job. Great images. It inspires us Electronically Challenged fellows. I'm once removed from the " Here Hold My Beer " DIY group. I've been thinging about Solar power but haven't got beyond that.
 
I knew nothing about any of this until about two weeks ago when I started getting serious and studied the postings on this forum about going solar. The people at Northern Arizona Wind & Sun (who I found through this forum) walked me through what I needed over the phone and set me up with everything. Total cost was about $550.
 
Up on top, I attached the 85 watt solar panel to the rack that came with the camper when I bought it.


Which 85 watt panel did you buy? What were the dimensions?
 

New posts - WTW

Back
Top Bottom