Stitch
Advanced Member
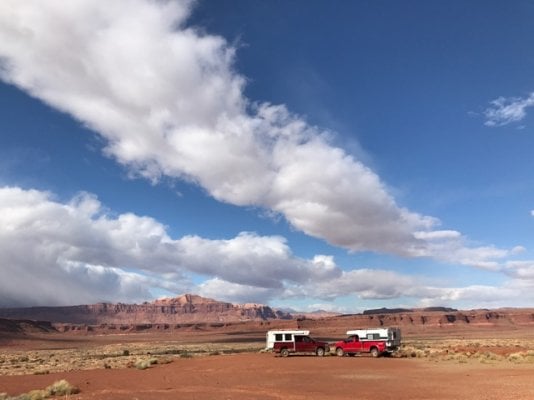
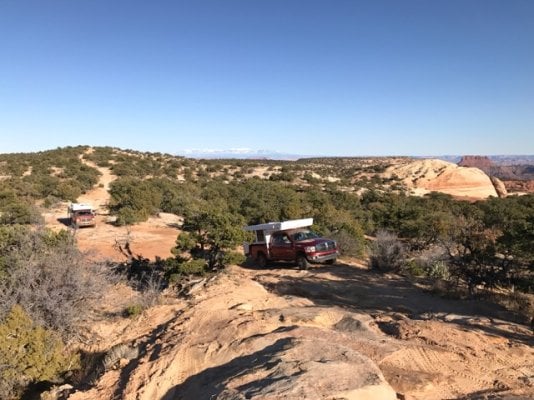
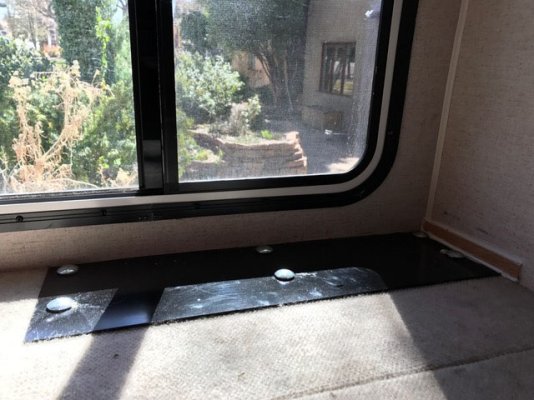
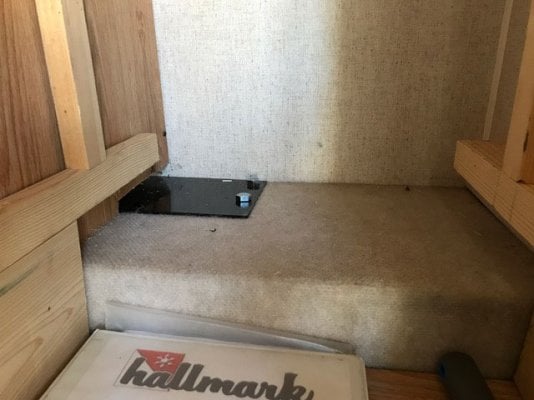
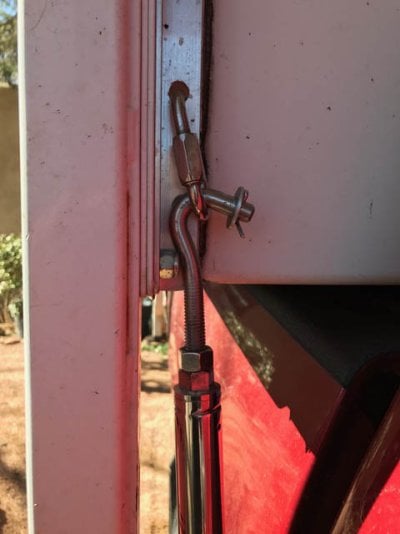
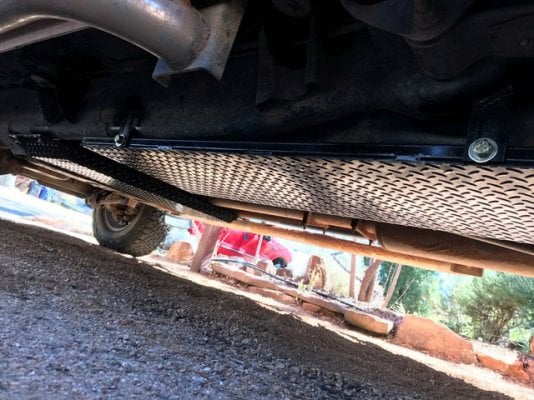
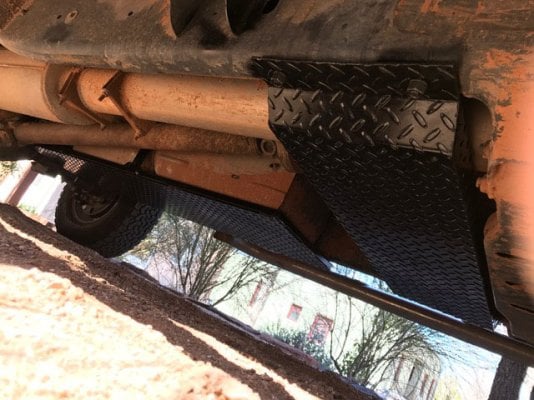
DoGMAtix,DoGMAtix said:I seem to be getting more confused rather than less. Although my mechanic's advice to let the rear leaf springs/ overloads do their job as designed (without putting things in to obstruct their movement) makes sense to me, coulter6 and nobueno seem to feel the stableloads (lower and upper, respectively) tamed the jarring ride. Bad Habit seems to think the uppers actually made the ride more jarring. I'm wondering what I should do - uppers, lowers, or none? The folks at Torklift essentially consider the issue a no-brainer and recommend the lowers over the uppers for our purposes (they do like their company's products! and for what it's worth the company seems to be well run). I'll talk to the metal fabricator/ off-road modification guy tomorrow when I drop the truck off. It'll be a week or two before he's done installing skid plates and repairing turnbuckle mounting points, so there's time yet to ponder.
Any other positive or negative experiences people have had with StableLoads (or other ride-smoothing modifications for rough terrain) would be appreciated.
Thanks!
Have you considered Timbrens? They are dirt simple. When my Guanella is off the truck, there is no contact and the truck rides as stock. When I load the truck with either the camper or a heavy bulk load, they start to come into play. I got these instead of airbags since I really don't need to level the truck with a load. I also avoid the complexity of airbags. They seem to do just fine for me.
If you need to level your truck, then you're not in the same situation and airbags might be a better choice.

")