REplace Pet-Cock and Checking Granby Water Reservoir

Southern Gent

Advanced Member
Joined
Oct 22, 2008
Messages
77
Location
Bessemer, AL.
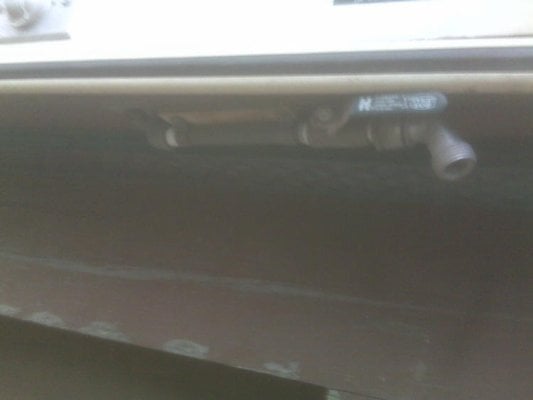
My Pet-Cock was broken off While passing through New Orleans on 03 14 09.

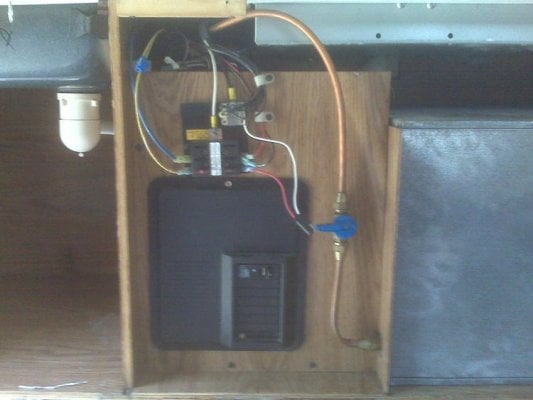
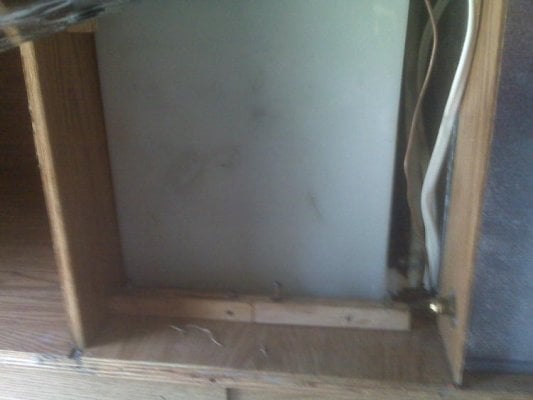
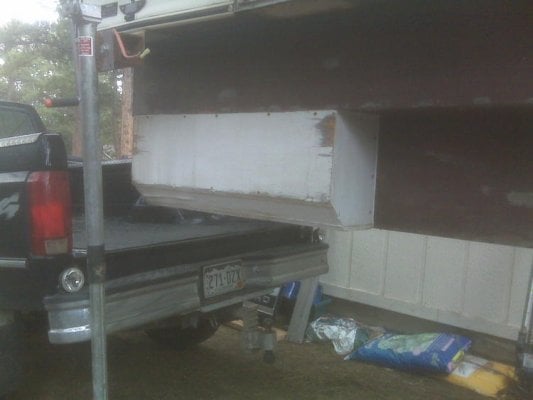
I was concerned the Water Reservoir might have been damaged so I removed the Cabinet Plywood front & Plywood / Power Panel. All was well. I did replace the Water line and over flow line due to mineral build up for appearance and possible taste issues.

I will replace the Pet-Cock in the next couple days after a visit to one of the local RV supply Dealers.

I used both a 3/4 and a 11/16 inch open end wrench to work with the Propane line.

Remember to disconnect all power 120V and 12V as well as the Propane prior to working with the Power Panel. Electrical sparks & Propane can take you a higher plane.
 

Attachments

  • granby power panel 03 18 09.jpg
    granby power panel 03 18 09.jpg
    47.4 KB · Views: 513
  • granby water resevoir base plate  03 18 09.jpg
    granby water resevoir base plate 03 18 09.jpg
    35.5 KB · Views: 517
I had the same thing happen so I decided to improve on the situation instead of just replace it. I used a 3\8'' brass street 90 coming out of the tank which was just the right length to run along the outside bottom of the camper ledge. then I connected a ball valve with a short nipple to it. On the other side of the ball valve I screwed in a MIP x male hose thread adapter. This was a little close to the camper to make hooking up a hose easy so I threw on a 45 degree hose connector. I keep a hose cap on it while traveling so if the ball vale gets opened either on purpose or accidently I don't lose my entire water supply.

Before leaving on a trip I connect the hose from the house to this connection with a female x female hse coupling & fill my tank from the bottom up using the house pressure - much faster & less hassle than filling thru the inlet spout. At camp I connect a 3' hose to it & I have a great outside water faucet.

Hope this helps someone or gives someone an even better idea to improve their camper - Doug
 
water out-lit

Sounds like a great idea. Do you have any pictures ?:thumb:
 
Do you make House Calls

MASTERPLUMBER, That's a great idea. I did use a 3/8" Brass fitting to take the connection below the plywood but changed to plastic ball valve. I may re-plumb
 
I'll try & take a picture when the snow lets up. right now we're in the middle of a blizzard which is a good thing - we need the moisture.

Doug
 
thanks , enjoy the snow :thumb: it's in the upper 70's in sunny San Diego:D
 
Sounds like a great idea. Do you have any pictures ?:thumb:

Ok, this is way over due & I apologize. I was gone for most of a month with trips to Utah & I managed to also break my camera on the last one. So last weekend I finally took a couple pictures with my Blackberry while putting the camper back on the truck for the summer & fall. The 1st pic is of the new & "improved" drain & the 2nd is the boxxes I built in front of the wheel well for dry storage. Note - my camper is bolted to the truck through the floor & the access is from the top of the ledge rather than the side of the floor pack so this mod may not work on the newer campers - it also means you have to raise the camper about another 10'' to get it off the truck which can be kinda scary.

Have a great week & get out there & camp,
Doug
 

Attachments

  • camper picture.jpg
    camper picture.jpg
    19.7 KB · Views: 227
  • camper picture 2.jpg
    camper picture 2.jpg
    37.5 KB · Views: 227
Drain

thanks for the picture of the drain. I am going to give it a try .
 

New posts - WTW

Back
Top Bottom