1988 Four Wheel Camper Grandby renovation and Tundra Fit

Very cool, sounds like the same boat as me. Funny. last week one popped up for free in the next town over, but someone snatched it up before I could go. Looked better condition than mine too.
I will prolly need a new canvas as well, so lets keep in touch, maybe we can haggle someone to make 2.
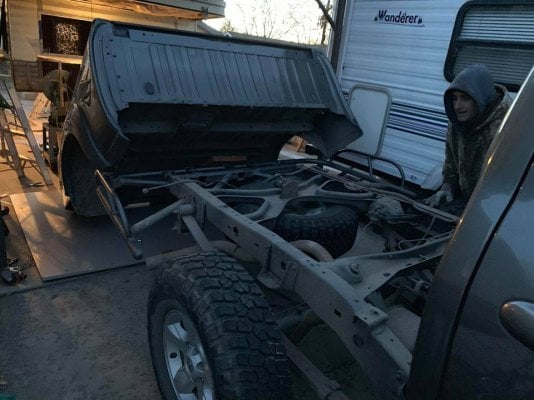
Yes, with a flatbed, I can weld on goodies at any time.
 
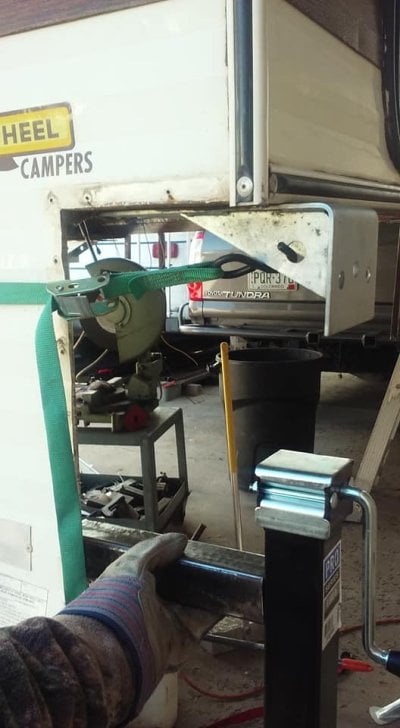
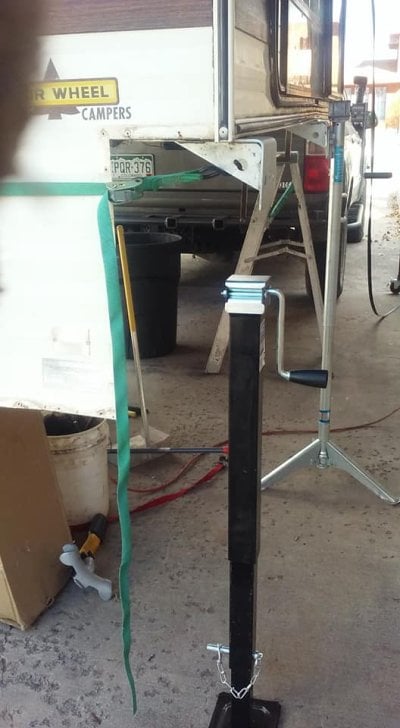
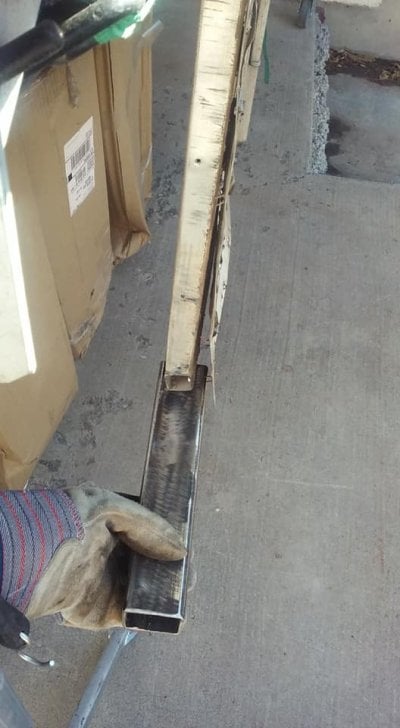
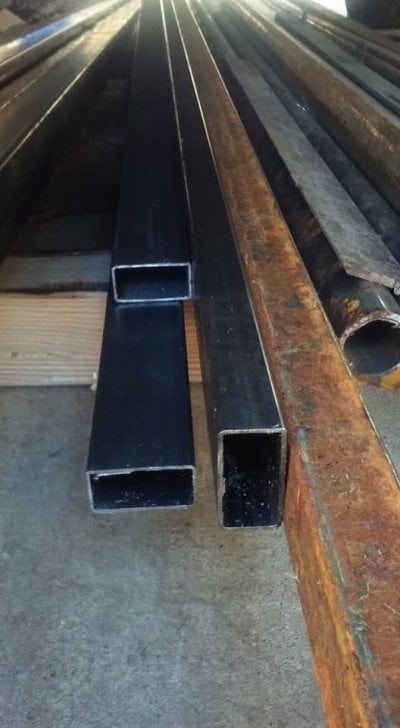
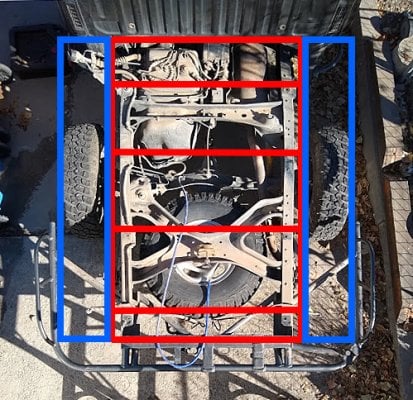
Starting layout. The metals supplier did not have all the light gauge tubing I wanted, so the layout will change a tad. Plan is, these corner jacks that will have optional casters.
I will use slightly thicker wall tube for the corners, and lighter everywhere else.
 

Attachments

  • 46520513_10205702705203790_2182428167640186880_n.jpg
    46520513_10205702705203790_2182428167640186880_n.jpg
    54.9 KB · Views: 126
  • 46800952_10205702704723778_1770798699560042496_n.jpg
    46800952_10205702704723778_1770798699560042496_n.jpg
    50.8 KB · Views: 138
  • 46523948_10205702704923783_4887445527538434048_n.jpg
    46523948_10205702704923783_4887445527538434048_n.jpg
    51.3 KB · Views: 148
  • 46885812_10205702705643801_2795085856342278144_n.jpg
    46885812_10205702705643801_2795085856342278144_n.jpg
    47.1 KB · Views: 136
  • 46831238_10205702704083762_6454270767013036032_n.jpg
    46831238_10205702704083762_6454270767013036032_n.jpg
    44 KB · Views: 119
Man.. my wife is a ninja with a sewing machine.. and has 3 industrial machines.. do not fool yourself and think it is easy, it was the hardest part of our build by far...
 
BBZ said:
Man.. my wife is a ninja with a sewing machine.. and has 3 industrial machines.. do not fool yourself and think it is easy, it was the hardest part of our build by far...
^ This is my biggest fear
 
Ouray,

Here is the page shellback referred to on my build thread.

http://www.wanderthewest.com/forum/topic/12116-new-build-1981-grandby-to-become-a-hawk/page-12

Making your own sideliner (canvass) is time consuming and tedious, but can be done with an eye to detail, and a bit of practice. I purchased a used industrial sewing machine off of craigslist, and just spent a lot of time practicing on scrap material to get a feel for running a machine, and learning its characteristics, how to tension the thread and the presser foot, speed, and how to get a straight stitch and curved stitching, long before I attempted the side liner. That way I had a lot more confidence when attempting the real thing. I made a few mistakes and encountered some challenges as you'll read in the thread, but in the end it turned out pretty good, and is functioning fine with no leaks. So if you decide to try and tackle it, it is possible, and is similar to building with wood or metal, just a different material and different tolls. And speaking of tools, a walking foot sewing machine would be preferred. I used a regular foot machine, but doing it again I might spend a little more for a walking foot. I figure you can always re-sell it when your finished.

Poky
 
PokyBro said:
Ouray,

Here is the page shellback referred to on my build thread.

http://www.wanderthewest.com/forum/topic/12116-new-build-1981-grandby-to-become-a-hawk/page-12

Making your own sideliner (canvass) is time consuming and tedious, but can be done with an eye to detail, and a bit of practice. I purchased a used industrial sewing machine off of craigslist, and just spent a lot of time practicing on scrap material to get a feel for running a machine, and learning its characteristics, how to tension the thread and the presser foot, speed, and how to get a straight stitch and curved stitching, long before I attempted the side liner. That way I had a lot more confidence when attempting the real thing. I made a few mistakes and encountered some challenges as you'll read in the thread, but in the end it turned out pretty good, and is functioning fine with no leaks. So if you decide to try and tackle it, it is possible, and is similar to building with wood or metal, just a different material and different tolls. And speaking of tools, a walking foot sewing machine would be preferred. I used a regular foot machine, but doing it again I might spend a little more for a walking foot. I figure you can always re-sell it when your finished.

Poky
Thanks Poky. Yes I was scrolling through a bunch of builds last night. I gotta say, some of you guys are far more adventurous than myself. And all the time involved. I had hoped to get this thing done by spring, but that sounds like a very very long shot. It is pretty daunting.
Man, I gotta think of a whole new lift panel method as well. I am amazed FWC still uses pretty much the same design. We shall see.
Thanks for the links!
 
a8ksh4 said:
Hey, looks good, Ouray! Have you already said what you're making the flatbed out of? Steel and Wood?
Thanks, now I gotta get moving to at least make the truck use-able again. I had not put too much thought into the deck yet. It will be steel frame, and hopefully an aluminum deck. My local recycler has tons of alum signs in a pile for recycling, so i will see if I get lucky to find some to fit. The flatbed plan is a little out of the box, so we will see.
 
Hi ourayphotography
Is the blue cable or tube in the second photo you diff. Breather tube?
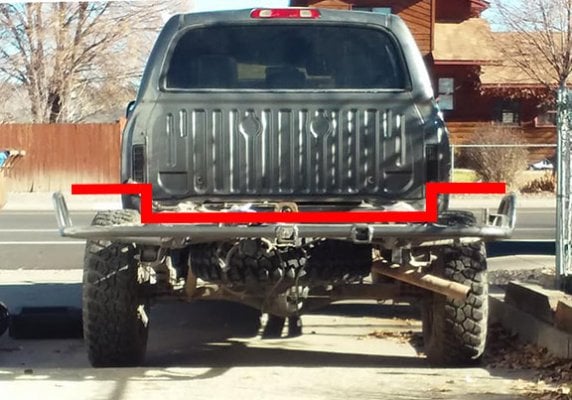
How you gunna provide clearance for the rear wheels if you make the deck so low to the frame? What am I missing there?

Russ
 
CougarCouple said:
Hi ourayphotography
Is the blue cable or tube in the second photo you diff. Breather tube?
How you gunna provide clearance for the rear wheels if you make the deck so low to the frame? What am I missing there?

Russ
Hey Russ, yes, that's the diff extension. The drawing is just rough, so the bed portion over the wheels will be a tad higher than the stock wheel well clearance. the center drop is only about 6-8"
 
We met a couple two years ago who were overlanding in Baja in a 1st gen Tundra. He had replaced the bed with an aluminum bed and had a lightweight fiberglass camper on it. It overhung the back of the truck by several feet. To keep it light he had only used aluminium beams with no decking for the flatbed, all bolted together rather than welded.<br /><br />Last year we ran into them again, and they had just discovered their truck frame broken in front of the wheels on both sides. You may want to do some reinforcing to the frame in front of the axle. I would also recommend shortening the Grandby to Hawk lenght. I'm sure the Grandby will be heavier than his fiberglass camper.<br /><br />On another note, I have a 2016 Grandby on a Dodge 2500 Quad Cab with a short bed. The camper is extended out over the tailgate. It drives ok although the cg is behind the rear axle. I found out how it would handle last year in Baja when I came around a corner a little too fast and ended up dropping the right front off the pavement when I overcorrected. I almost rolled it but was able to save it. Not sure how an overloaded gen one Tundra would have done.
 
Thanks Rich, some good info and reminder.
Yes I have seen a few posts about cracked frames. I will definitely get in there and reinforce/Box the frame. All my design will be to bring the COG as forward as possible. The truck is a 6.5 bed, so the extra 1.5 overhang is not a huge worry for me. I plan to bring the camper weight in far below a stock FWC. Hoping below 800 lb. I might even try to move the rear door to the side, than I can cut the rear bottom for departure angle. Shortening the whole thing is just too much involved. THX
 
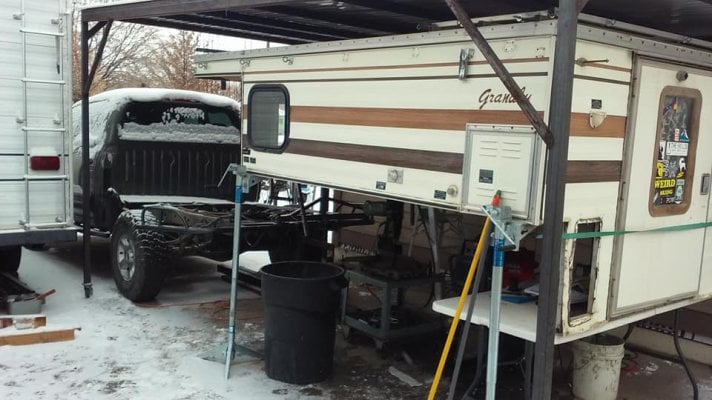
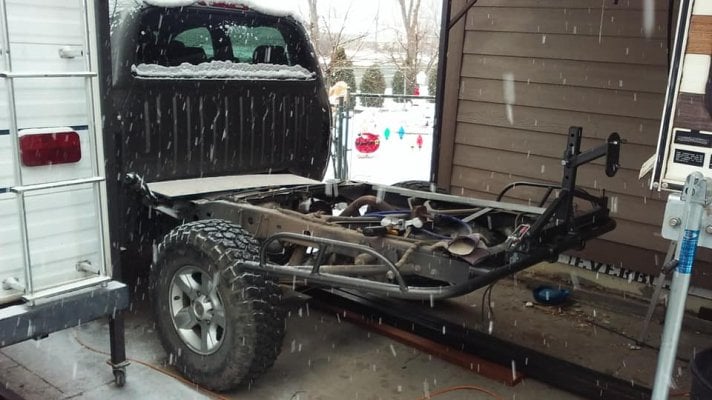
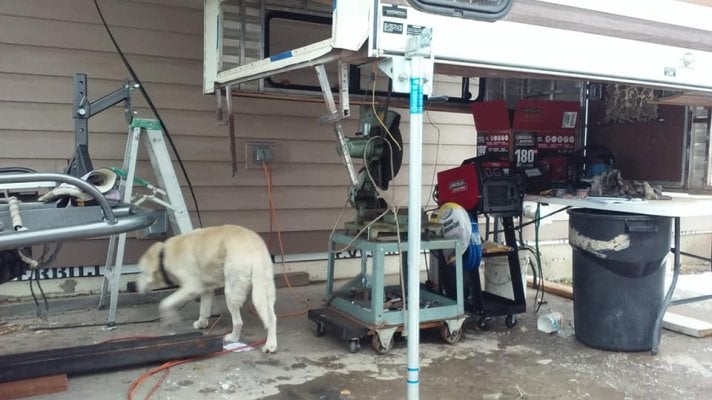
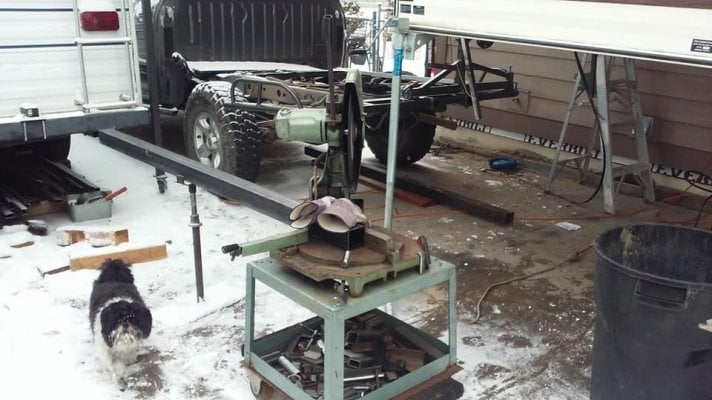
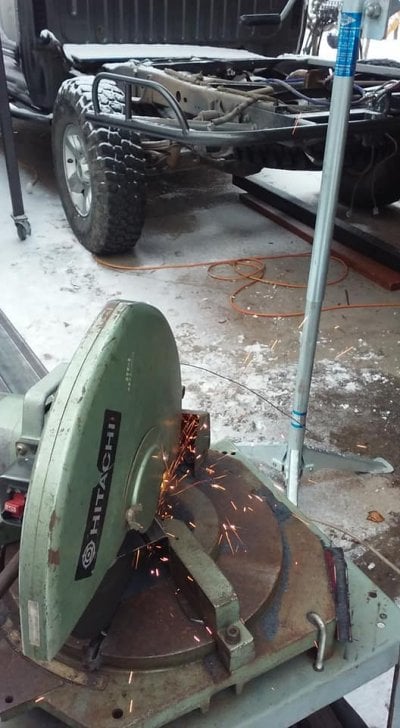
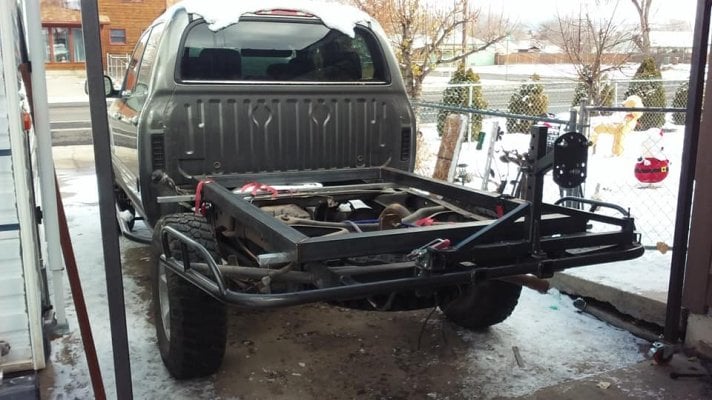
Far from ideal conditions, but a start on the flatbed. 2nd Metal supply house also did not carry my planned tubing, so plan change again. Cross fingers. Camper is useful as a shelter I guess.
 

Attachments

  • 47320436_10205731438802112_2841514027610275840_n.jpg
    47320436_10205731438802112_2841514027610275840_n.jpg
    67 KB · Views: 151
  • 47249475_10205730956150046_8781631472185376768_n.jpg
    47249475_10205730956150046_8781631472185376768_n.jpg
    65.2 KB · Views: 178
  • 47308259_10205730959830138_7906227703156572160_n.jpg
    47308259_10205730959830138_7906227703156572160_n.jpg
    63.7 KB · Views: 177
  • 47278245_10205731437962091_2258760972124553216_n.jpg
    47278245_10205731437962091_2258760972124553216_n.jpg
    65.1 KB · Views: 172
  • 47225194_10205731435922040_197880374666199040_n (1).jpg
    47225194_10205731435922040_197880374666199040_n (1).jpg
    65.5 KB · Views: 139
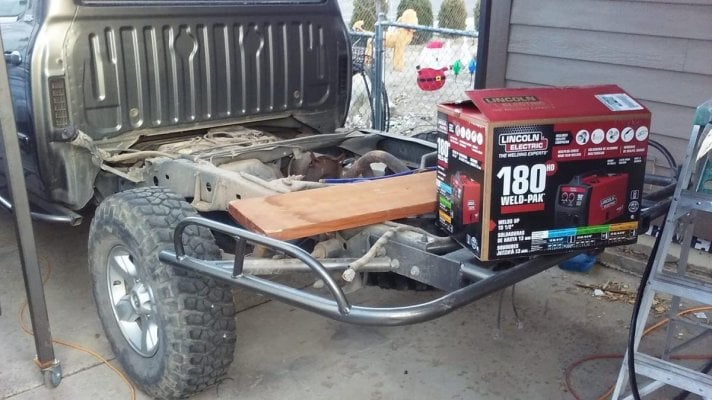
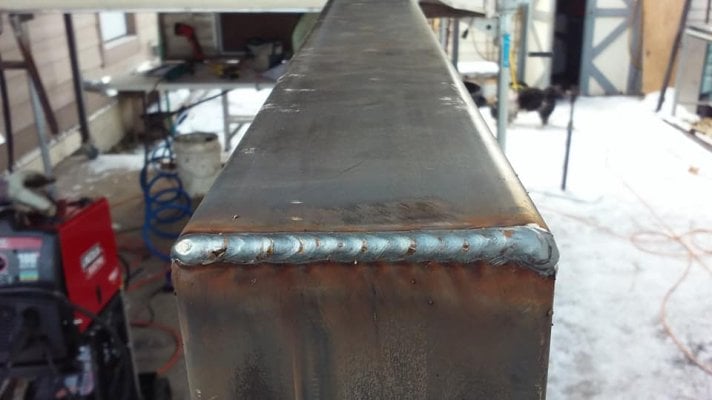
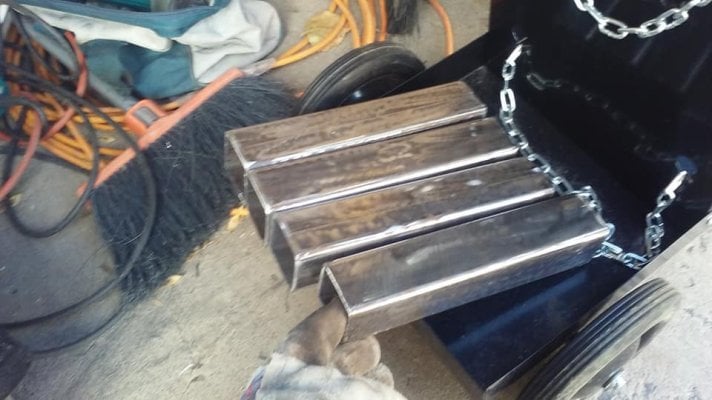
New welder fired up. Getting decent welds right out of the box. We have the main pad.
 

Attachments

  • 47439818_10205734576360549_7481234946846097408_n.jpg
    47439818_10205734576360549_7481234946846097408_n.jpg
    74.6 KB · Views: 120
  • 47390646_10205734580600655_461460803929767936_n.jpg
    47390646_10205734580600655_461460803929767936_n.jpg
    39.7 KB · Views: 122
Back
Top Bottom