JakeSnapper
Advanced Member
- Joined
- Nov 26, 2019
- Messages
- 53
Thanks Sleddog. That sounds like a cheap easy fix.

JakeSnapper said:-snip-
Also, years ago often times the model year would be etched into the glass windows. I noticed this on the sliding glass window. Would that be December 1988?
Welcome, JakeSnapper. Best of luck with your build!JakeSnapper said:Well the photo won’t upload but in the lower left corner of the glass it says:
3ANEL
.............SAFETY
GLASS
SOLID TEMPERED
AS-3 DOT 322 M-1
12-88

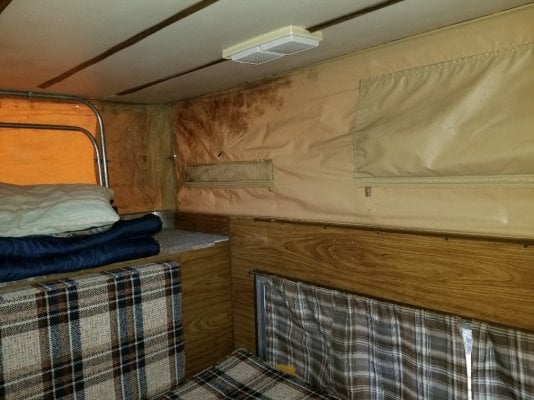
Sleddog said:Blow up that photo and it is clear that the center latch is different. On my 83 Fleet there is a bit of a hump in the center of the roof on the front. I have considered a third latch, but there have been no issues as it is so I never bothered. Something I figured I'd look into if I ever got a notion to redo the top. I get the feeling that at some point someone had overly tight latches with something in the way of the top closing properly that created a couple of bent spots.
Thanks, guys. I appreciate the explanations.JakeSnapper said:That was one of the things I noticed too when trying to figure out for sure if it was a FWC. I couldn’t find any pictures online of other fWCs having 3 latches. Upon closer inspection I believe a previous owner added that. It’s not exactly the same as the others.