Bill's FWC Hawk build.

Thanks, Bill. $35 a drawer isn't bad. I'm only thinking about lengthening two of them. FWC is still using the plastic slide. I would have to install boards in the cabinet for slides like yours so will likely stick with the current set up.
 
ntsqd said:
There is some precedent for a downward opening door. It is hard to see in this pic, but the lowest door does open down. With my wife being 5'0" I've pondered making it more robust so that she can use it as an elevated standing platform.
Like the idea of a fold down step. My wife is 5'2" and can not reach the window over fridge. May think about a folding step on the cabinet under the fridge. WTW keeps making more work for me.
 
Waiting for the drawers and cushions. So i got started on the dinette seats. Finished the hinged front section over the water tank and batteries. There is a small amount of storage over the water tank and batteries. Made the box to hold the fold over seat. Because of the support required for the roll over section there is extra bracing build into this box. 2x2 alum angle on outside of each corner. This 2x2 angle bolts to a 3x3 alum angle that the fold over brackets bolt to. I did get one cushion back the seat back that attaches to the roll over hinge. Tomorrow I should finish mounting the fold over hinge and the seat bottom of the fold over seat.

proxy
 
Got the seats for the dinette put together and the cushions are done. The front back cushion was too thick at 4" so we are going to use 2" foam in it. This is why the cushion looks different in the picture, it will be tightened up to fit the 2" foam. Rollover bracket works great. I tied in all the alum angle in the rear seat, 3" angle bolts to the 2" angle and the 2" bolts to a short angle that bolts through the floor. May be over kill but looks we may step on the rollover section if the top bed is pulled out. Still waiting for my drawers, full extension slides are on back order.


Plywood lid over rear seat
Rear+seat+plywood.jpg


Rear rollover seat
rear+seat.jpg


Front cushions
front+cushions.jpg


Seats from the side.
seats+from+side.jpg


Rollover made into a bed.
rollover+down.jpg
 
Drilled the last hole in the camper today for the fresh water drain. Also installed the relay for the rear flood lights to come on with the back up lights. Still waiting for the drawer slides. I did get some urethane on some of the wood work.


Fresh water drain, last hole in the out side.


Relay to operate rear flood lights when backing up the truck.
 
Bill, I just went through your photo gallery of the build from the start to the present.
I want to compliment you on the workmanship and documentation you are providing in this thread / gallery.

As a stock Hawk owner (roller over couch, ext. bed), I find it very interesting to rethink what is possible.
I think we all sit in our campers and dream about what we could do differently if we built it ourselves.
Thanks for sharing your build with us.
 
Got drawers this afternoon, back to work tomorrow.


All five drawers. Made right and square.
drawers.jpg


Why one of the lower drawers is larger. To fit the pots we use in the camper.
drawers+with+pots.jpg
 
Bill, those look like the same drawer slides I used. They are heavy, but the positive closure and durability are very nice. Hope they work well for you.
 
Taku said:
Bill, those look like the same drawer slides I used. They are heavy, but the positive closure and durability are very nice. Hope they work well for you.
Just looked at some of your pictures the slides look the same and yes they are heavy. I never liked the top slide FWC used and the extra weight is not that much. I am using the new slam latches from FWC so everything will match.

Do you have finished pictures of your cabinets?

Bill
 
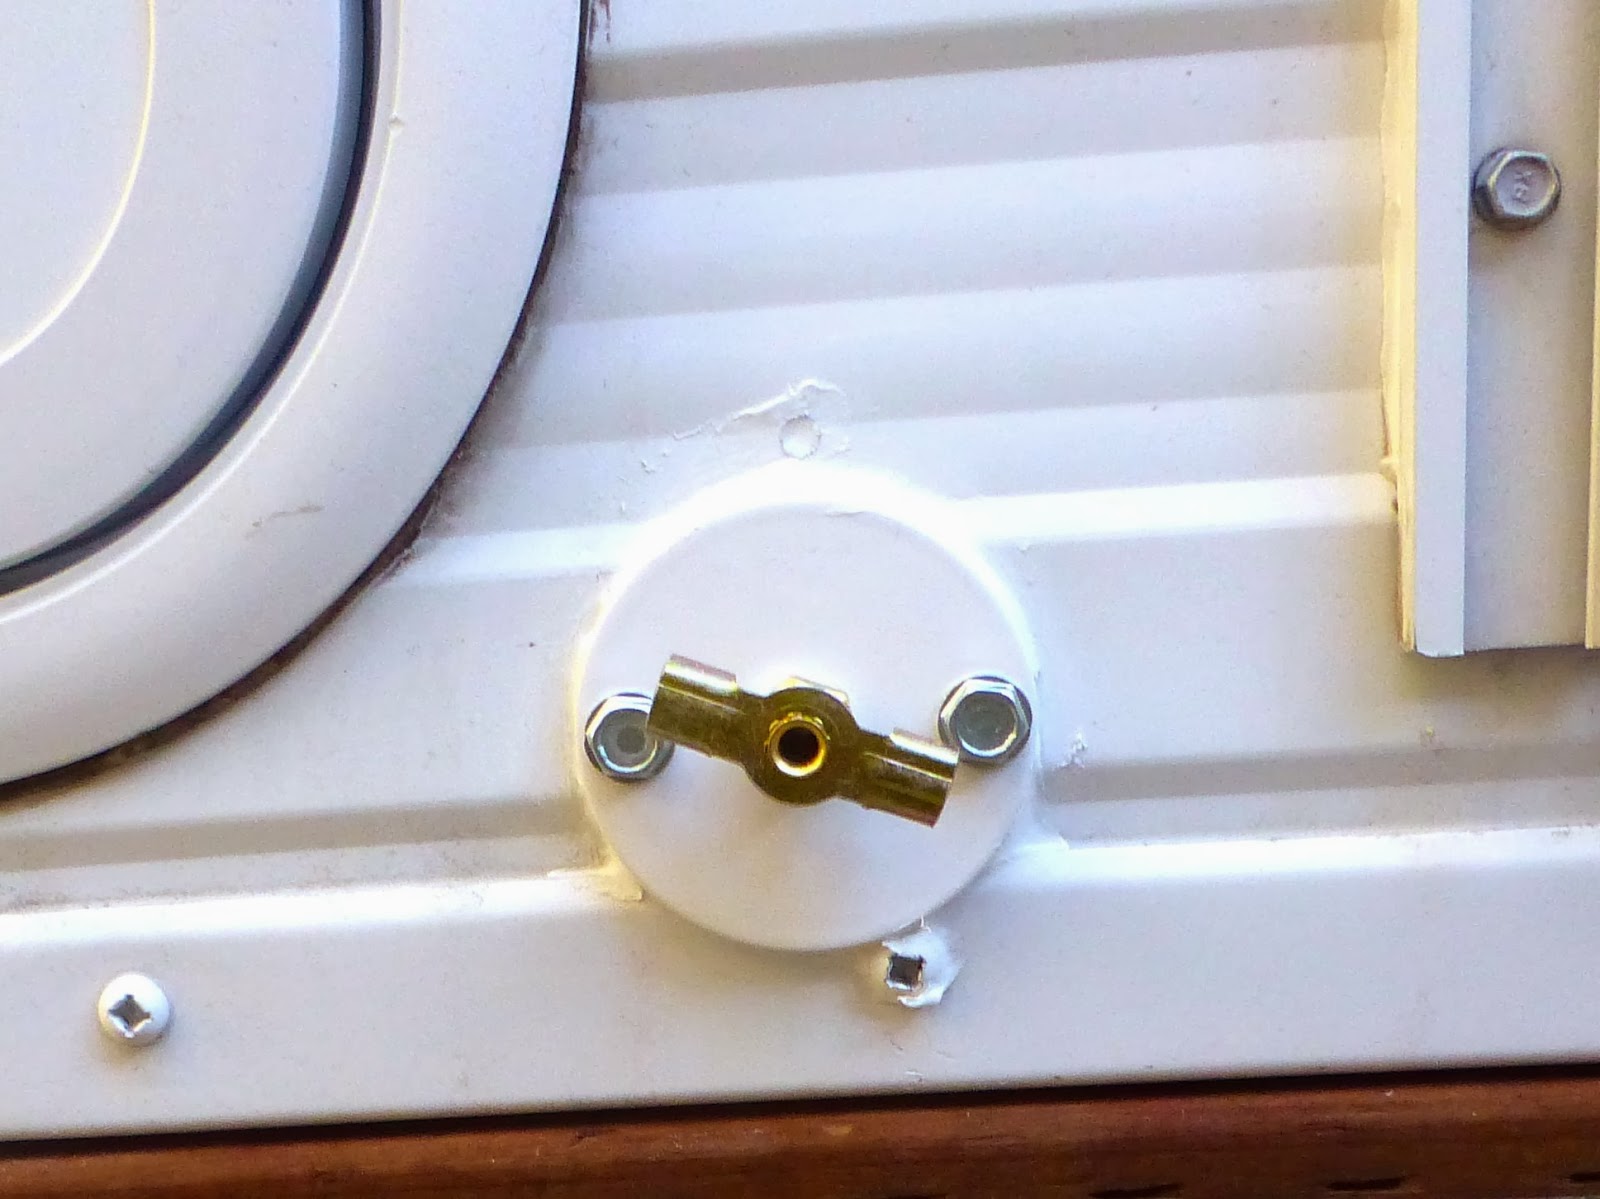
Been busy since my last post. Got water tank flushed and installed. Last hose to install was the drain. Being a metal worker and not a wood worker I made a cover for it out of 1" alum angle.


Drain hose with out the cover


Drain hose covered by the 1" alum angle. Painted black

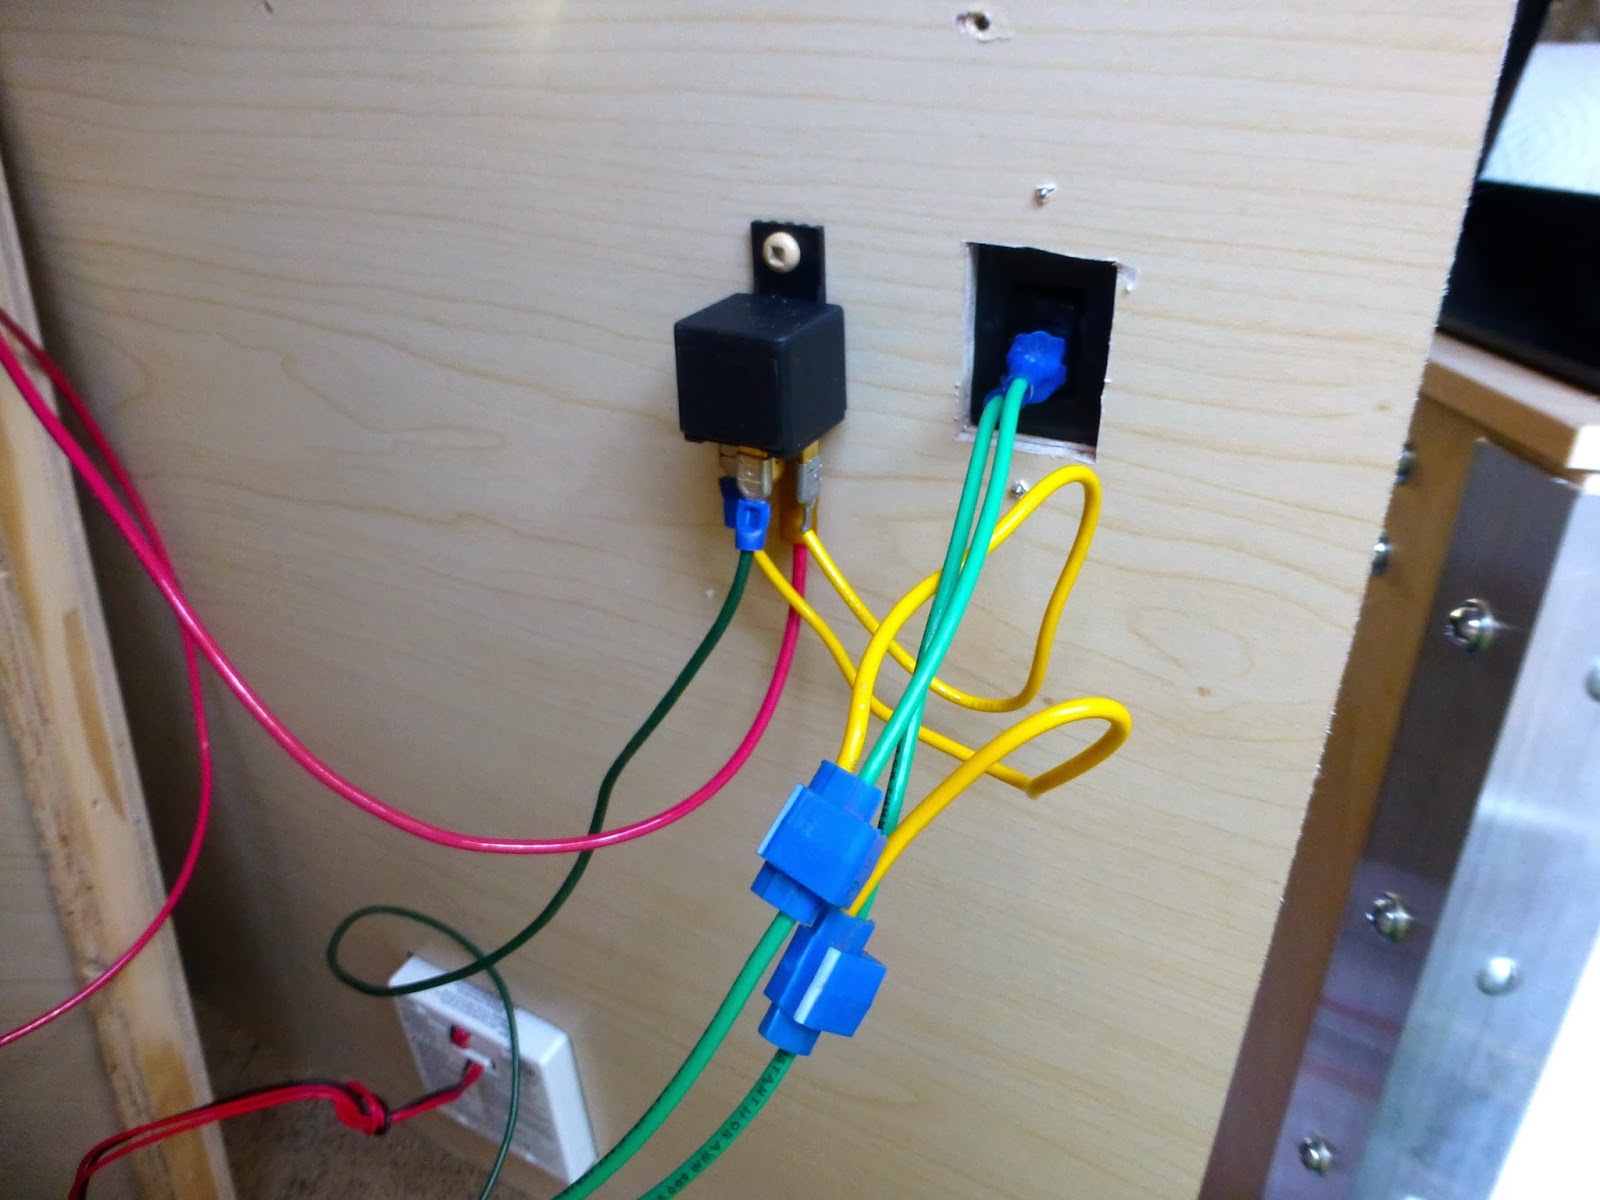
The little stuff takes time. Wires for heater control​

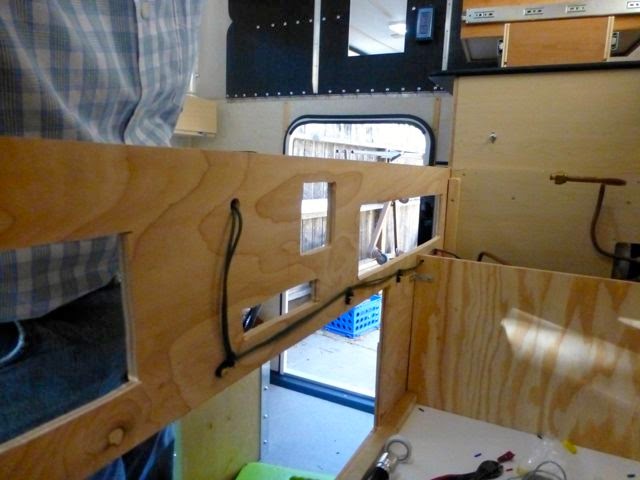
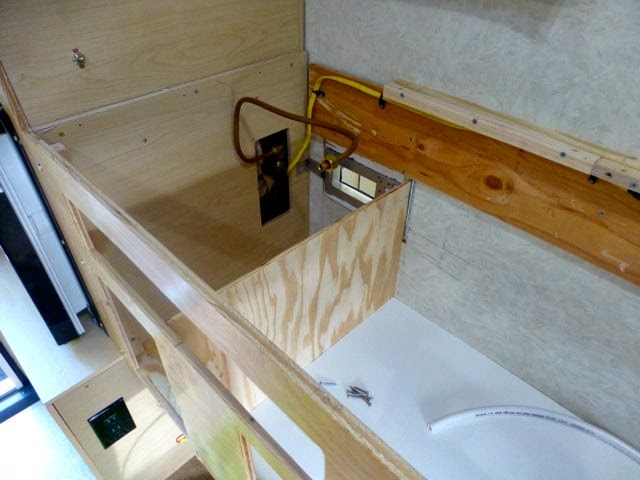
Heater box ready for the heater.
Other end of the cabinet where I put the pump and plumbing​


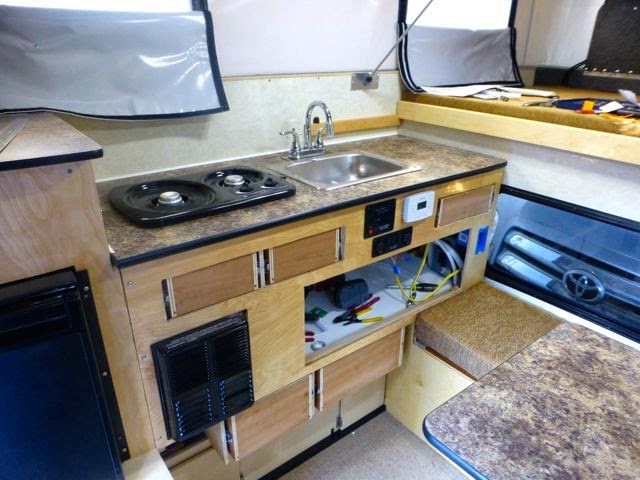
Got the drawers and heater installed.


Set top in to check fit all good.​

Set in sink and stove. Hooked up stove to do a leak test on propane, passed​
Turned on heater and made heat, looking good.​
All the drawers pulled out to show the 18" depth.


Installed the table from the front dinette. 24"x24" a little bigger than the table in my last Hawk dinette but wife wants to give it a try. Also not rounded on the end like before. It does rotate out of the way to roll over the seat back. If we use the top bed pulled out we will be stepping on the seat back to get up top. Did not trust just the screws and brackets. So I did the following 3" angle the seat sets on is bolted to the 2" angle on the back corner. The bottom of the 2" angle is bolted to another 2" angle inside the seat. This angle is bolted through the floor to a 8" x 1/4" alum under the camper. Maybe over kill, but will not move.


System Monitor, Heater Control and 12v plugs​

Next doors and drawer fronts. Still have to wire in Monitor and 12v plugs. Then build corner cabinet. May move the FWC small cabinet on the passenger side forward and add a cabinet in the back corner.
 
Very nice work, Bill. I like the location of your monitor and thermostat. Much more user friendly and easy to see than FWC's location down low below the far right drawer. Looking forward to seeing your finished camper next month.
 
Hi Bill,
Glad to see it coming along nicely as well as looking great.
What's the trim your using on the counter and table tops?
Cheers
 
Captm said:
Hi Bill,
Glad to see it coming along nicely as well as looking great.
What's the trim your using on the counter and table tops?
Cheers
The counters and table top are from FWC. Just a laminate with a round edge trim. The trim is soft vinyl T-molding that just pushes into a saw slot in the side of the tops. I am not a wood worker and it was probably cheaper for me to buy made right than try to put together myself. If you are a wood worker I am sure you could save $50.00 but not much more.
 
Finished wiring today, lots of work and not much to look at. Wired up FWC monitor panel, water pump and 12 v plugs. I have the Blue Sea fuse box so every thing is on its own fuse. All tested and worked as advertised. 120v GFI hooked up on the front of the new cabinet, also wired in a second plug off the GFI mounted low under the fridge. Only tine I ever used the 120v system on my old camper was for a small elec heater in a camp ground. May look for a small heater to carry along. The lower plug would be used for the heater.

Tomorrow the counter top should go on for the last time.
 

New posts - WTW

Back
Top Bottom